About accessories for radiators
Aluminum has the highest heat dissipation of all the metals from which they make radiators for water heating circuits, but such devices are very capricious and the instruction puts forward a number of requirements for their installation and operation. First of all, when collecting the heating circuit, you should take into account the moment that none of the nodes is made of copper (fittings, boiler heat exchanger), and as a coolant here you need not ordinary water, but antifreeze with additives from scale and corrosion, which You can buy in the store or do it yourself.
But in this case we are not interested in the process of connection and operation, but in the repair of such devices, which we will discuss, and we also want to invite you to watch the video in this article.
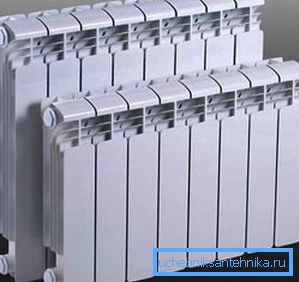
Aluminum radiators
Production methods
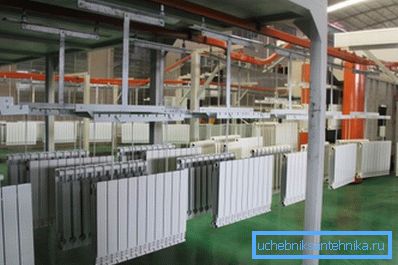
Note. Aluminum radiators for water heating are made in two ways, by casting, when the entire section is cast as a whole, that is, there are no seams and extrusion of a ductile aluminum alloy. But the extrusion method involves the assembly of three parts - the section itself, as well as the upper and lower collectors, connecting them together with a special adhesive composition (the price is, of course, less, but the quality is lost).
- Different manufacturers may have a process for manufacturing molded aluminum heating devices. - A lot depends on the workshop, machine tools and license, but in total the principle of production still remains the same;
- In the injection molding machine, parts of the mold are connected and, with the aid of a plunger, an alloy is fed through the channels into the chamber with limited pressure.;
- After that, time must pass until the melt crystallizes. (this occurs during cooling), after which the item is released from the mold and left to cool completely;
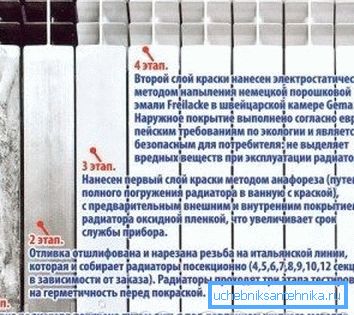
- After the final cooling, chop and chop the neck, then the section is checked for tightness. After which they are immersed in a bath, where the inner part is covered with an anti-corrosion compound. After that, each part is dried and cooled;
- For additional corrosion resistance, as well as for aesthetic purposes, each section is painted with an electrostatic field with powder enamel.. After completing all these procedures, the radiator is assembled, which, by the way, you can do with your own hands at home (increase or decrease the number of sections on one device).
Mounting accessories
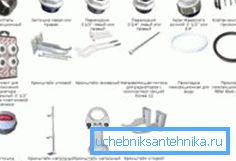
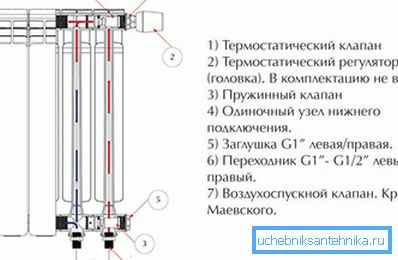
In addition to the most direct heating device, the manufacturer often completes it with various parts that are necessary for installation in the heating circuit and operation. These accessories include plugs and adapters with external left / right thread n1? - used on internal thread n1 / 2? and / or n1 / 4? (depends on the wiring diagram and pipe diameter).
Some manufacturers include the Mayevsky crane in the kit of additional parts. In addition, for fixing any radiator (mounted or floor mounted) brackets are needed, which can be supplied by the manufacturer, or they must be purchased separately.
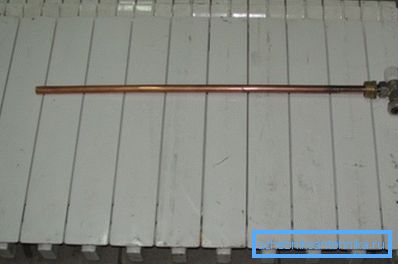
In cases where a radiator assembly with more than 10 sections is required, a duct extension can be used to evenly heat it, which can be purchased at a store or made independently using a copper pipe 18 mm in diameter and a uniform sleeve. Also, to complete the radiator water heating you need pipes (steel, copper, polypropylene) and homogeneous fittings for them.
Assembly, disassembly and repair
Note. If you are thinking about how to solder an aluminum radiator, then this suggests that you are not interested in a heater, but an automobile. Therefore, the aluminum radiator can only be welded on the car, and in sectional batteries this function does not make sense - here the sections are to be replaced.
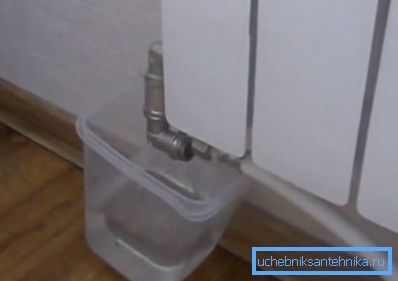
So, the dismantling of aluminum heating radiators begins with its dismantling from the place of tie-in in the heating circuit, which means that water will always remain in the battery, even if the system is completely drained. But the system can not be drained - before each heating device on the supply and return pipes, stop valves must be embedded, which is a ball valve with an "American" - the valve is closed and the nut of the "American" is twisted from the fitting in the futorka.
But at the same time you need to drain the remaining water there, so even if the system uses the upper side connection, then unscrew the plug from the bottom of the futorki and substitute any container in order to drain the water.
Water will not drain completely, so after you remove the radiator from the brackets, turn it sideways (“pop”) and drain the water completely, after which you should unscrew all additional devices, such as a thermostatic head, a Mayevsky faucet and additional fittings if there are any.
Now let's see how to unwind the aluminum radiator and for this we need a special key of type K-1, which is a steel rod with a figured head at the end (round timber with two parallel planes). The gate here can be inserted into the rod head through a through hole, or it can be simply welded to it.
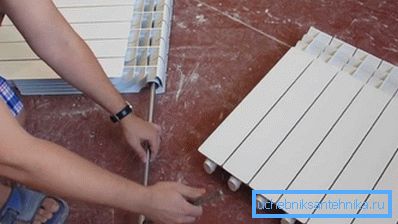
The sections in the radiator at the top and bottom are connected by a nipple, the inside of which has the shape we described for the key head - a pipe with two parallel planes, therefore, you need to get the head on exactly the nipple where you are going to disassemble.
It is easy to do this - you attach the rod over the heater, so that the head is its middle at the junction of the sections and, holding the key in this place with your hand (not to mark), insert it into the channel. It is possible that you will not be able to unwind the nipple using only one gate as a lever - as a rule, they don’t put a piece of pipe on it to make this lever longer.
If you are interested in how to build up an aluminum radiator, then you repeat the whole procedure described in the top paragraph only in the reverse order. Nipple is on each section, therefore, you attach it to the battery and twist the joint with a key, and here you will not even have to measure the length of the rod, since you will see the head. It is necessary to clamp very strongly, probably, using the additional lever.
Conclusion
If you use purchased or home-made antifreeze as a coolant, then scale does not form, but if it still occurs (when filling the system with clean water), then you need to take measures. And you can remove the limescale from aluminum radiators with ethyl alcohol or wine vinegar, mixed with water - just immerse the battery overnight in a bath, and then rinse with running water.