Battery replacement - detailed guide
Nothing lasts forever, and even seemingly reliable heating radiators eventually begin to work less efficiently. The composition of the coolant in our country leaves much to be desired, so the internal surface of the metal over time accumulates sediments, impairing the thermal conductivity of the radiator. Replacing radiators with their own hands will help solve this problem without too much difficulty.
What radiator to choose instead of old
It is clear that before dismantling old batteries it is necessary to prepare everything in order to install new beautiful radiators right there in their place.
Now the choice is not limited to "cast-iron monsters" as it was before, and you can choose:
- aluminum radiators - no problem will last for 25 years, and the working pressure in the system can reach 18 atmospheres. They are distinguished by low weight and excellent thermal conductivity, and their appearance is excellent. Sometimes the replacement of heating batteries is performed for aesthetic reasons, so the appearance also plays a significant role;
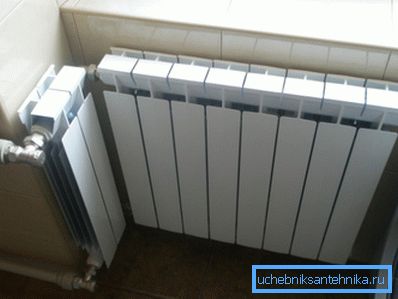
- cast iron - considered to be classics, durability exceeds 30 years, but cast iron is a rather fragile material, therefore the working pressure is limited to 9 atmospheres. But the appearance, as a rule, leaves much to be desired;
- steel batteries - considered the best choice in terms of price, durability and work efficiency. In all respects, except for the price, they are similar to aluminum, except that they weigh more and are cheaper;
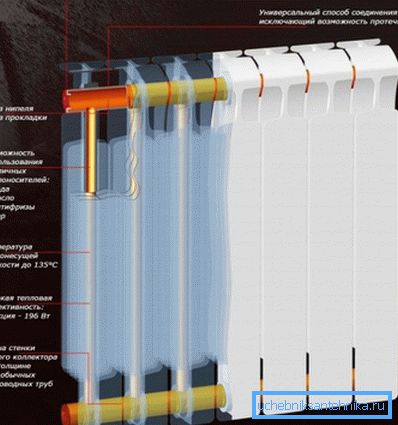
- bimetallic - in a design 2 different metals are combined. The combination of copper and aluminum in the radiator gives the maximum heat transfer among all the listed options. There are also radiators in which the inside is made of steel and the outside is made of aluminum.
How to achieve optimal performance of the new radiator
Even if the replacement of central heating batteries is performed solely because of the unattractive appearance of the old radiators, the new batteries should work as efficiently as possible. That is, they should warm up evenly.
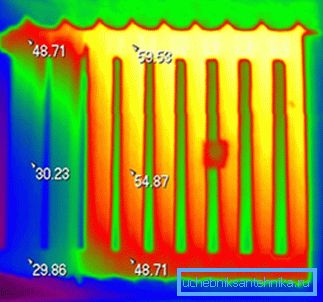
The air plugs can affect the uniformity of the warm-up, but it is easy to cope with them after installing the battery, and the method of connecting the supply and discharge pipes. It is at this stage that many newcomers make a mistake and do not take into account the size of the radiator.
In general, we can distinguish the following methods of connecting the battery:
- side - while the coolant is fed from above into the radiator, and is discharged from the same side, but already from the bottom;
- the bottom connection - in this case, both the supply and discharge pipes are connected to the radiator from below. Pretty inefficient way to connect;
- diagonal - while the coolant enters the pipe from the top on one side, and is discharged on the other side from the bottom of the radiator.
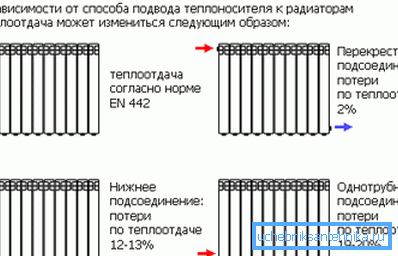
Note! Even such a trifle greatly affects the work of heating. For long radiators (the length of which exceeds 14-15 sections) it is recommended to use only diagonal connection. Otherwise, the battery simply will not warm up properly.
More about radiator replacement
This process is simple and anyone who knows how to work with such a “complex” tool as a torque wrench, drill, Bulgarian, pliers, etc. will cope with it with their own hands.
Conventionally, it can be divided into the following stages:
- preparation of the heating system;
- dismantling the old radiator;
- preparation of fasteners for a new battery;
- its installation and connection to the system;
- heating check for leaks.
Preparatory stage
Replacing radiators of radiators will require draining the coolant from the heating system, only then you can proceed to dismantling the radiator. The task is simple, at least at first glance, but residents of multi-storey buildings will face certain difficulties.
The fact is that the heating in high-rise buildings is centralized, so that it will not work to block his work in a single apartment. To suffer without heat for some time and will have neighbors. It is clear that ordinary citizens do not have the right to independently disconnect a house from heat, for this it is necessary to apply to the housing office. Residents of the private sector in this regard are much simpler - no permits are needed.
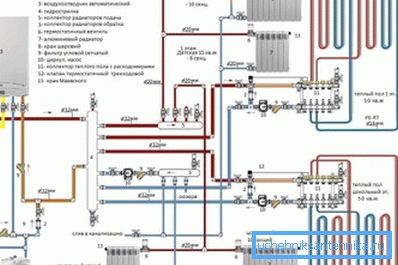
Note! ZhEK immediately permission to work will not give, so you need to go there a few days before the planned date of replacement.
Actually, battery replacement
As for how to replace the radiator in the apartment, it is recommended to adhere to the following recommendations:
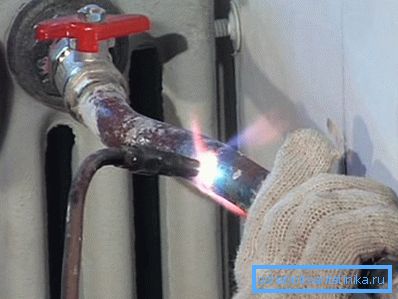
- when dismantling the old battery, it is necessary to avoid sharp blows to the pipes, if the radiator itself is no longer useful, then the pipes will still serve. Quite often, detachable connections, for example, threaded, over time were covered with several layers of paint, and metal corrosion only aggravated the situation. In this case, you need to arm yourself with a grinder and just cut out the battery;
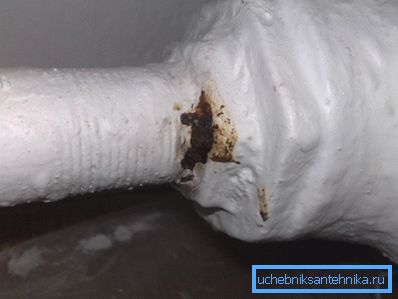
Note! If welding was used when installing the radiator, then the pipe should be cut so that the weld remains in the pipe section that remains with the battery.
- old fastenings for the battery are removed, for new radiators, as a rule, there are enough 2 fasteners; For a large cast iron battery, 4 attachments may be needed - at the top and bottom;
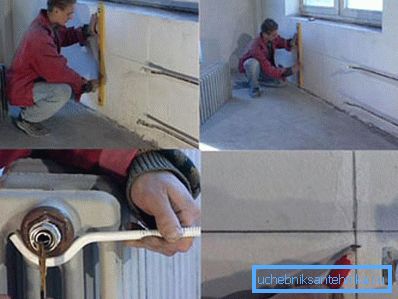
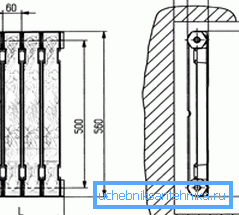
- the radiator is installed in place. When the replacement of the radiator in the apartment is being performed, special attention should be paid to the location of the new radiator - it is desirable that it is 10-13 cm raised from the floor and at least 5 cm away from the wall. Otherwise air circulation will be broken;
- now it remains only to connect the battery to the heating. To do this, a thread is cut at the end of the pipe and the battery is connected to it, for example, with an “American” connection.
You also need to remember to install the Mayevsky valve (to remove air), it makes sense to take care when replacing the battery and installing the thermostat. The price of such a device is cheap, and it will bring a lot of benefits. Also, bypass installation will not be superfluous - this will allow to block the flow of coolant into the radiator in case, for example, it needs repair.
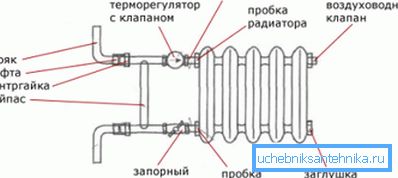
Note! Threaded pipe joints must be given special attention. It is advisable to use a torque wrench, just to not break the thread and not to provoke leaks in the future.
The final step is to check for leaks. If in the first half-hour-hour there was no water coming out at the junctions, then in the future there will be no problems.
Summarizing
Replacing the radiators in the apartment with their own hands is a feasible task for almost any person. All you need to do is take your time and follow the tips suggested in the article. The result in quality will not differ from the work of a professional and brand new radiators will not only properly heat the house, but will also become to some extent a source of pride, because everything was done independently.
The video shows an example of replacing the old radiator with a more modern one.