Film infrared heating: technical advantages and features of
Technological progress moves forward in wide strides. He also touched on how to heat your home. First, clumsy wall radiators began to be replaced by a more rational underground water or electric heating, and now for this, simple-to-use and incredibly practical infrared films are used. About them and will be discussed in this article.
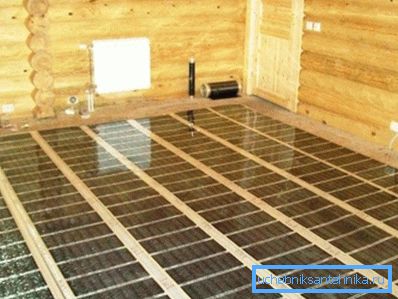
Structure and technical parameters
Infrared heating is based on the use of materials that, passing electricity through themselves, produce heat fluxes. As a result of research and practical experiments, a product was created under the abbreviation PLEN, which stands for a film radiating electric heater. Let's look at its structure:
Design
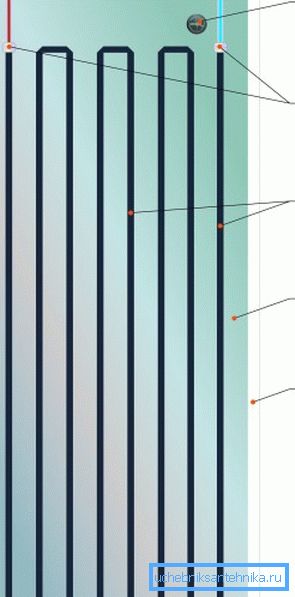
| Designation in the figure | Item Description |
| one | Power wires |
| 2 | Security hologram |
| 3 | Workshop soldering of wires to the heating element |
| four | A heating element |
| five | Aluminum foil |
| 6 | Fixing strips for installation |
As you can see, everything is extremely simple and clear.
Options
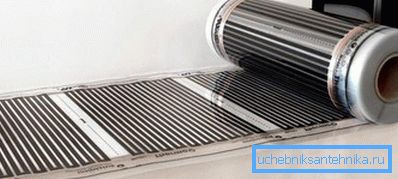
| Characteristic | Value |
| Voltage | 220 V |
| Power limit | 175 W / m2 |
| Electric current | 0.8 A / m2 |
| Maximum heating | 50 degrees Celsius |
| Thickness | 1 mm |
| Length | 1-5 m |
| Width | 35 cm, 51 cm or 65 cm |
Tip: it is recommended to buy film heaters only from trusted manufacturers. In the opposite case, you can purchase a product that does not correspond to the parameters presented, which will adversely affect its durability.
The main advantages
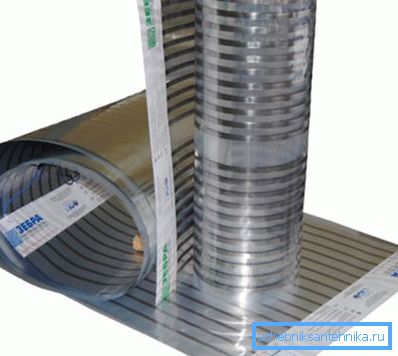
The structure and principle of operation described above endows film heating systems with a large number of advantages, which in turn can be divided into separate subgroups:
High speed and ease of installation
- Elementary installation instructions. You, in fact, enough to spread a film heater, connect it to the power source and fix.
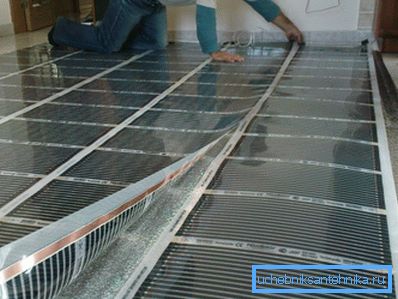
- There is no need for any communications other than electrical power to run the system..

- Complete arrangement of the area in 100 m2 occurs within two to three days.
- The possibility of dismantling the film without impairing its performance.
Reliability
- The long term of operation exceeding five decades.
- Immunity to voltage drops in the network or even its complete disconnection. This is especially true in relation to our regions.
- Fire safety. Spontaneous combustion excluded.
- High physical stability. The destruction of the system is possible only with the whole building.
Facilities
- Optimum heat distribution. In the case of using an infrared film to heat the house, the heat flux moves from the bottom up, which allows you to create the optimum temperature just where the person is. In the classical radiator system, the heated air from the walls rushes right up under the action of physical laws, leaving the center of the room and its floor cold.
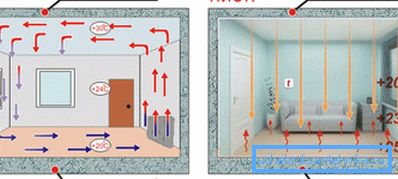
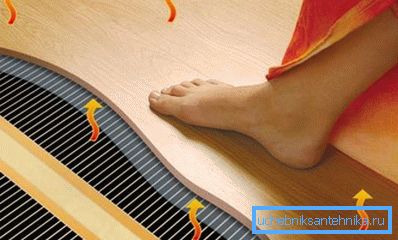
- Prevention of colds. If the feet are always warm, the risk of catching a cold is significantly reduced.
- High air heating rate from 10 to 20 degrees Celsius, which is no more than fifty minutes. So with the convective method of heating a similar result is achieved only after ten hours.
- Automated work. Due to the presence of a thermostat and the rest of the associated automation, the system can independently switch on and off, maintaining the set temperature with this method. Not only is it simply convenient, it is also very economical, since cooling periods do not consume electrical energy.
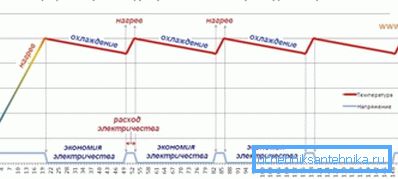
- It does not burn oxygen and does not dry out the air, which is also very important for the health of residents.
- Due to the absence of convection currents, the amount of dust in the room is significantly reduced.
- The positive effect of infrared rays on the human body, which allows you to replenish the "solar hunger" in the winter.
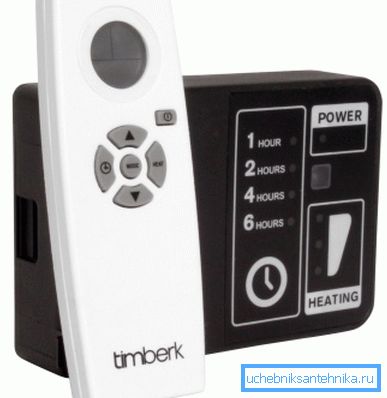
- Easy operation. On the remote control panel, you can set the supported temperature, the cyclical operation, the on / off timer, and other functions that facilitate your life.
- Normalization of humidity. This is especially true for areas near rivers or water bodies, where dampness is intensively sneaking into houses.
- No burning products. This eliminates the possibility of poisoning and makes it possible in most cases to get by with natural ventilation in the room.
- Exclusion of any work sounds. Infrared heating is absolutely silent, creating ideal conditions for sleep.
Aesthetics
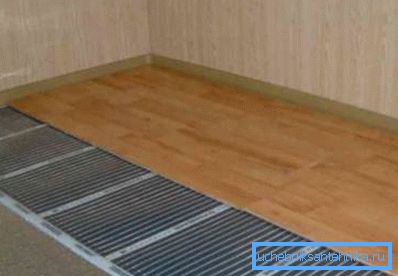
After the film heater is installed and connected to the control unit, any decorative covering that does not contain metal elements can be mounted on it: wall paneling, tile, laminate, linoleum, parquet and other options. And its thickness has absolutely no effect on the rise of the floor structure, unlike using, for example, water underfloor heating. (See also the article Electric heating convectors: features.)
Saving
Despite the fact that the price of the described equipment is not small, it already pays for itself after two years, which is facilitated by the following factors:
- Cyclical operation of the system. We are talking about the absence of electricity consumption in the processes of cooling, which we have already mentioned above.
- Rationalization of space heating. The movement of heat flows from bottom to top allows you to raise the temperature of the zone used much faster than it happens in the case of radiator heating.
- Ease of installation work. On the installation, you can save a lot by doing it yourself. Special skills are not required for this, only accuracy and attentiveness.
Installation
Now let's pay a little attention to the features of the necessary installation work:
- We open the packaging roll film heater.
Tip: be sure to first check all available equipment. In the absence of any components, change or return the equipment better, since it will be costly to re-purchase them.
- We check the resistance tester of all elements that must comply with regulatory tolerances.
- We place the roll in the right place and roll it out. At the same time, there should be no overlap of adjacent bands. If necessary, cut off, then fix the tape.
- Isolate the line of the cut copper electrode, which is located at the ends of the IR film.
- We peel off the top coating from the copper bus and insert a connector between the layers in order to make sure contact with copper.
- Using pliers we connect the connectors to both copper electrodes.
- Enter the wires into the cylindrical connectors of the connectors and crimp them.
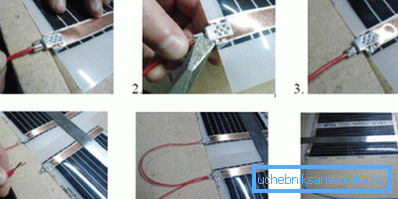
- Carefully isolate the joints with butyl rubber insulating tape, which is included in the package.
Important: poor-quality fixation of connectors leads to overheating of the system and its breakage.
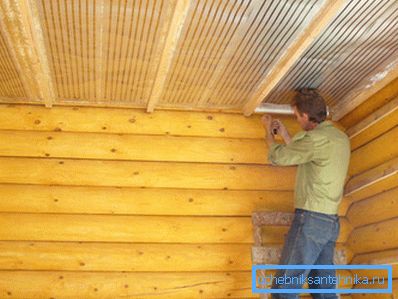
It is noteworthy that, if necessary, film heaters can be placed not only on the floor, but also on the walls and even the ceiling.
Conclusion
Heating with infrared films is a real breakthrough in improving your home. This heating option provides many advantages, including rationalization of the distribution of heat fluxes, durability, low operating costs, ease of installation, and a positive effect on human health.

Above, we described in detail the most important technical characteristics of film heating and provided instructions for connecting it to the network. The provided video contains additional materials that are directly related to the topic outlined. Take care of the comfort and health of your family!