How the oil cooler works: design and heat transfer,
Generally speaking, the oil radiator for 5-7 sections or other household-type dimensions is a steel hermetic case, which is filled with special oil, and an electric heater is installed inside the tank, which is connected to the AC network 220V.
The principle of operation here is quite simple - the electric helix heats the oil with its heat, and it in turn transfers heat to the metal case and the power of heat transfer from the heating device depends on the intensity of this interaction. In more detail about the design of the oil heater, its advantages and disadvantages we will discuss below, as well as you can watch the video in this article.
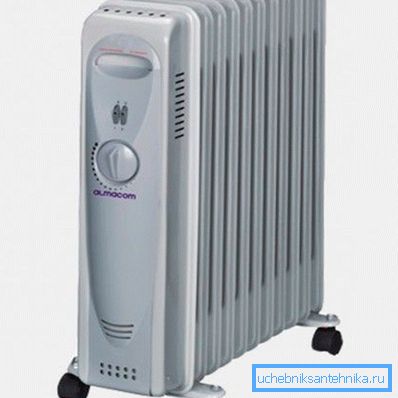
Oil radiators
About design and heat dissipation
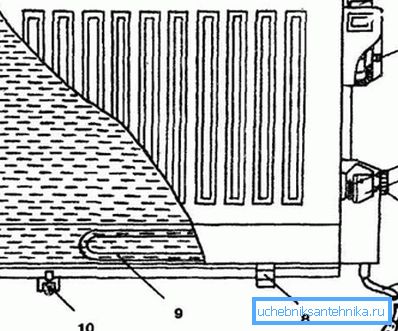
General scheme of the oil cooler:
- housing;
- indicator;
- switch;
- bimetal plate;
- microswitch;
- power regulator;
- electrical cord;
- leg;
- a heating element;
- adjustment set screw
The efficiency of an oil radiator directly depends on the area of its body - the larger it is, the higher the heat transfer is obtained, and the temperature of the walls can reach 110-150? C.
Consequently, such a device is a battery that can not just be moved, but generally installed in any right place, if it is possible to provide it with power.
- Of course, the intensity of heating cannot remain in the same mode, therefore, manufacturers for this purpose supply instruments with switches like a thermostat., which allow operation in 2-3 modes. The essence here is the following - by setting the switch knob to any position, you use a certain number of spirals, that is, they either close or open;
- You can purchase an oil radiator for 5 sections for heating a small area of the room, but in general such devices can be made in large sizes. - as a rule, the limit has 14 sections;
- In case of overheating (switch closing), in order to avoid an explosion of the oil cooler (cracking of the case), it is supplied with a special safety valve at the bottom of the metal case of the device. So with a critical increase in pressure there is a partial discharge of oil.
Note. The general principle of the oil radiator is convection - the air is heated from the hot walls of the metal case and distributed throughout the room.
Operation - Basic Rules
Note. Each manufacturer takes care of the operation of its products by the user, as he is liable for warranty. Therefore, in all cases, attached instruction manual oil cooler, which will allow you to use it with the greatest impact as long as possible.
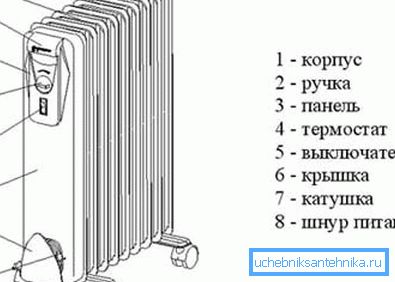
If you have purchased such a heater, then the instruction to the oil radiator will first of all draw your attention to the safety measures during operation of the device, it still works from the 220V mains, which can be dangerous not only for health, but also for human life.
As a rule, such devices are designed specifically for 220V, but there are exceptions, therefore, before plugging in the socket, you need to make sure that it is in accordance with it.
If you decide to wash or clean the case of the device, then it should be completely de-energized, that is, not just switch the switch key, but pull the plug out of the socket.
Similar measures are also resorted to in cases where heating is not needed for a long time, for example, you are going somewhere or the heating period ends. In addition, you can not leave the device unattended - it may be your absence for a day, two or more - it is de-energized.
Oil radiators are made with a good design, but if you don’t like it, you should never cover it with anything - it can cause a fire, in addition, it is recommended to install the heater as far as possible from flammable objects such as furniture, curtains, clothes, bed and so on. The distance to the objects of rapid ignition should be at least 90 cm.
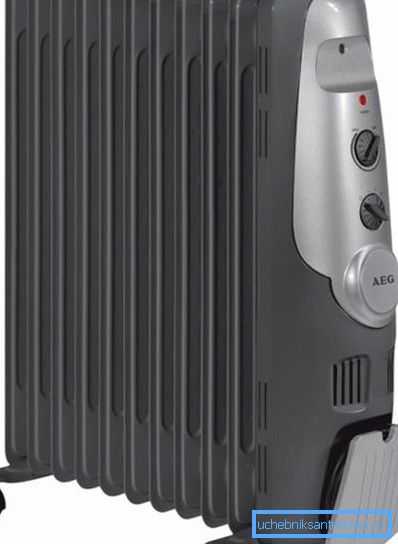
In case of damage to the case, do not try to disassemble it yourself - at home you will not be able to hermetically seal the container back - this is possible only in workshops.
When connecting, move aside the power cord so that it does not touch the hot case, as this may lead to a melted insulation and, as a result, a short circuit. Be especially careful if children are constantly or temporarily in your home - the presence of such a device can cause a child to burn.
Oil heaters are intended solely for indoor use and should not be used outdoors; in addition, they are not recommended to be installed near other heating appliances such as stoves, batteries, stoves and fireboxes.
You can not use the radiator in case of faulty network equipment - damage to the cord, thermostat or heating element - take it to the service center, where the price for repairs will be low, but you will get safety.
| Switch position | Power (W) by the number of sections (pieces) | ||
| 7 | 9 | eleven | |
| one | 600 | 800 | 1000 |
| 2 | 900 | 1200 | 1500 |
| 3 | 1500 | 2000 | 2500 |
Power parameters of some models
| Name | ORION OOR-007G | ORION OOR-009G | ORION OOR-011G |
| Sections (pieces) | 7 | 9 | eleven |
| Power supply | 220 / 240V? 50-60Hz | 220 / 240V? 50-60Hz | 220 / 240V? 50-60Hz |
| Power range (W) | 600/900/1500 | 800/1200/2000 | 1000/1500/2500 |
| Possible heating area (m2) | ?23 | ?23 | ?23 |
Specifications ORION OOR
Note. Sooner or later the end of the operational period comes, and the radiator has to be disposed of. Before disposal, you must always drain the oil, as indicated in the manufacturer's instructions.
Do it yourself
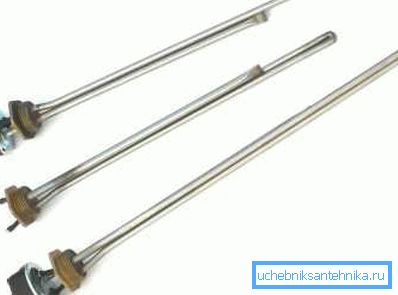
If you are interested in how to make an oil heating radiator with your own hands, then for this you will need a needle-type heating element, as in the top photo and a metal sealed case.
As a container, you can use a marching gas bottle, an old automobile or water household radiator, or even a piece of a pipe of a decent diameter, welded at the ends. The number of heaters depends on the power that you want to give your product.
It is possible to use machine or transformer oil as oil, but transformer oil is still better, since it is designed for operation in high temperature conditions. You will also need a thermostat, which can be assembled from a thermal switch or a conventional packet switch.
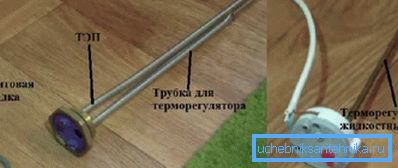
Since you can make an oil radiator with your own hands from different tanks, you need to provide one hole in it through which you can pour oil and insert heating elements, therefore, an aluminum, bimetallic or cast iron radiator is best for this purpose.
If you use such devices, the oil can be poured in last, by unscrewing the upper left or right cap.

On the side opposite to the heating element, an air vent is made - usually, a Mayevsky crane is used for this. Fill the assembled structure with oil, seal it, bleed air and can carry out tests by connecting it to the network.
Conclusion
I would like to remind you that for improvised oil radiators it is imperative to use a liquid thermostat that shuts off electrical equipment with sufficient heating of the system. In addition, before installation, check the indicator of the heating element, and after assembly, be sure to check the body of the structure for your own safety.