How to build a heating and cooking stove with your own hands
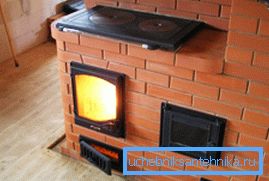
If you decide to install a brick oven in the house for heating, we recommend that you equip it with a hob and oven. In this case, you will receive not only a heating device that can be used only in cold weather, but also a place where you can successfully prepare various dishes. Cooked in the oven or on the stove food will be difficult to compare with something, because for this live fire was used.
You can, of course, invite a stove specialist, but we will describe below how to make a heating and cooking device on your own. But before you begin the process, find out how it functions.
Principle of operation
- The dimensions of the device are traditionally small, since it is usually calculated for heating a house, the area of which does not exceed 50 m2. Today we will consider just such a device, although no one bothers to increase its size and adapt it to room heating, say, up to 100 m.2.
- Heat transfer depends directly on its design and used fuel.
- Ours will have an outer wall with half a brick, an oven and a water heating box, and the cooking surface will be a cast-iron stove on which we will install two burners.
- We will block the fuel chamber with a cast-iron thick stove to increase heat transfer, and we will make the cooking chamber above it in a niche, having equipped it with steel doors.
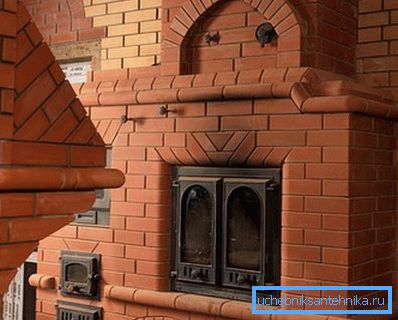
- The oven will be installed to the left or right of the firebox, depending on the conditions.
- Mason is calculated on the mode of operation:
- “Summer” - a hob is used, where you can not only cook food, but also do other useful tasks. The device works on this principle - the hot gas and the fuel chamber passes under the cooking stove and heats it, then the oven warms up, and then it leaves through the chimney;
- "Winter" - the process is the same, but there are differences. After heating the hob and oven, the gas enters the closed upper chamber through the heating channels and heats it, and only after that it is removed.
Consider the advantages of devices
Designs have a number of advantages that will help you decide on their choice:
| Saving | Making a heating device at home alone makes it possible to save a lot, as finished products are significantly more expensive due to different cost markups. |
| Versatile design | You do not have a specified design configuration. You decide which dimensions to follow, taking into account your room, the characteristics of the building and the placement of other equipment. |
| Two or three in one | The stove combines a heater and a stove; in addition, you can add a bed to them. In these cases, additional space is released in the house. The fuel will be used more functionally, since it works during the combustion “on two or three fronts”, which is also a significant saving. You do not need to additionally do the exhaust, as it is already provided in the furnace, therefore unpleasant odors are removed along with the products of combustion. |
Training
In addition to skills, besides skills, it is necessary to have a good tool for laying a heating and cooking device made of bricks.
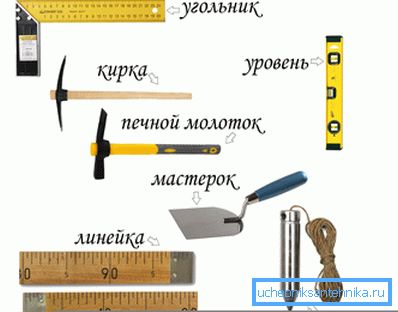
Check the condition:
- trowel (trowel) used for laying and removing excess mortar;
- wooden brickwork for working with bricks - osadzhivanie and their arbor;
- building level to check the horizontal laid out rows;
- water level, which often helps in the manufacture of corners;
- a plumb for checking the verticality of the masonry;
- regulations;
- bricklayer hammer for working with bricks - splintering;
- tape measure or flexible meter for measuring linear dimensions.
Besides:
- Use only red refractory brick in the work, which should be intact and even. Its price may not be very low.
Tip: Do not use burnt or unburned bricks that have chipped or cracked.
- Do not use cement mortar, prepare a mixture of clay and sand of thick consistency.
- Before work, check the quality of the solution. Why from the dough take samples from different places and make small balls. Then dry them and see if there are any cracks on their surface.
Additional verification instructions - drop them from a height of 1 m onto a hard surface. They should not crack, and if they are ignited at high temperatures, they should be scattered into dust. If the tests have passed the test, such a solution can be used for laying of long-burning heating-cooking stoves.
Cooking material
- The device for a small room is enough for 14 rows. This is enough for the house to receive high-quality heating.
- The walls of the firebox are hot and intensively give off heat. Therefore, heating will be downstream, the most efficient and hygienic.
- A large and constant amount of heat is not required for the cooking hob.
- Make a hot water tank, and build a drying cabinet for different tasks, for example, for drying clothes.
A simple construction of small sizes will be multifunctional and it will require a minimum amount of building materials:
- red brick - 225-250 pcs. plus add 5-10% to the battle;
- clay solution - 200 kg;
- River sifted sand of fine fraction - 200 kg;
- corner steel size 45x45x3 mm;
- steel strip - 40x3 mm;
- fire door dimensions of approximately 270x300 mm;
- blowing door - 130-150х270 mm;
- hob cooker made of cast iron or thick steel with burners;
- viewport gate;
- box for hot water - maybe 500x350x300 mm;
- drying box free size from 350x350x350 mm.
Tip: in the absence of skills and experience in laying with ordering, we recommend taking ready-made drawings that are on our portal.
Take out the order on paper and keep it straight ahead, checking each row in the work. Remember, on how the bricks will be laid correctly, the efficiency of the device, its long work, as well as its ability to function in general, directly depend.
Masonry
We will not describe step by step every brick and every row. We will only say that the foundation for the construction of such a mass must be made necessary.
Better we will focus on the main points:
- You should put the 1st and 2nd rows completely, and you should definitely have solid bricks on the 1st row at the edges, but you can also use combat in the middle, but this is undesirable. Lay out the 2nd row only with whole bricks.
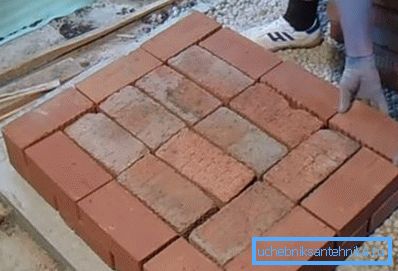
- 3-5 rows are designed to form the ash chamber, so here you need to install a door for it, on the 5th from above there is an overlap and a place for the drying box is set. Proceed from the size of the box prepared for the dryer.
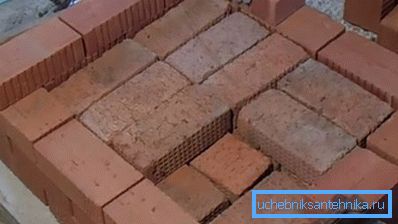
- Building the device inward, start from the 6th row to install the grate.
- On the 7th, the grate is put in first, and then - the furnace door.
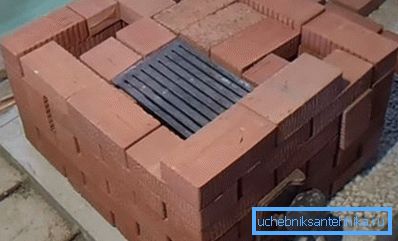
- 8-10 rows - the fuel chamber, at the same time drying box is being laid around.
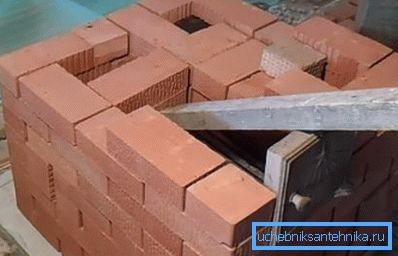
- On the 11th row, on top of the box, install steel strips and cover them with a solution of sand and clay.
Tip: do not forget to make a place for the device chimney.
- 12th row - lay a brick on a layer of mortar and prepare a place for a cooking stove. Its size is determined by the pre-cooked consumables.
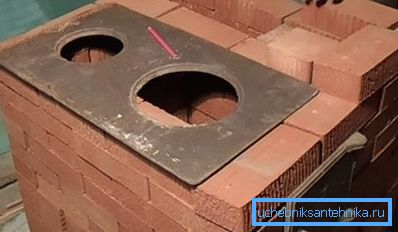
- Place the stove on top of the thirteenth row and install a hot water tank that partially overlaps the chimney.
- Put the chimney on the 14th row.
Conclusion
Heating and cooking stoves of long burning can be made independently, using drawings and an order. To do this, it is necessary to prepare tools and materials in accordance with the future dimensions of the furnace. In this article, we looked at the basic version, which can later be adapted to the dimensions of the room.
The video in the article will help you find additional information on this topic.