How to connect a heating radiator in an apartment correctly:
In this article we will look at how to connect a heating radiator in an apartment. This operation is quite feasible without calling a professional plumber on your own. The main thing is to follow the rules and recommendations described below.
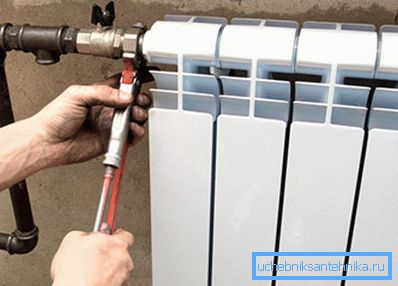
Assembly work
The instructions begin with the selection of suitable batteries for your home:
Step number 1: the choice of radiator
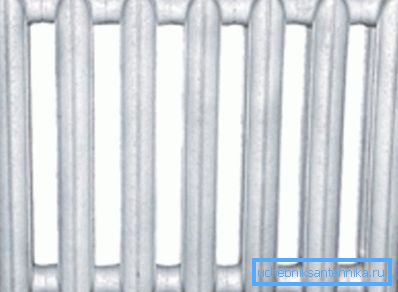
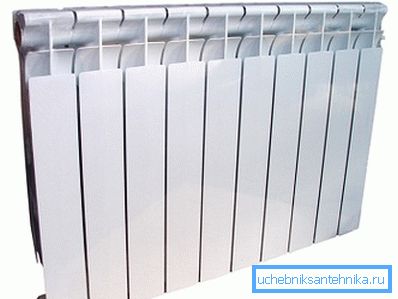
In order to have an idea of what you need, let's analyze the positive and negative sides of the most popular groups of radiators, separated according to their material of manufacture:
| Title | pros | Minuses |
| Cast iron |
|
|
| Aluminum |
|
|
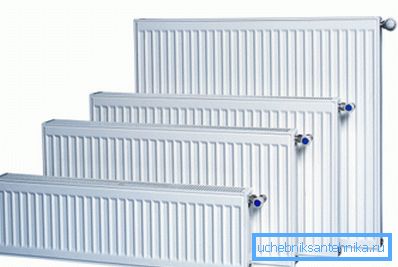
| Steel |
|
|
| Bimetallic |
|
|
Tip: Steel models are not recommended to be installed in apartments, as the risk of their destruction as a result of water hammering that occurs during the launch of the central boiler house after summer shutdown is too great.
Step number 2: select the connection scheme
| Pipe connection option | Description |
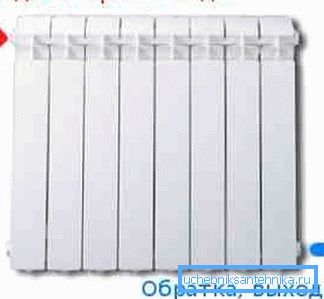
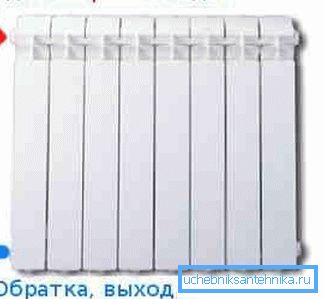
| Side one-sided | A popular type of layout that provides a high level of performance. When it is connected to the top inlet, and the bottom output. If the connection is “flipped”, then up to seven percent of the heat transfer power will be lost. |
| Bottom | This method is accompanied by a performance loss of up to thirteen percent. In this regard, its implementation is justified only from an aesthetic point of view in cases where the design is recessed into the floor or baseboard, and the pipes themselves go down. |
| Diagonal | Great for multi-part designs. In this case, the inlet is connected to the top of one side and removed from the bottom of the other. This allows you to maximize a large area of the radiator. |
Ways of connecting radiators in the apartment also have their own characteristics:
- Consistent. The coolant through one feed channel passes through all radiators. This option requires less cost, but if it is necessary to replace or repair one of the batteries, it will be necessary to shut down the entire system, which will cause a lot of problems in the winter. In addition, there is a drop in heat transfer in each subsequent heating device;
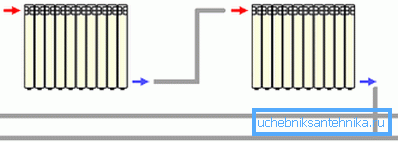
Tip: partially solve the problem of the need to turn off the entire heating system to carry out repair work will help the installation of valves and jumpers, which will go water around the radiator.

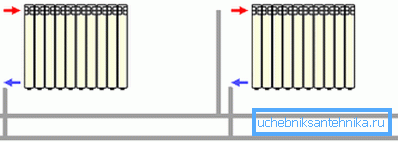
- Parallel. In this case, each battery has its own individual connection with the supply line and the return line. This method is more expensive to implement, as it needs more materials, but it guarantees maximum heat transfer from each radiator and allows repair work without stopping the entire system;
Step number 3: calculation of the optimal number of sections
If there are too few sections, then the harsh winter nights will become a real test for your body, if too many, it will simply be inappropriate. The easiest way to perform the necessary calculations is to run the corresponding online calculator.
Advice: if the room in which the installation of the heating system is carried out is very large, then it is better to resort to the help of specialists, since in this case additional factors that are not taken into account by ordinary programs begin to influence.
Step 3: Preparing the Tools
For the implementation of your plans you will need:
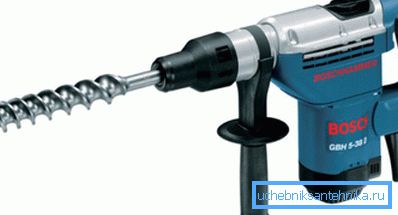
- Punch to create holes for the brackets;
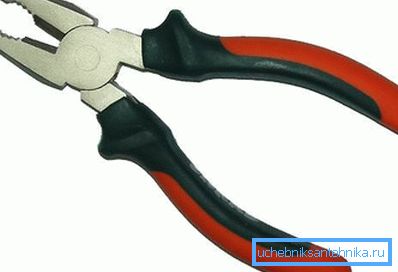
- Pliers;
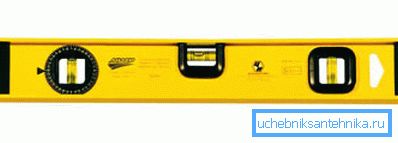
- Spirit level to control the horizontal and vertical structures;
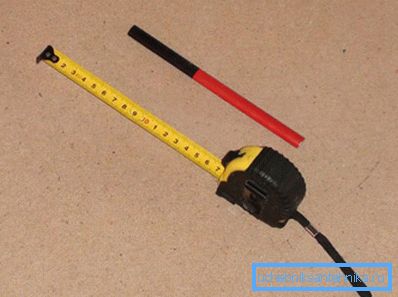
- Roulette and pencil for marking;
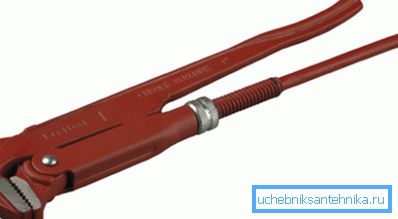
- Pipe wrench for screwing the connections;
- Nipple key for connecting sections.
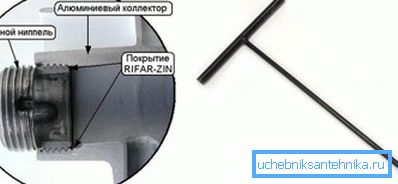
Tip: the nipple key has a very narrow scope of use, so for a one-time home installation of the radiator it is not rational to buy it. It’s more profitable to rent this tool or even order a battery assembly in the store.
Step # 4: Markup
When placing any radiator, you must follow certain rules and in accordance with them apply the markup in advance:
- The distance between the sill and the top of the battery should be from 5 to 10 cm. This will allow air to circulate normally, carrying out effective heat transfer;
- The lower part should be raised above the floor by 8-12 cm;
- The gap between the radiator sections and the wall is chosen from 2 to 5 cm.
If the battery is not installed from scratch, but to replace the old one, then a reasonable question may arise: how to remove the heating radiator in the apartment?
For this:
- Be sure to turn off the heating system by coordinating your activities with authorized structures;
- Twist or cut off the old nipples;
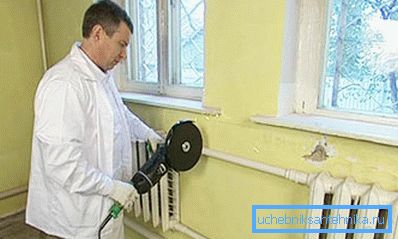
- Remove the hook structure.
Step 5: Installation
Now go directly to the installation work:
- The extra holes are not needed in the new battery, so let's figure out how to close the heating radiators in the apartment:
- lower - deaf traffic jams;
- Upper - Mayevsky cranes;

- According to the markup, we install the brackets, if they are not left after the old equipment;
- We hang on hooks new radiator;
- We control the position of the device with a level;
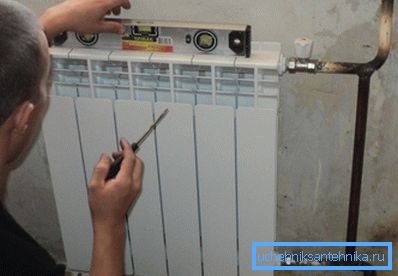
- We fasten with a pipe wrench all the necessary connections and shut-off valves, having previously wound on the thread connections of the flax thread to increase sealing.
How to turn on the heating radiator in the apartment after its installation? Very simple: start the whole system and open the supply valve. Check for leaks.
Conclusion
Installing a new radiator is not a big deal. The main thing is to properly perform all the preparatory work, including the choice of connection diagrams.

The video in this article will provide additional information. Be careful, and you will succeed.