How to fix the radiator to the wall - installation procedure
When arranging the heating system, it is extremely important to correctly install the radiators. The process of their attachment to the wall depends largely on the material from which the supporting structures are made. Below we take a look at several ways to fix the heating radiator on the wall.
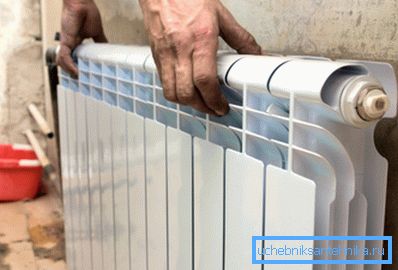
General information
Not only their aesthetics, but also the degree of heat transfer depends on the quality of battery installation. Therefore, the installation must be performed taking into account the requirements of SNiP:
| Options | Meanings |
| Distance from the floor | Within 10-15 cm |
| Distance from the wall | Within 2-5 cm |
| Distance to the window sill | From 10 cm |
Of course, the batteries must be fixed firmly and securely, since the durability of the device and the heat conductor depends on it.
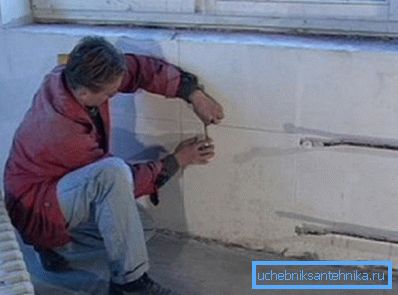
Installation
Training
Before you mount the radiator to the wall, you need to do some preparatory work:
- First you need to prepare a draft heating system. The diagram should indicate not only the location of the devices, but also the heat conductor, as well as all the other elements of the system.
- Then you need to mark up the areas where the devices will be located.
- Next is the preparation of the devices themselves - they need to be removed from the packaging, screw caps, and Mayevsky's crane.
This preparatory work is completed.
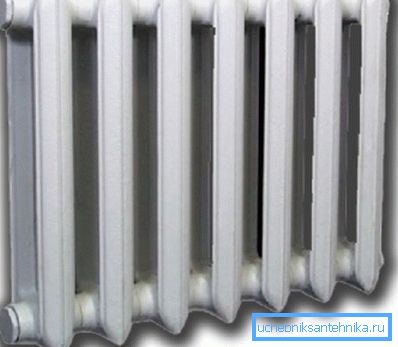
Installation of cast iron batteries
First of all, we will look at how the cast-iron radiators are fixed to the wall, as they remain one of the most common to this day.
So, this process is performed in the following sequence:
- Fixing cast iron radiators to the wall is complicated by their large weight. Therefore, it is necessary to use special reinforced fasteners for them.
Installation work begins with the laying of markings under fasteners. However, their position must be checked by level.
Then you need to drill holes for fasteners, for this you can use a punch.
- Then plug the dowels into the holes and screw brackets into them, on which the device is suspended.
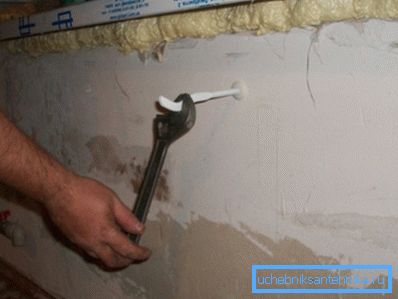
- After mounting the battery, check its position by construction level.. If there is a deviation, the position should be corrected. To do this, you can put a rubber gasket on the bracket.
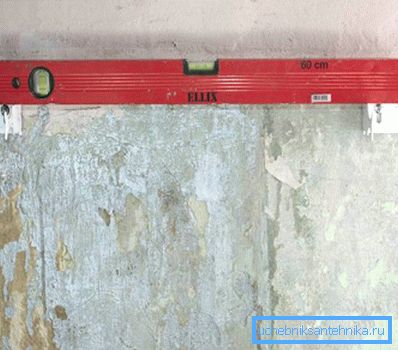
- After that, you just need to connect the device with the heat pipe. Below we take a closer look at how this is done.
Note! For devices up to one square meter in size, one bracket is enough. If the size is larger, then one bracket is added to each square meter.
This process is complete. If it is necessary to mount the radiators to the wall of aerated concrete, you should use not special hooks, but special mounting strips.
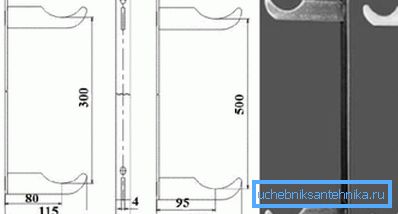
And for their attachment should use special dowels for aerated concrete. At least three such slats should be installed per square meter.
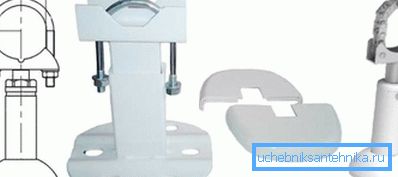
Another way to install cast iron batteries is to install them on the floor with the help of special legs. As a rule, the legs are fixed with screws or dowels to the floor and at the same time hold the battery with the help of special adjustable brackets or chains. It should be noted that this method of installation looks original and pretty, especially in classic interiors.
Note! Often the installation work involved companies that sell heating appliances. However, in this case, their price increases significantly. Therefore, it is better to do the work yourself.

Installation of bimetallic and aluminum batteries
Now we will look at how aluminum radiators are mounted to the wall, as well as bimetallic batteries. This process is not much different from the fixtures of cast-iron appliances, however, for these purposes special brackets are used.
The process is carried out in this order:
- Before fixing the bimetallic radiator to the wall, you should attach the brackets and mark the location of the dowels.
- Further holes are made for the dowel-nails, after which the dowels themselves are hammered.
- Then the brackets are applied and the dowel-nails are hammered into the dowel. Each bracket for mounting the radiator to the wall should be firmly fixed. As in the previous case, the position of the brackets must be checked at the building level.
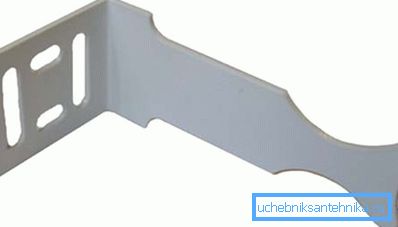
- Then, the bimetallic radiators are directly attached to the wall, which are suspended on the installed brackets.
Note! You should not remove the polyethylene film in which the products are delivered until the end of the installation work.
Here, in fact, all the information about how to mount the radiator to the wall. I must say that bimetallic and aluminum panels can also be installed on the floor using special racks.
The latter are of several types, some of them are attached to the floor, and some are fixed to the wall, but the main load is still on the floor. This mounting method is a great solution if the walls are made, for example, from drywall.
Tip! Before fixing the device on the wall, it is advisable to fix the penofol (polyethylene foam, covered with foil on one side). The material should be placed with foil to the room. This will allow to increase the heat transfer, since the heat will be reflected.
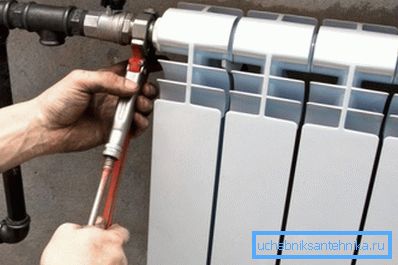
Connection Features
After installation of devices it is necessary to connect them to a heat conductor.
A brief instruction on how to perform this procedure looks like this:
- Adapters for various types of pipeline are screwed into the inlet and outlet. In some cases, a regulating thermal valve is connected directly to the input.
At this stage it is important to ensure the tightness of threaded connections. For sealing you can use flax with heat-resistant sealant or fum-tape.
- Next, the adapter or thermal valve is connected to the pipeline, usually a threaded connection.
- Between the incoming and outgoing requirements, it is desirable to perform a jumper (bypass).
- After connecting the batteries with your own hands, you should fill them with coolant and turn on the system. It is necessary to open the taps smoothly in order to avoid water hammer and clogging of the internal section.
- In the process of filling the instrument system, it is necessary to release air through Mayevsky's taps.
- Then you need to turn on the heating. In the process of testing the system, it is desirable to turn on heating to the maximum temperature and at the same time carefully inspect all the connections. In case of detection of coolant drops, turn off the system, drain the water and seal the connection.
Note! During the connection process, adjacent surfaces should not be cleaned with abrasive materials, as this will lead to non-tight connections.
This completes the battery connection process.
Conclusion
The fixture of heating radiators to the wall does not pose any difficulty - for this you need to install brackets on one level, in accordance with the requirements of the SNiP. If the battery can not be mounted on the wall, you can use the floor racks. Particular attention should be paid to the connection of heating devices.
You can read more useful information on this topic from the video in this article.