How to independently make heating on the balcony
If you have a balcony or a loggia, the option of warming them and providing stationary heat will be excellent. In essence, they were designed as a cold room, so the law prohibits them from carrying out radiators. Today we will tell how to achieve the necessary result with the help of alternative methods. You will learn about building codes, types of heating that can be used, how to correctly calculate the number of sections and how to organize their connection.
Legislation
Unauthorized removal of central heating batteries to a balcony or loggia is prohibited and will be subject to a fine. Also, you will be forced not only to remove the radiators, but also to bring the system into its original form, which will require additional costs. Why? Because it is not allowed to transfer batteries to summer premises, in particular, glazed balconies or loggias.
From this we can conclude that when you warm these premises according to the SNiP, you will be able to prove that they no longer belong to the category of "summer". Proceeding from practice, it is impossible to achieve such a transfer, because it will require changes in the whole project of heating the house. It is better, nevertheless, to consider other options that will not require additional permits, but to do their own-hand installation, which is quite possible with some skills.
Conduct heat
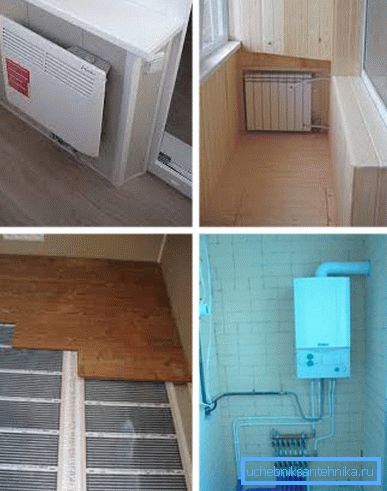
You do not want to have problems with utilities, then think in advance how to warm the balcony and make adjustments to the redevelopment project. Install your own heating there in different ways, below we consider the options, as well as their advantages and disadvantages:
| Types of heating | Merits | disadvantages |
| Oil cooler and electric convector |
|
|
| Electric floor heating |
|
|
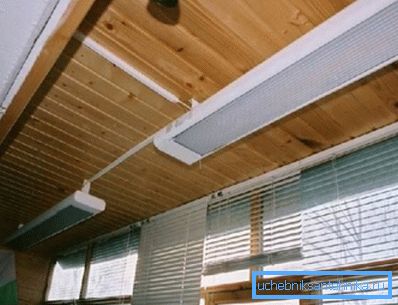
| Infrared heating | You can use two methods:
Such heating has a positive effect on our body, especially in case of disturbed blood circulation, malfunction of the cardiovascular and circulatory systems. Infrared heating is more economical than convection. | There is a “shadow” zone, for example, near the table. Its surface will warm up, but not the air around it. To heat a large area, the IR heater should be located at a distance of 2.5 m from the surface. Increased fire hazard. Stretch ceiling and plastic panels can deform from heating. |
Tip: do not even think to use solid fuel or gas boilers for heating loggias and balconies.
Heating with central heating
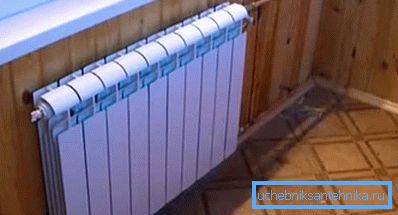
When you still managed to get permission to transfer central heating radiators to the balcony, do the following:
- make engineering calculations of the insulating layer;
- get the conclusion of a licensed specialist on the impossibility of freezing of the radiator on the balcony;
- perform glazing and warming of the loggia;
- get permission to transfer;
- select and approve the heating scheme;
- install radiators and connect them to the heating system.
Tip: cover the place of installation of batteries with a foil-screened film to eliminate heat loss.
How to calculate the number of sections:
According to the norms of SNiP, which make it possible to exclude freezing of the heating system mainly in the corners, the length of the radiator should not be less than half the length of the window.
You should also consider the heat transfer section 1:
- aluminum - for 2 m2 heated area;
- bimetallic - 1.5 m2.
Installation
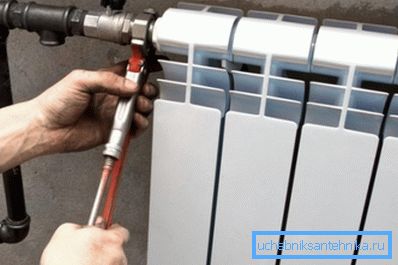
Below is a step by step instruction that will help to understand the process:
- Mark up for batteries. From the window sill to the top of the radiator - from 100 mm, from the floor to its bottom - from 120 mm, from the wall - at least 20 mm.
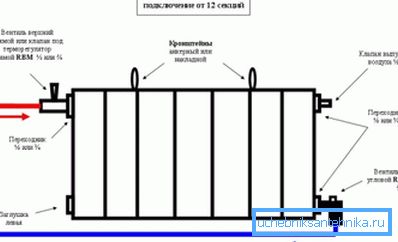
- Install the brackets on top and bottom, spreading the main weight to the first. If the radiator has up to 12 sections - two above, one underneath, then the mobility of the lower part is removed. With a larger number of sections, you need to add additional mounts on top.
- Hang the batteries and level check the horizontal and vertical.
Connection
During the process, make sure that there are no pipe bends, otherwise an airlock will form.
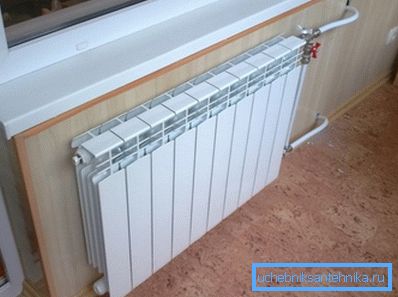
Radiators are connected in the following ways:
- Lateral.
- Diagonal.
- Bottom.
- With bypass, so that you can regulate the flow of coolant.
Tip: for a radiator with 12 or more sections, we recommend a diagonal connection.
Conclusion
If you have an autonomous heating system in your apartment, you do not need to obtain additional permits for heating the loggia or balcony. This also should not be done if you are not going to connect to the DH, but will heat the area in an alternative way.
Work on the installation and connection of the radiator on the balcony can be done independently. Video in the article will provide an opportunity to find additional information on the above topic.