How to install a thermal relay for heating with your own
This article is about the methods of automatic adjustment of electric heating. We have to get acquainted with the types of thermostats offered by the modern market and learn how to connect them correctly to the load and where to place the temperature sensor. So let's get started.
Why do you need it
The main motive is quite understandable: saving electricity. It is the most expensive source of heat energy; electric heaters are used only where it is not possible to use main gas, pellets, coal or firewood.
| Heat source | Price kilowatt-hour of thermal energy, rubles |
| Main gas | 0.7 |
| Firewood | 1.1 |
| Coal | 1,3 |
| Pellets | 1.4 |
| Liquefied gas (gas tank) | 1.8 |
| Liquefied gas (cylinders) | 2.8 |
| Diesel fuel | 3.2 |
| Electricity | 3.6 |
By the way: the use of night tariffs can reduce the cost of heating with electricity by 20-30%.
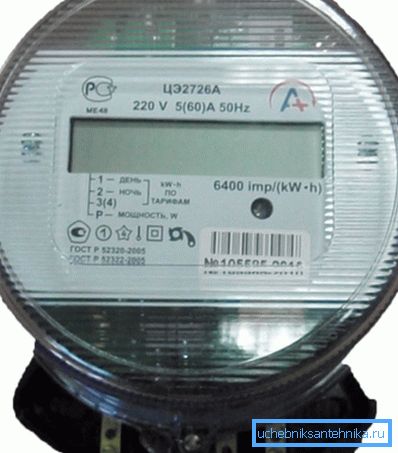
In addition to savings, do not forget about the convenience of using electric heating. When working with a constant power on warm days, the inhabitants of a house or apartment will have to suffer from the heat or (with the windows open) drafts. Manual adjustment, for obvious reasons, will have a significant inertia: the incentive to reduce the degree of heating occurs only after the temperature deviates from the comfort one by 4-5 degrees.
Thermostatic relay allows you to maintain the optimum temperature in the room with an accuracy of 1-2 degrees.
Thermostat selection
All thermostats for heating can be divided into three main categories.
Electromechanical
Strictly speaking, only this type of regulator can be called a relay: an electromechanical device that physically opens the contacts is actually used for power management. The list of functions of electromechanical thermal switches is minimal.
They are able:
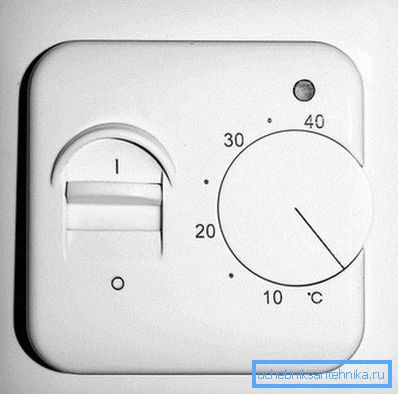
- Power on and off. For this purpose, a separate mechanical switch is usually used.
- Set the temperature by means of a wheel with values printed on it or a case.. The typical temperature range is from +5 to +40. It is clear that the higher the temperature, the greater the consumption of heat.
To clarify: the consumption of electricity to maintain the temperature is determined, of course, not by its absolute value, but by the temperature delta with the street. The cost of maintaining + 30C in the house at +15 on the street and +5 for street -10 will be the same.
- Automatically maintain the desired temperature, focusing on the indications of an external thermocouple.
Digital
The functionality of digital thermostats is identical to the previous type.
Only three differences:
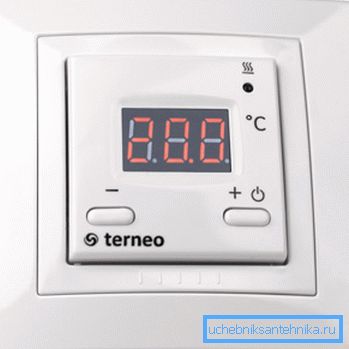
- Instead of the numbers printed on the manual regulator, a liquid crystal display screen is used.
- Turning off the heating is not assigned to a constantly clicking relay, but to a noise-free transistor assembly.
- To set the operating temperature, use the numeric keypad.
There is an opinion that digital thermostats are more precise than mechanical ones. This is only partly true: thanks to the digital display on them, it is easier to set the desired temperature. However, how accurately it is maintained depends on the calibration of the device for a specific thermal sensor and is not related to the type of regulator.
Programmable
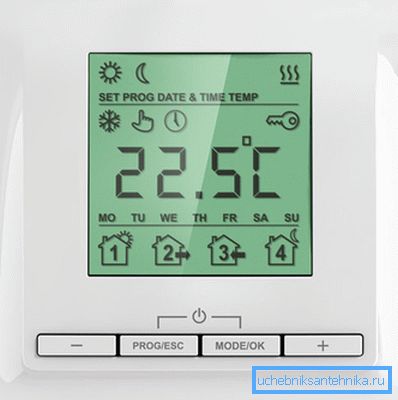
One more function is added to the digital adjustment: the ability to set the daily and weekly work schedule. For example, on weekends, your home can be maintained at + 20C during the day and +16 at night; during the same working time, an empty apartment will only warm up to + 8C.
It would seem that the choice is obvious: a programmable controller is clearly more advantageous than other thermal switches. However, it is worth considering the cost of the devices themselves:
| Type of | Price range, rubles |
| Electromechanical | 800-1300 |
| Digital | 1200 - 1600 |
| Programmable | 3500 - 6000 |
If in a harsh climate a more economical device pays off quickly enough, then with monthly heat consumption by electrical heating in a couple of hundred kilowatt-hours, the payback period will increase to a dozen or two years.
Compatible devices
What heat sources can you connect to the thermostat? In general, to any devices of direct heating without their own digital controllers. Not all electronic control circuits respond correctly to permanent power outages by an external thermostat.
In the list:
- Cable and film underfloor heating. This is the most economical type of electric heating: due to the optimal temperature distribution in the volume of the heated room, it can reduce costs compared to convective heating by 30-50 percent.
- Electroconvectors.
- Oil radiators.
- Registers with built-in heaters.
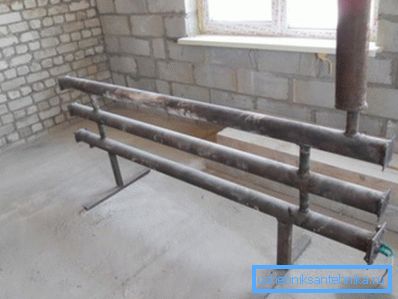
Only one limiting factor is the electric power consumed by the device. A typical thermal relay has a limitation of 3,600 watts, which corresponds to the area of a small room. With greater consumption, several independent heating appliances are used, each of which is supplied with its own thermostat.
Installation
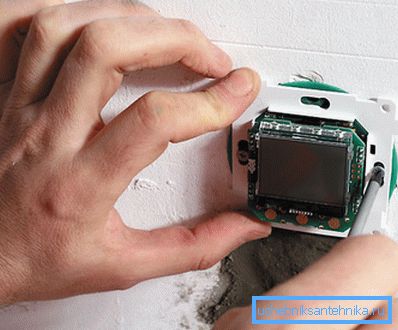
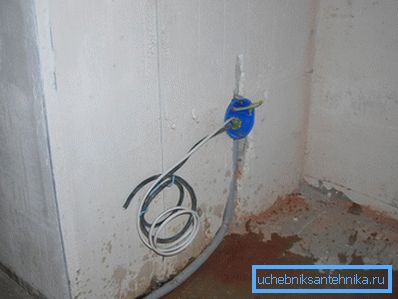
All sold thermostats imply hidden installation in the junction box. In a concrete or brick wall, the hole for it is selected by a crown of 65 mm; the box is sealed with cement or gypsum plaster. With drywall used special boxes, clamping the sheet on both sides.
Is it possible to mount the thermostat openly?
Yes, but with a couple of reservations.
- You will need a special adapter box, which is screwed to the wall with an ordinary dowel-screw.
- It is better to remove the wires for power and temperature sensor in the cable channel.
An important point: in buildings made of combustible materials, the fire prevention instruction prescribes that high-voltage wiring be installed in steel pipes.
The standard installation height of the thermostat is the same as for switches, 90 cm from the floor level.
Connection
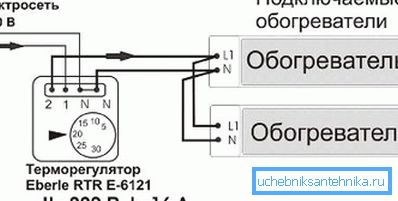
It’s easy to connect a regulator with your own hands — it’s enough just to carefully study the labeling of the findings.
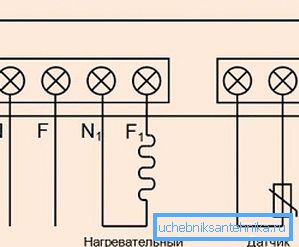
If necessary, two heating elements can be connected in parallel to one pair of terminals - if only their total power does not exceed the capabilities of the thermal relay.
Thermal sensor
Where is the temperature sensor mounted?
It depends primarily on the type of heating element.
- In the case of a cable heated floor, it is laid in a screed inside the PVC tube, which allows replacing the sensor when it fails.
- With a film warm floor thermal sensor fits into the substrate under the film. Since both the sensor itself and the wire for connecting it usually have a rather impressive cross section, they will have to choose a groove for them.
- With a variety of high-temperature heating elements - convectors, registers with heating, etc. - the sensor is mounted on the wall and masked by molding, shelf or in any other way.
Of course, when choosing a place for a thermocouple, you should not forget about common sense.
- Decorative trim should not interfere with the free circulation of air near the temperature sensor.
- It is located out of direct sunlight and drafts.
- You should not install the sensor in the upward flow of warm air from the heating device. In this case, his testimony will be far from the average temperature in the room.
- It is better to place the height of the sensor from the floor in the range of 90-120 cm. Then its readings will correspond to your subjective perception: +20 at the level of the floor can result in +28 at the height of human growth.
By the way: many programmable thermal switches are supplied with their own temperature sensors.
Conclusion
We hope that the recommendations presented to the reader will be useful to him when installing his own electric heating. As usual, the attached video contains additional thematic materials. Successes!