How to make heating in a private house: 4 stages of work
Most of the city apartments are equipped with engineering networks with centralized coolant supply. But owners of country cottages need to think about heating their homes in the winter on their own. In order for their climate system to be as efficient and economical as possible, it is necessary to know how to properly make heating in a private house. Especially if you decide to do it yourself.
Choosing a heating system
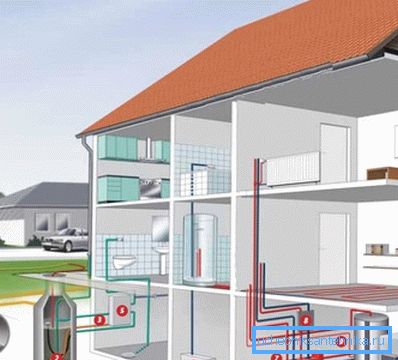
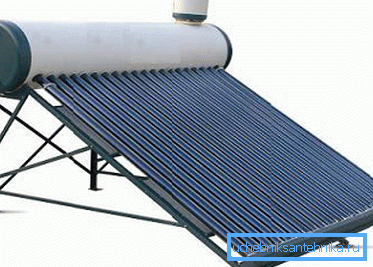
In addition to the classic heating systems that run on natural gas, electricity, diesel or solid fuel, there are many alternative ways to heat a home. We are talking about heat pumps, solar collectors, wind generators, and so on.
However, these systems are either too expensive to manufacture, or their development is at the testing stage, which makes this choice too unreliable. Therefore, before you make heating in a country house, using such engineering solutions, you should carefully weigh the pros and cons.
Adherents of reliable solutions should be said that the most economical and efficient heating system of a private cottage is water heating with radiators and a gas boiler.
Although the installation instructions for the heater itself prohibits independent installation, most of the work — installing radiators, laying pipes, connecting manifolds and pumps — you can do by yourself by inviting a specialist only to the final installation stage.
An obstacle to the installation of this kind of climate network can only be the absence of a gas pipeline in the area. In this case, instead of the main gas heater, you can buy a boiler that runs on a different type of fuel, the price of which is acceptable to you.
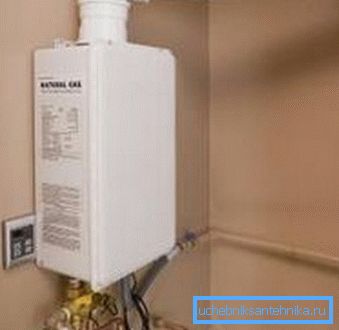
Tip! On sale there are models of the heaters working on several types of energy carriers. By installing such a unit at home, you will make your system more autonomous and independent from utility networks.
Before installing the climate network, think about the problem of providing yourself with hot water for domestic use. In particular, it is possible to purchase dual-circuit heaters, which heat not only the coolant, but also the water supplied to the household piping.
Installation procedure
Stage 1. Project
So, let's consider how to make heating in a private house yourself. Naturally, as already mentioned, it will not be possible to completely independently mount the heating network. Some jobs will have to involve experienced professionals with relevant knowledge and permits.
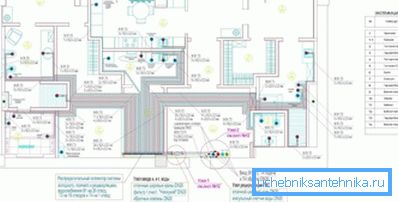
And above all, it concerns design. It is necessary to prepare a package of documents, which includes drawings, sketches, calculations of heat output, hydraulic resistance, and so on.
Project documentation is needed not only to determine the installation procedure, but also to various control organizations - the gas service, the fire inspectorate - which issue the permit required to launch the engineering network into operation.

Given the importance and complexity of this process, it is advisable to entrust the preparation of the project to some specialized organization or architectural bureau. Their engineers know exactly how to do heating in a private house and you can be sure that the system created in this way will fully comply with SNiP, DBN, GOST, and so on.
At the end of this phase of the work you should receive:
- drawing of a future heating system;
- documents agreed with the gas service, which are the basis for installing the boiler and connecting it to the main pipeline;
- engineering calculations of all technical characteristics of the future heating system;
- schemes describing the procedure for connecting to public electric and water mains.
Stage 2. Boiler
The next stage of work is the installation of a heating boiler. The best option would be a wall or floor model with a closed combustion chamber, a turbine, and a horizontal coaxial channel, which serves to remove the products of combustion and air intake from the street.
Its installation does not cause difficulties, does not require the equipment of a special room with fresh air ventilation and the installation of a vertical pipeline with a natural load. It is enough to allocate such a heater a small corner in the kitchen or in another room that meets the requirements of the gas service. It is also necessary that there exist places for connecting the unit to the engineering networks of the house.
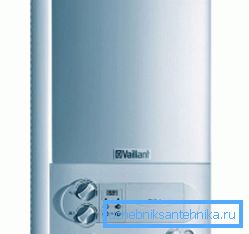
The power of the boiler and its other parameters must be indicated in the previously prepared project documentation.
It is necessary to bring to the place of installation of the heater:
- hot water pipe to be used for domestic purposes;
- a pipe that delivers the hot coolant to the radiators of water heating;
- a return line delivering the already cooled water from the batteries to the boiler for re-cycling.
Let us dwell once more on the requirements that must be met by the room where the gas boiler is installed:
- the area of the room must be at least 7 square meters;
- distance from the floor to the ceiling - not less than 2.5 m;
- ventilation is necessary (better compulsory);
- the room must have a window that opens;
- in order to avoid accidents it is necessary to equip the room with a gas leakage sensor;
- gas pipe supplying gas, equipped with a fuel meter and valves.
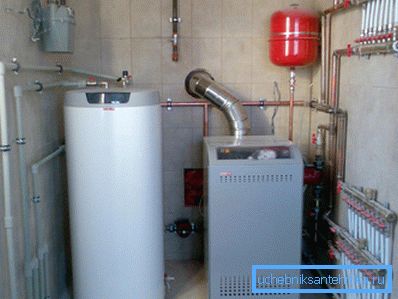
Note! Failure to comply with the requirements for the premises where the gas boiler is mounted is grounds for refusing to issue a permit for its operation. Pay special attention to this, otherwise the control services will not approve your heating system, and you will not be able to operate it.
Stage 3. Pipes
The next stage of work is the installation of pipes through which coolant is supplied. They are used to connect the boiler with radiators. The places of their laying and the chosen installation scheme should be indicated in the documentation. Some features of each of them are given in the table.
| View | Description |
| Single pipe | In this case, the supply of the heated and discharge of the cooled coolant is carried out through a single pipe. Water flows from the boiler and flows successively through all heating radiators, starting from the uppermost (closest to the boiler), ending at the lower (distant from the heater). The advantage of such a system is saving on pipes. Minus - the inability to accurately regulate the temperature of the air in the rooms. |
| Twin tube | As the name implies, here hot water is supplied through a single pipeline, and is removed in a different way. In this case, the distribution of thermal energy is more uniform. In addition, you can disable a particular network element without stopping it. |
| Beam (collector) | With this wiring scheme, the heated coolant flows to the collector (comb), from which it is distributed through radiators. Each of the batteries is connected to the comb with a pair of pipes. This system is the most flexible, as it makes it possible to adjust the temperature of radiators from the collector cabinet. Minus - the need to use a very large number of pipes and the complexity of installation. In addition, here to organize the flow of water you need to use pumping equipment. |
Currently, for the installation of climate systems can be used pipes from the following materials:
- metal-plastic;
- from the sewed polyethylene;
- carbon steel;
- stainless steel;
- copper.
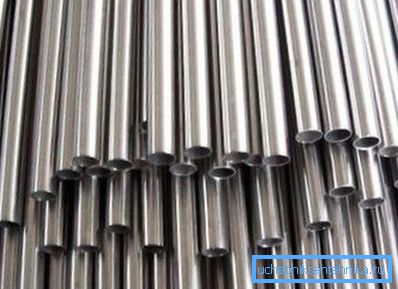
Iron pipes are now almost never used. Especially for the installation of individual heating networks. Their scope of application is climate systems with high temperature and coolant pressure (industrial pipelines and heating of houses with the help of solid fuel boilers).
As for stainless steel pipes and copper, their cost is quite high, because they are used for the installation of engineering networks, to the technical characteristics and sanitary condition of which increased requirements.
Most of all for the design of domestic climate systems are suitable pipes made of polymers. There are a large number of their varieties, so you can choose based on personal preferences.
It is recommended only to pay attention to some nuances:
- Details made of cross-linked polyethylene are the strongest, but working with them requires certain skills and equipment.. The whole process is easy enough to master, but for some home craftsmen it can become an insurmountable obstacle.
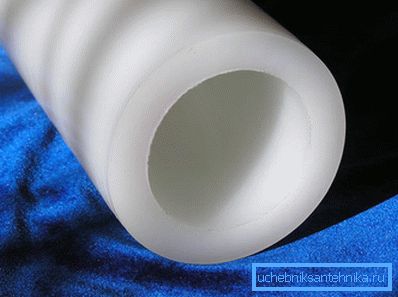
- Polypropylene pipes are welded together. To do this, use a soldering iron, the cost of which is low (you can even rent it in large building stores). The procedure itself is very simple, you can master it in two or three hours. The downside of the polypropylene climate system is that the fittings created will be permanent. If you need to replace or upgrade the heating network, you will have to install new elements. Moreover, fittings and adapters can not be reused.
- Metal-plastic pipes are connected with threaded fittings.. For their installation does not need to buy additional equipment. The pipes themselves are supplied in bundles up to 100 meters long. This is convenient when installing collector heating systems and floor heating installations.
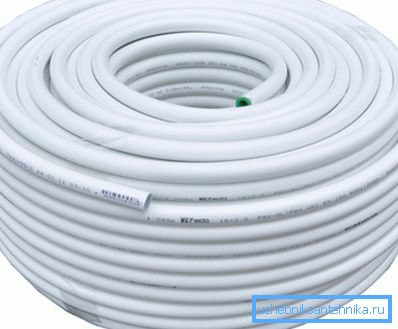
The disadvantage of metal-plastic can be considered the high cost of materials and the need for very careful adjustment of all compounds.
The use of a polymer pipe for a heating system has many advantages:
- they are easy to install;
- do not corrode;
- allow for hidden gasket.
Note! When laying polymer pipes pay special attention to the places of their connection with other equipment: boiler, radiators, pumps, manifolds, and so on. It is there that leaks are often formed. When concealed (in walls or floor) it is necessary to ensure that no fitting is bricked into concrete, otherwise you will face very big problems when it is depressurized.
Stage 4. Radiators
Choosing radiators, you should pay attention to their main characteristic - power. It shows how much heat is given by one section of the battery to the air in the room.
If you choose the wrong heat output, hot water heated by the boiler will not give up its heat energy completely. Consequently, the power of the heating system will significantly decrease.
As a result, this leads not only to waste when paying for utilities, but also to damage the equipment: water may boil in the boiler, and the pump from spoiling hot water will deteriorate faster.
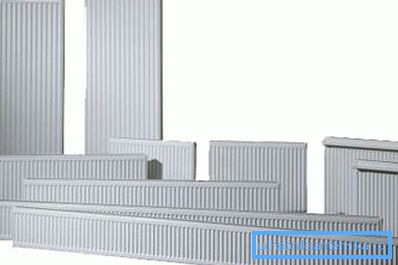
The main characteristics and features of the most common radiators for autonomous heating networks are shown in the table.
| View | Description |
| Steel | These radiators have an optimal price / quality ratio. However, they are very susceptible to corrosion (especially if you drain the coolant in the summer). In addition, it is necessary to pay special attention to the preparation of water that will be poured into the heating system. It should not contain dissolved minerals, salts, acids and alkalis. |
| Cast iron | With their help, you can design the most durable climate system. Pig-iron batteries are operated in networks with high pressure, low-quality coolant of any temperature and chemical composition, tolerate airing perfectly. But all these parameters are easily regulated in an individual heating system. On the other hand, cast iron is very heavy, has a large inertia and is far from an aesthetic appearance. Therefore, installing them in your own home can hardly be considered expedient. |
| Aluminum | They have an attractive appearance, light weight and the highest heat dissipation. Their main drawback is fragility. They are easily destroyed by hydraulic or pneumatic blows that occur in heating systems. In addition, they corrode very quickly under the influence of a poor-quality heat carrier. |
| Bimetallic | They represent a framework of steel pipes, on which an aluminum heat exchanger is put on top. This design eliminates the contact of the liquid (coolant) with aluminum, which increases the strength and durability of radiators. Possess all the qualities of aluminum batteries, but are deprived of most of their shortcomings. The only minus limiting their wide distribution is the high price. |
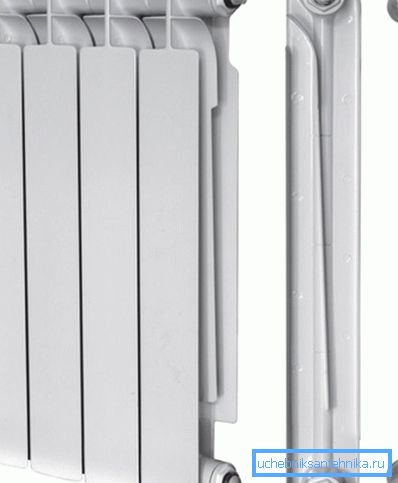
Tip! For autonomous heating systems it is recommended to use aluminum or bimetallic radiators. If the issue of saving is paramount to you, buy steel heating panels. But at the same time carefully follow the recommendations of the manufacturer for their use.
When choosing radiators and installing them, pay attention to such features:
- It is better to choose sectional models. By adding or removing individual modules, it is possible to flexibly regulate the heat transfer of a battery in a room and, therefore, the microclimate.
- It is advisable to purchase radiators having a factory color. It gives heat exchangers an attractive appearance and protects against the negative effects of the environment. In addition, due to the smooth surface of the battery with such a coating, it is easy to clean it with an ordinary household cleaner.
- Batteries need to be connected through shut-off valves and thermostatic devices. So you can temporarily shut off the flow of coolant to a separate device and accurately adjust the amount of incoming fluid, depending on the temperature in the room.
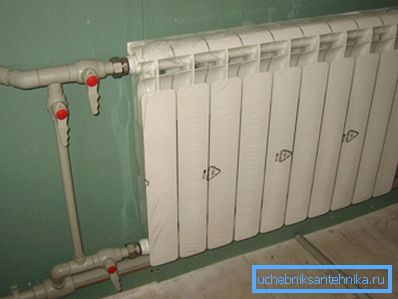
- Each radiator must be equipped with an air valve - a Mayevsky valve. It is installed in the upper part of the device from the side opposite to the one where the inlet and outlet pipes are mounted. The valve removes air plugs formed after the system is filled with water.
Conclusion
After installation, do not forget to crimp the climate system. To do this, start it, slightly increasing the pressure of the fluid in the pipes. This will reveal all the flaws and eliminate them. In more detail about operation of various engineering networks of the private house watch video.