How to make heating in the apartment with their own hands: a
Virtually any apartment owner sooner or later faces the need to install a heating system from scratch or to repair an old highway. However, the second option - the repair of heating in the apartment differs from the first only in that there is a stage of dismantling old heaters, pipes, etc.
In this article we will try to gradually understand how to install the batteries and pipes, as well as learn about some of the important nuances.
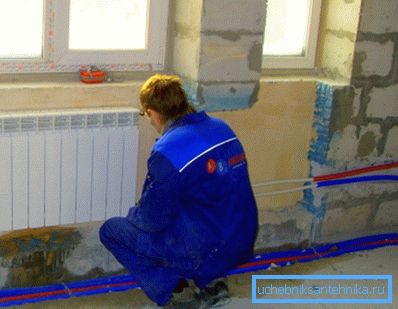
Let's start with two basic questions.
Choice of radiators and pipes
On the market you can find such proposals for heaters:
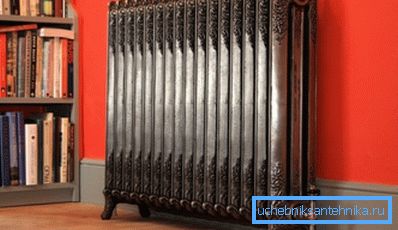
- Cast iron products. The option, of course, is very good and durable, but here the design is original and the price is rather big.
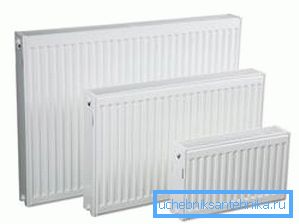
- Steel panel devices. Products differ in average cost, rather good service life, but are subject to corrosion and are very sensitive to the quality of the coolant. If the water in the system is dirty and hard, the heaters will last a maximum of 7-9 years, and then they will have to be changed again.
- Bimetallic sectional structures. This is the best option for systems in apartment buildings. Because you can add or remove any number of sections (each unit heats about 2 square meters), and in addition, double metal heaters are not afraid of pressure drop and hard water.
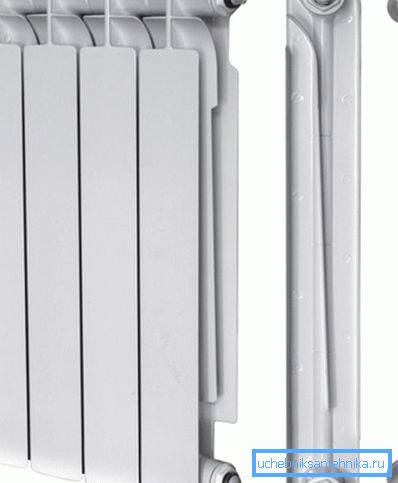
Note! It is not recommended to frequently drain the coolant from bimetallic devices, because the contact with oxygen causes oxidation of the inner surface of the sections.
As for pipes, the installation of heating in the apartment is now mainly made of plastic pipes. The fact that in most situations plastic is actually more convenient than metal can be seen by reading the published data in the comparison table below.
| Features of plastic lines: | Characteristics of steel products: |
| Products do not rust. | Such lines are subject to corrosion. |
| To connect the elements, a special soldering iron is used, with which even a person without experience can work. Fittings are also used for the connection, which are tightened with ordinary wrenches. | Electric welding is used for docking, with which only specialists must work. That is, it turns out that the installation instructions for these highways do not provide for independent assembly. |
| The construction of plastic can be assembled in just a few hours. | The assembly of steel lines usually takes more than one day due to the fact that working with a welding machine requires considerable time. |
So, with the choice of base materials decided - we will work with plastic and bimetallic heaters, now we can proceed to the practical part.
Independent installation
Naturally, before you make the heating in the apartment, you need to stock up on consumables and various tools.
In particular, you need this:
- tow and silicone for sealing some joints;
- various fittings (adapters, angles, etc.), fasteners and dowels;
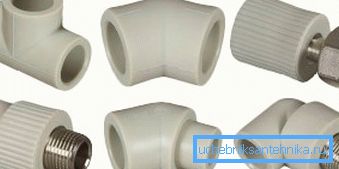
- plastic shears;
- wrenches, screwdrivers (cross and plain) and hammer;
- pencil, tape measure, building level;
- upholstery cord or building thread - these items are needed to mark the line along the perimeter of the walls, along which the main line of pipes will pass;
- perforator and drill with a diameter of 6 mm;
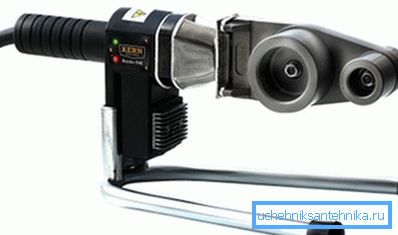
- Soldering iron for plastic.
Tip: if your house walls are wooden, then the hammer drill is hardly needed. After all, it is needed here only for drilling holes, into which fasteners will then be inserted to fix the elements of the system. Therefore, if you have to deal with a tree, then you need to buy a screwdriver.
Suppose there are tools and materials. So you can proceed to the first stage.
Installation of radiators
Everything is done according to the following scheme:
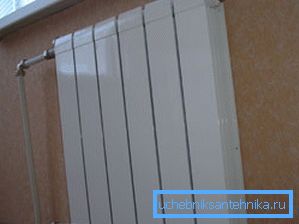
- A perforator is used to drill hook holes for bimetallic radiators. At the same time, make sure that the holes are as flat as possible between the holes - use a level if you do not want the battery to hang crookedly.
- Hooks are hammered or screwed into the dowel until it stops.
- The radiator is suspended from hooks.
The job seems to be simple, but it is important to know about a few nuances.
- Between the sill and the upper line of the radiator there should be a distance of at least 5 centimeters. If everything is "butt", then there will be no good air circulation upwards.
- Be very careful to ensure that the hooks inside the dowels sit as tightly as possible. If the fasteners are held weakly, then during pressure drops the battery may vibrate and simply simply “move” from the wall.
Tip: if the dowels in the wall do not hold, then try to use products of larger diameter, or wind a nail before driving in - with tape or paper. The density of the compound should increase.
We continue to do apartment heating with our own hands - we turn to working with pipes.
Soldering the line and connecting to the batteries
In fact, you need to create a line of two parallel running pipes around the perimeter of the room. This will be the coolant supply channel and the so-called "return". It turns out that the line will be connected to the point where the outlet from the central heating pipes is installed.
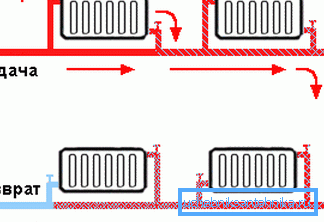
And in those places where a connection with radiators is required - tees will be built into the general highway, from which vertical sections of pipes will rise. And the fittings connecting the system and the batteries will be fixed to the ends of these segments.
Everything is done quite simply.
- Turn on the soldering iron and wait about 15 minutes - it is important to wait until it warms up well. Otherwise, the plastic during the soldering process will not melt as needed.
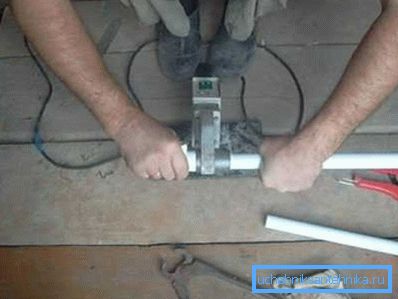
- Take the ends of the pipes and put them on the nozzles of the soldering iron. We are waiting for 4 seconds, we remove the plastic from the nozzles and we pass the pipes into each other. When inserting, it is necessary to make a certain effort so that the adhesion of the adhesion points occurs as efficiently as possible.
- In places where radiators are installed, we solder fittings and tees into pipes. They, naturally, need to be put both on the supply and on the return line.
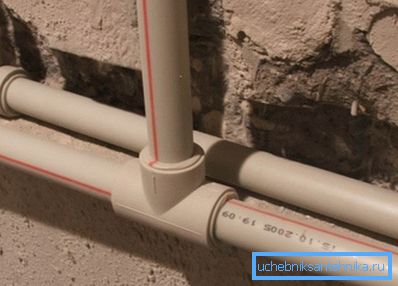
- Similarly, we go through the entire perimeter and connect with fittings with dots of the central pipeline.
Now it is necessary to connect radiators to the highway.
To do this, we cut off pieces of pipes of the required height - the ends of these segments, as well as tees, need to be melted with a welding gun and connected to each other.
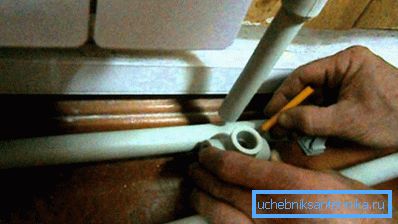
After that, at the end of each vertical "rack" fasten the corners. We weld very short sections of pipes horizontally to these corners (their length should be exactly the same in order to reach radiator openings).
And so on the ends of these cuts, you need to solder the fittings with the so-called "American" - these connections will be twisted directly with the batteries.
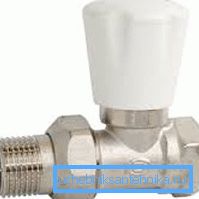
Do not forget that the competent installation of heating in the apartment provides that for each heater must be installed overlap valve supply of coolant. And this, by the way, is done not only to eliminate emergencies, but also for comfort and economy.
The fact is that with the help of such taps it is possible to regulate the power flow of the coolant, which allows you to adjust the temperature mode for a particular battery. And, of course, the tap can be completely blocked in those rooms that you don’t want to heat at all.
Note! Such a complete overlap is possible only in the autumn period when there is no severe frost outside. As you understand, at very low temperatures, the water inside the system can turn into ice, which “breaks” the sections of the heater.
After the trunk is installed, it is necessary to carry out a test run of the system and carefully check all the connections for leaks. If everything is in order, then the system can be safely used.
Such is the scheme of work. Now let's summarize the article.
Conclusion
We have analyzed the layout of the heating system in the apartment. We hope that if you do not have heating in the apartment - what to do and in what sequence you now perfectly understand. Scheme of work provided, and the nuances are described.
If the questions remain - then watch the additional thematic video at the end of this article.