How to remove the radiator: replacement or repair,
This article is about how to properly install radiators. The situation when the old heating devices need to be replaced is quite typical. We will learn how to dismantle old convectors or cast iron batteries and figure out how to adapt their connections to new bimetallic radiators.
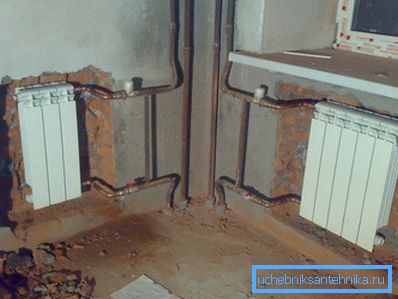
Replacement or repair
Let's start with a small lyrical digression. Replacing old batteries is really necessary only in one case - when you have convectors installed, the heat dissipation of which is insufficient to maintain a comfortable temperature in the room.
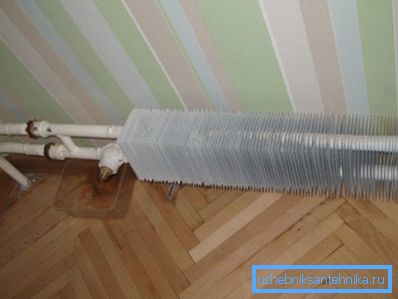
In all other cases, you can get by with less expensive half measures:
- A cast-iron sectional battery with cold last sections is often sufficient to wash out., installing instead of the bottom deaf plug flushing faucet;
Tip: if the outer sections are clogged with solid dirt, they can be dismantled and annealed at the stake. After that, the radiator is enough to tap the mallet, knocking out the remnants of dirt, and sort out the replacement gaskets.
- In case of uneven heating of a long radiator, the cause may also be a lateral one-sided connection.. In this case, the entire coolant circulates through the first few channels. To solve the problem, it is enough to alter the connection by changing the connection scheme to a diagonal one;
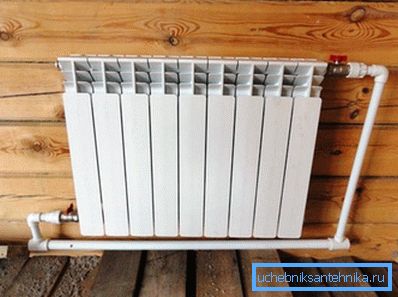
- Finally, if all sections have the same temperature, but do not provide the room with enough heat, you can always add a few more sections..
Dismantling
So, how to dismantle the old device? We will consider solutions for the convector and cast iron radiator.
Convector
- We reset the riser heating.
- Grinder or hacksaw for metal cut eyeliner. The distance from cuts to the nearest bend is at least 15 centimeters: it should allow us to cut the thread.
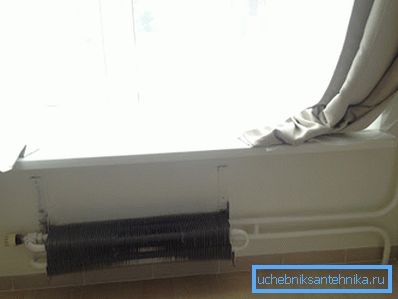
- Having hooked the convector with the mount, we tear the mounting dowels out of the wall.
- We remove the outer chamfer with a file on both liners, making a trip for the plate.
- Cut into five threads.
Tip: if you lubricate the pipe with a small amount of any oil (spindles, oil for sewing machines or even working out of the crankcase of the car), the thread will cut with less effort and without scoring.
Cast iron radiator
- Drop the riser.
- Turn away the lock nuts on both liner. If the thread is clogged with paint, we pre-burn it with a building dryer, gas torch or blowtorch.
- We drive the radiator plugs after the nuts to the end of the thread. If the stopper does not turn away, warming will help again: heat the collector of the last section, and thermal expansion will allow you to move the thread.
- Remove the radiator from the bracket.
Materials
What and how to install radiators? Let's start with the choice of pipes and elements of the strapping.
Installation or transfer of a heating radiator in the DH system in the absence of welding can be performed:
- Black or galvanized steel pipe on the threads. Steel pipes will provide the maximum resistance of the liner to pressure surges; However, the assembly involves a lot of manual work on threading and fine-tuning the size of the nozzles.
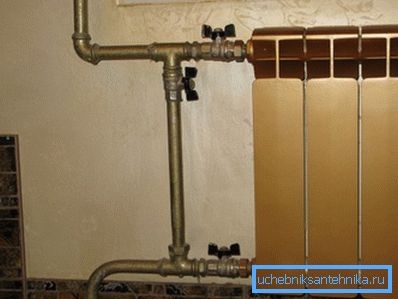
- Corrugated stainless pipe. It perfectly transfers hydraulic shocks (destructive pressure declared for Korean Kofulso pipes - at least 50 atmospheres), easily bends with a minimum radius and is mounted with a pair of adjustable wrenches. The only drawback of pipes is a relatively high price (from 200 rubles per meter).
Before you hang the radiator, you should choose and valves. In this role can be:
| Reinforcement element | Functions |
| Ball Valves | Disconnect the device from the circuit |
| Throttles (cone valves, control valves) | Smooth adjustment of the flow rate of the supply lines in manual mode to limit heat transfer |
| Thermal heads | Automatic adjustment of heat transfer with constant room temperature |
It is worth considering a couple of things:
- On the top floor of the house with the lower bottling in the deaf plug of the device or in the upper point of the jumper between the twin heating pipes, an air vent should be installed - a Mayevsky faucet or an automatic air vent.
Note: a vent is also needed on any of the lower floors if the upper collector of the device is above the supply lines (for example, when installing a radiator instead of a compact convector).
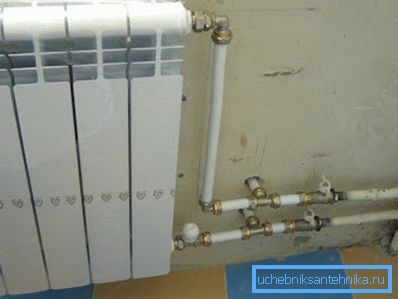
- Before any throttling or shut-off valves, a bypass is required (a jumper between the connections). The instruction is connected with the fact that without a bypass, the choke, the tap or the thermal head will regulate the permeability of the entire riser, and very soon the neighbors will come to you.
To connect the valve to the radiator, American quick connectors are usually used. Compared with the traditional installation on sgona they accelerate the installation or dismantling of the radiator with their own hands several times.
Installation
Wall mount
How to hang a radiator on the main wall? For any type of radiator, a set of pin brackets is purchased at the rate of one bracket per three sections.
Further installation is not difficult:
- Attachment points are marked below the upper and lower headers.
- The wall is drilled with a diameter corresponding to the diameter of the plastic dowel bracket.
- A wall plug is driven into the wall, into which the bracket is wrapped. The operation is repeated as many times as necessary.
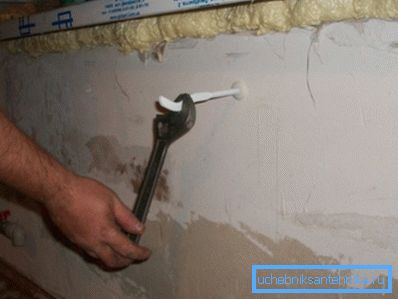
How to hang radiators in the absence of brackets? Smooth reinforcement with a diameter of 10 - 12 mm with a chamfer removed from one side will come to the rescue. It is driven into the holes drilled in the wall of a slightly smaller (0.5 mm) diameter.
Floor mounting
How to put a heating radiator in a room with light partitions (say, from plasterboard or cinder block)?
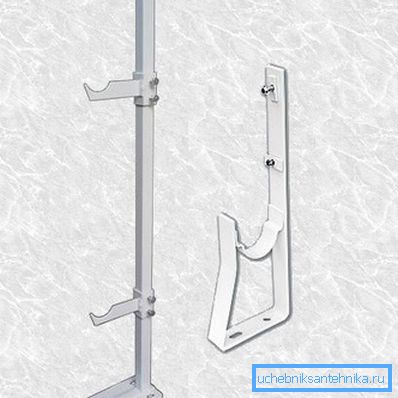
- Arms for floor mounting are attached to the floor with anchor bolts or self-tapping screws with a diameter of at least 8 mm with hexagonal heads.
Attention: on the wooden floor it is desirable to additionally fix the battery to the wall, even if it is light. Thus, we will give the construction the rigidity it lacks.
- The radiator is hung on racks and fixed with standard hardware.
Traffic jams
How to hang a radiator - we figured it out. The next stage is the installation of through passage and blind radiator plugs.
For their sealing, standard gaskets are usually used - silicone (for sections with an annular groove along the plane of the end face of the collector) or paronitic ones.
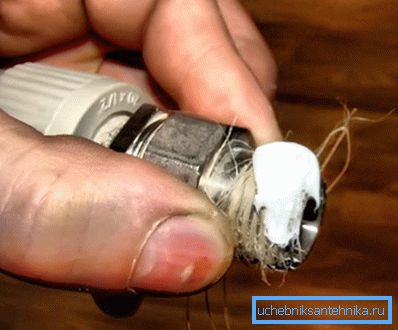
However, often instead of a gasket, a simple and proven method of sealing with thread with paint is used.
- A small amount of any quick-drying white (similar to the color of the radiator) paint is applied to the thread.
- In the course of the thread wound strand of sanitary flax.
- A little more paint is applied on top of the strand, after which the thread is tightened.
Note: this method is perfect for any threaded connections in the heating system.
Pipe installation
We consider it on the example of corrugated stainless steel - the most simple to install material.
- Fittings are wrapped around liner threads. It is better to shorten the eyeliner runs from the cast iron batteries to five threads and drive them in with a die so as not to damage the relatively soft brass fitting. The method of sealing threads described above.
- The nut of the fitting is loosened, after which the tube is inserted into it.
- Then the nut is tightened with a wrench with moderate force.
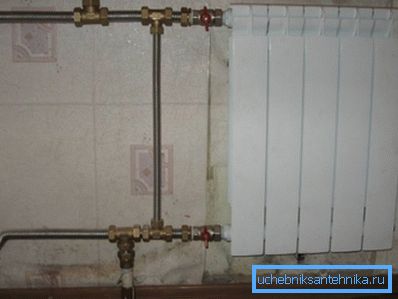
Connection plugs with fittings
How to hang heating radiators on the American?
- The response (with thread) part of an American is screwed into the radiator plug.
- A fitting with a cap nut is centered due to the bending of the corrugated pipe in front of it.
- The nut is screwed onto the thread of the mating part and tightened with an adjustable wrench.
Pressure testing
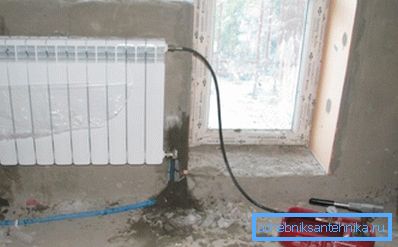
Another important point regarding how to properly install a heating radiator, ensuring that there are no leaks: after the assembly of all connections, pressure testing is mandatory.
In winter, it is enough to fill the riser; in the summer it is necessary to use the opressovochny pump. In the area of the circuit creates an overpressure, the absence of which is checked by the pressure gauge for half an hour.
Conclusion
We hope that our recommendations will be useful to the reader when self-replacing heating devices in a city apartment. More information on how to install radiators will be offered to the reader with a video attached to the article. Successes!