How to turn off the radiator and replace it with a new one
How to change radiators with new ones? Is there any alternative to replacement? Where and how is water blocked and discharged? How to disconnect the stuck radiator with numerous layers of paint from the liner? How to install a new heater? Let's try to answer these questions.
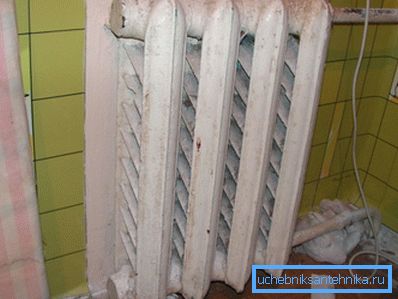
Why do you need it
There are only two typical reasons for replacing a heater.
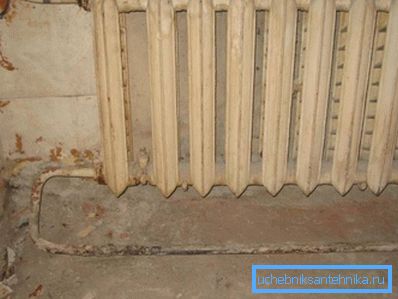
- The owner has ceased to arrange the appearance of a cast-iron sectional heating radiator. Indeed, this device, decorated with countless layers of peeling paint, does not add charm to the room design.
- Where more often the reason for the replacement is the extreme sections that have stopped warming.
To clarify: the obvious solution - washing - does not always help. For 30-40 years of operation, silt deposits in sections and a collector are likened to stone by strength. The water pressure is simply not enough to squeeze them out through the flushing tap.
Alternative
For the economical homeowner, an alternative to replacement still exists.
It comes down to the annealing of cast iron sections.
- Dismantled and merged heating devices are installed vertically in the street in the form of a small well.
- A fire is made between the improvised walls of the well. Firewood burning is maintained for at least an hour.
- Cooled radiators are disassembled into separate sections and tapped with a rubber or wooden hammer. In this case, all the burnt slag is poured through the holes in the collector. The layers of paint, of course, also burn.
- The radiator is reassembled using new intersection gaskets. They are cut from an old car camera.
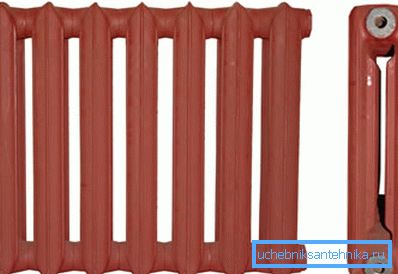
Restored in this way, heating devices do not differ from new ones either in appearance or throughput.
Resetting risers
How to turn off the radiator and remove the coolant from it? We present an action algorithm for an apartment building.
We need to start by finding out two things:
- Type of bottling in your home. It can be lower (feed and return are divorced in the basement; the risers are connected in pairs with a jumper on the upper floor or attic) and upper (feed moved to the attic).
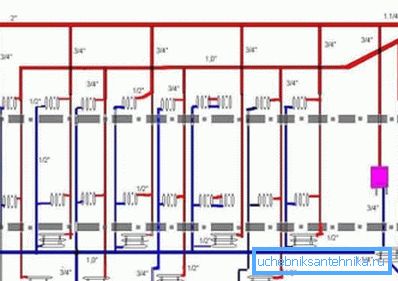
- Locate your risers in the basement and in the attic.
To find out the type of bottling in the house, just look in the basement. If along the perimeter of the building there are two pipelines from which the risers run - the bottom one is poured, if one is the top one.
Calculate the location of the riser can be oriented relative to the staircase: the lower march usually takes place under the ceiling of the basement. In the attic will have to navigate according to the ordinal number of your riser counted in the basement from any conspicuous landmark (corner of the house, lamppost outside the window, etc.).
As in the case of the lower bottling to find a pair of your riser?
Here is the simplest instruction:
- Shut off the valve on your riser.
- Overlap two adjacent risers - left and right.
- Slightly open the outlet or slightly unscrew the cap on the riser. There should not be much pressure on the discharge when the valves are working.
- Alternately open the valves on the adjacent risers. The one, the opening of which will cause a sharp increase in the flow of water through the discharge, and will be a pair for yours.
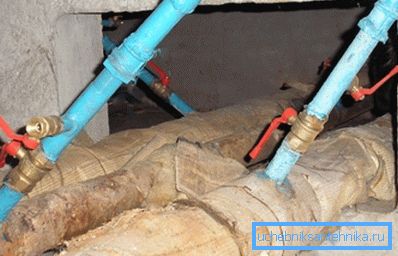
So, the risers are found.
To reset them, you must:
- In the house with the lower bottling - shut off the valves on the double risers and open both vents (or unscrew both plugs).
- In the house with the upper filling - shut off the valves on the riser in the basement and in the attic, then open the vents / unscrew the plugs. Initially, the riser is dumped into the basement, and only then can it be opened in the attic in order to dump the remainder of the water stuck in the pipe and batteries.
Faulty valves
What to do if at least one valve in the riser (s) of heating does not hold water? The easiest way to solve a problem is to order a trip to a housing organization. Strictly speaking, the maintenance of valves in working condition is the direct responsibility of locksmiths and foremen; to fulfill your request, they will, willy-nilly, have to be puzzled by the replacement of the valve.
In the house of the upper filling for a short shutdown in critical situations, there is another loophole.
For a period of no more than half an hour, you can reset the entire elevator unit:
- House flaps overlap.
- Open discharges into the sewer supply and return flow.
- After completion of the work, the system starts up in reverse order.
- The remaining air in the circuit is released from the heating expansion tank in the attic.
For the lower filling, a complete discharge is not applicable: a significant part of the risers will be airy, which will lead to a stop of circulation in them.
Nuance: resetting the system is associated with the loss of a large amount of coolant. Even if the heating is not paid by heat meters, it is better not to reset the entire circuit unless absolutely necessary.
Season selection
The ideal time to repair the heating is from June to September, when the heating season, flushing, density and temperature tests have been completed.
Is it possible to change batteries in the heating season, when the circuit is running?
Undesirable, but most often possible.
With two reservations:
- Water discharge is only permanent. One of the main reasons is access heating: in cold weather, water stuck in it can turn into an ice block in one or one and a half hours.
- The housing organization must be informed about the work being carried out. Otherwise, an emergency crew that went to the request for missing heating may try to launch a dropped riser.
By the way: the plate hung on the valve with the inscription is in progress and indicating the apartment number can save you from many unpleasant surprises.
Dismantling battery
How to change the heating battery to a new one? Obviously, you first need to remove the old cast iron radiator.
To do this work yourself, you need:
- Heat the sleeves, lock nuts and radiator plugs through with a building dryer, blowtorch or gas burner. The goal is to burn out the paint and move stuck threads.
- After the lock nuts and plugs are loose, it is worth putting a little bit of any oil on the suction threads. Equally suitable for grease, spindle and working out of the crankcase of the car. Remember the expression went like clockwork?
- Remove the lock nuts and plugs to the end of the threads.
- Remove the radiator from the brackets. In the old apartments for this purpose you have to unscrew a few nuts on the brackets. Work is performed with a socket wrench or conventional pliers.
Choice of replacement
What to install instead of the old battery?
From devices with a decent level of heat transfer it is worth mentioning:
- Modern cast iron radiators. They look much more presentable than their predecessors, made by Soviet industry.
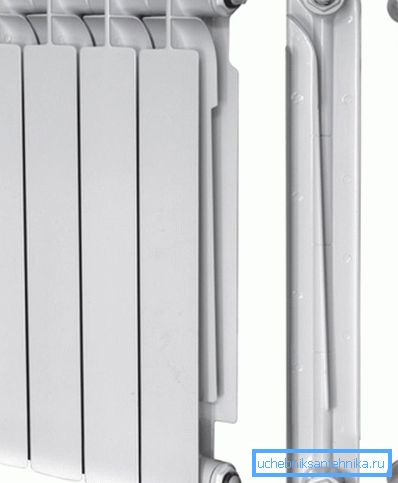
- Aluminum sectional batteries.
- Bimetallic heaters - steel core in aluminum fins.
We present the main characteristics of the devices.
| Material | Average heat flux per section with standard (500 mm) center distance along nipples, W | Average working pressure, kgf / cm2 | Average section price, p. |
| Cast iron | 160 | 9 | 450 |
| Aluminum | 200 | 12 | 300 |
| Bimetal (steel + aluminum) | 180 | 25 | 600 |
With a normal working pressure in the central heating circuit within 5 kgf / cm, the characteristics of all heaters are quite satisfactory. But do not forget about the unpleasant feature of the Central Organ - the likelihood of water hammer.
If the empty heating system is filled quickly, the pressure at the water front can reach 20 - 25 atmospheres. A similar effect will be given by the separation of the valve from the screw valve installed not in the direction of the arrow.
That is why the installation of bimetallic sectional batteries is highly recommended for DH. The relative high cost of competitors - not too high payment for your peace of mind.
Installation
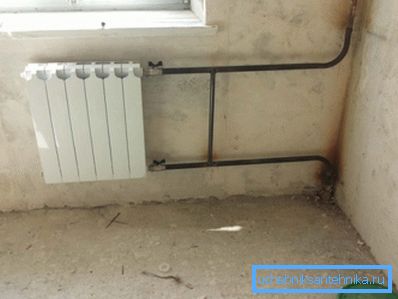
- The radiator plug is completely removed from the liner.
- Instead of it, an adapter with the liner diameter (DN 15 or DN 20) on the pipe thread DN 25 is wrapped around the beam.
- The new radiator is hung on the brackets so that the liner goes inside by 2 - 3 cm.
- Adapters and plugs are successively driven to the radiator. Avoid distortions. To seal the thread is better to use sanitary flax impregnated with any paint.
- The bottom end cap of the heater is equipped with a flushing tap. The cork valve DU20 with an adapter to the left-hand thread of 25 mm in size is ideal for this role.
Conclusion
We hope that our quick guide will help the reader to replace the old heating devices on their own. As usual, the attached video will acquaint the reader with additional materials. Successes!