Installation of heating systems: stages of work and step by
Do-it-yourself installation of heating systems is not an easy task, which will require you to have certain knowledge and skills. We will consider the main stages of work that are assumed by the installation technology of the heating system so that you can cope with this task yourself.
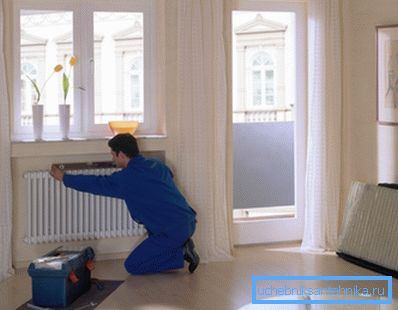
Preparatory stage
Design and purchase of materials

Like any technical work, the construction of the heating system requires a mandatory design. In order to correctly calculate and select all the elements of the scheme, you will need a certain qualification and knowledge of the technique, so it is better to entrust this work to a professional.
One way or another, as a result you must have a project that will contain:
- Calculations of power equipment and heating devices;
- Schemes and drawings, including axonometric and schematic diagrams of heating, location of communications and highways, sizes, diameters, etc .;
- Specifications for all components and parts, couplings, fittings, pipes, radiators, taps and valves;
- Justification of the choice of the type of radiators, boiler, pump and other equipment;
- Explanatory note on all types of work;
- Estimate with the number and type of necessary parts and materials.

Note! As a result, we have to be clear about exactly where the radiators will be located, where there will be holes for pipes to pass through the walls, where the boiler and the expansion tank, the circulation pump and other elements of the system will be installed.
On the basis of the specification, an estimate is made for the purchase of materials and equipment. Then you need to choose the most responsible seller and deliver everything you need to the object. When buying, you should carefully study the labeling and certificates of conformity of all products in order not to purchase a fake or a marriage.
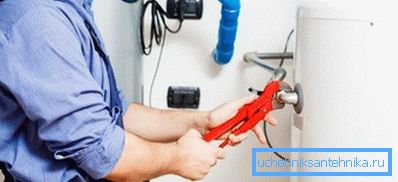
You will also need to prepare in advance the necessary tools: a set for soldering and cutting polypropylene pipes, pipe wrenches and wrenches, a perforator, level, tow and paste for threaded connections, a pump for crimping the system, a pencil and other accessories.
Note! If replacement is necessary, then at the preparatory stage, the heating system, which was installed earlier, is dismantled.
Marking and mounting mounts
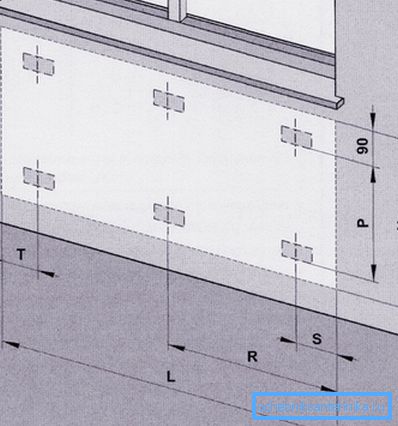
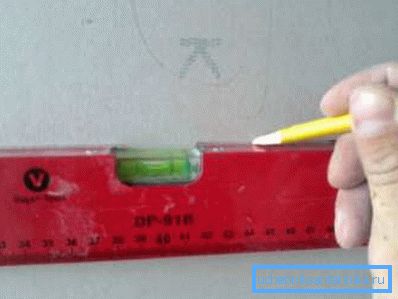
Based on the scheme we have, it is necessary to make a markup. First of all, it is necessary to find the places where pipes pass through the wall and mark them with a pencil. Further from these marks we draw vertical and horizontal lines, along which highways will run in accordance with the drawing:
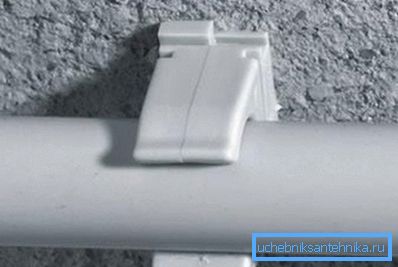
Then we take mounting clips and fasten along marked lines with a pitch of about 50 cm. Fastening can be done with dowels, if the walls are brick or concrete, and also with self-tapping screws, if the walls are wooden.
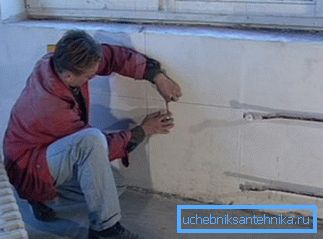
After this mark the place of attachment of radiators. They should be installed under the windows at a distance of 10 cm from the window sill and 10 to 15 cm from the floor. It is desirable that the device was in the middle of the window.
Finally, by marking we determine the place of fastening of the brackets for the installation of convectors and make their installation using dowels. For frame walls and walls of plasterboard, you must use a special mounting hardware.
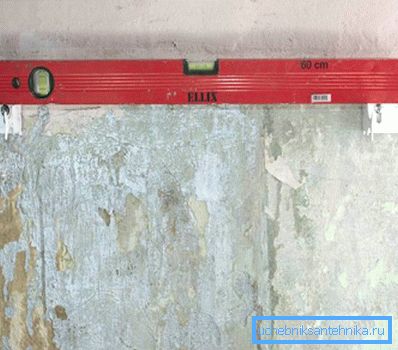
Note! The installation of the heating system requires the exact location of all the fixtures and the exact fit of the drawing. It is also important to respect the horizontal and vertical level.
Passage holes
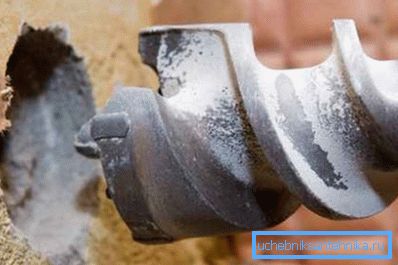
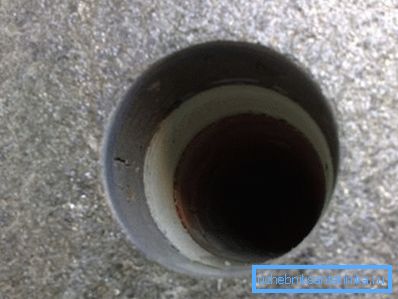
For the passage of holes in concrete walls using powerful drills with special drills for concrete. The most preferred diamond crowns and drills with pobeditovymi tips. Holes should be as even and perpendicular to the wall plane as possible.
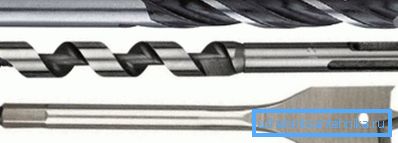
If the walls are wooden, then you can use a regular drill with wood drills. Such drills are most effective:
The most difficult to cut overlap. To do this, you can use a powerful perforator in percussion mode or a crown with a diamond edge, and the crown is much better:
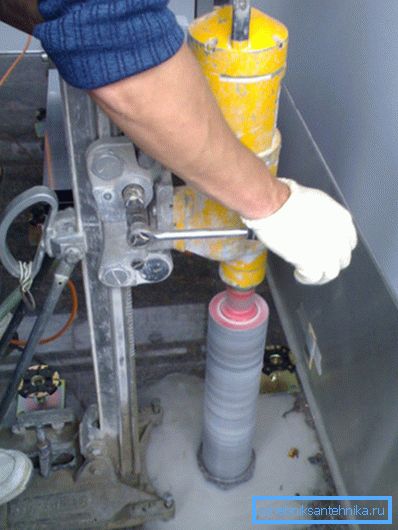
Note! The price of a good tool is very high, therefore it is better to rent it. This can be done in any large supermarket.
Installation of radiators
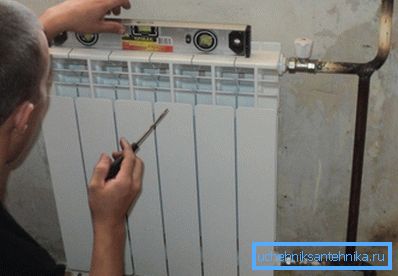
We have already done the markup and installation of brackets for attaching batteries. Now we proceed to their assembly and installation.
The first thing you need to unscrew futorki (plugs) and prepare radiator valves. It is better to use polypropylene taps, which often come bundled with the radiator.
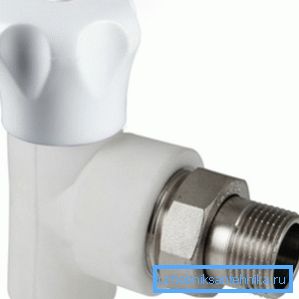
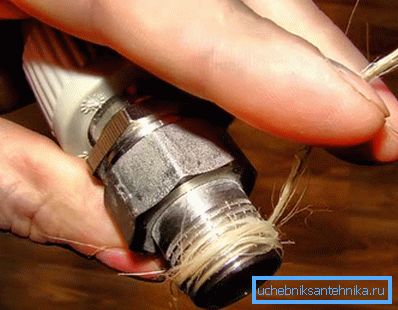
Threaded connection should be lubricated with Unipak paste and wrapped with tow. Some plumbers use FUM tape, but tow with paste is more reliable. Apply a plentiful layer on the thread and in its course we wind the fibers of flax tow.
Then we put on the flare nut of the radiator cock and wind it first with our hands, then against the stop with an adjustable wrench. We put another tap, then Mayevsky's valve, and close the last hole with a plug.
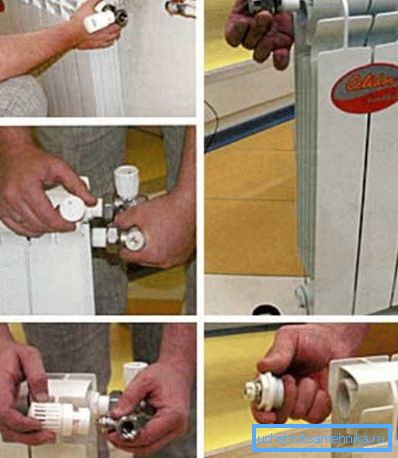
Note! It is necessary to coordinate the position of the cranes with the device connection diagram: it can be lower, side or diagonal.
If we have the Leningrad one-pipe system, we carry out the binding bypass. To do this, solder the pipe segments and connect them with a thinner pipe:
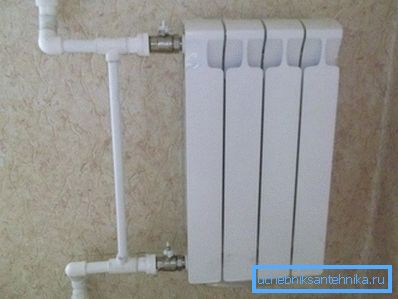
First we mount the adapters to polypropylene (if needed), then we put the transition tee from D20 to D16 on one side, then the nipple, then the tee on the opposite side. The harness is ready.
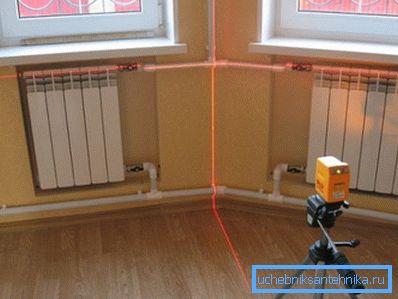
Finally, install the device on the brackets and fix. We check the flatness of the installation building level.
Pipe soldering
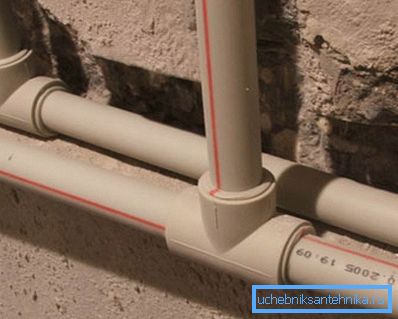
Instructions on how to properly install the heating system made of polypropylene, is quite simple. But we will need a set of tools for welding plastic pipes, which can also be rented in the city of Miass.
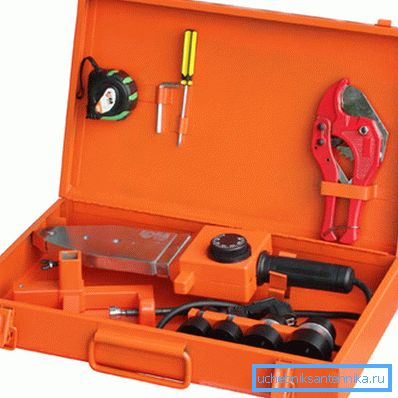
So let's get started:
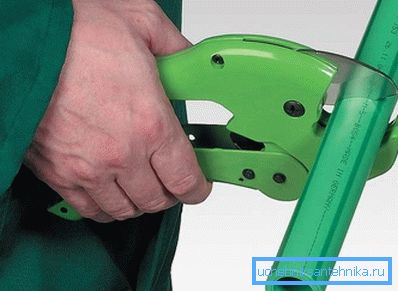
- We perform pipe cutting according to the drawing with a pipe cutter;
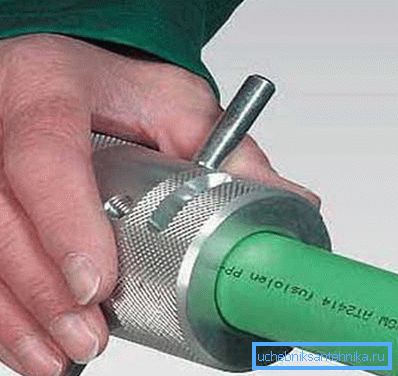
- At the ends of the pipe, it is necessary to chamfer with a slope of 15 degrees to a depth of 2 - 3 mm. It is better to do this with a face picker;
- Install the soldering iron on the stand and set the temperature to 260 degrees. Then we put the fitting on the mandrel, and insert the end of the pipe into the sleeve. We press on both sides until the parts rest on the sides;
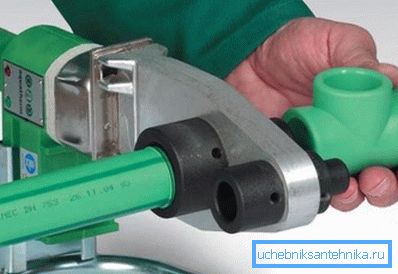
- Heating lasts about five seconds, the instructions for the soldering iron should be a heating scheme depending on the diameter. After heating, we remove parts and connect them until the pipe completely enters the sleeve;
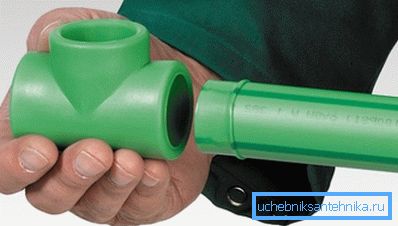
- Keep the parts still, do not rotate. It is enough to withstand them for about 30 seconds to complete setting;
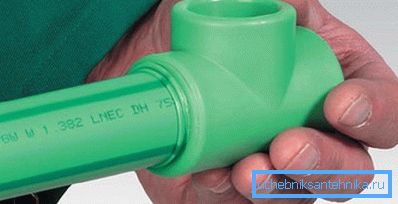
- We collect separate areas on the table, then we connect them by weight in the places of the entrance to the wall and at the radiators.
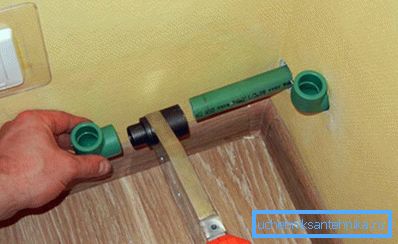
Note! It is better to first practice on the scraps in order to gain some dexterity and confidence in the actions, since the joints are non-separable.
At the end of the pipe are connected to the boiler, a circulation pump is installed on the return pipe. Then the system is pressurized with a special pump. More information about this can be found in the articles on our website.
Conclusion
If the contract for the installation of the heating system seems too expensive to you, you can easily cope with this task yourself. This will help you our guide and video.