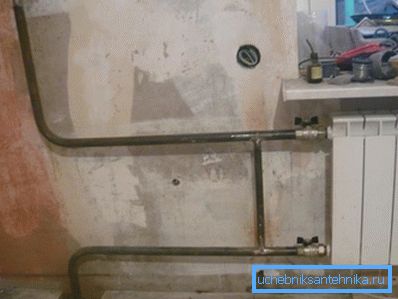
Replacing heating pipes: 5 basic steps
Replacing the heating pipes in an apartment building is a rather complicated task, but quite doable. Of course, you can always ask for help from specialists, but this will cause additional financial costs. In this article we will examine in detail all the main stages of all the necessary installation work.
Choosing the right material
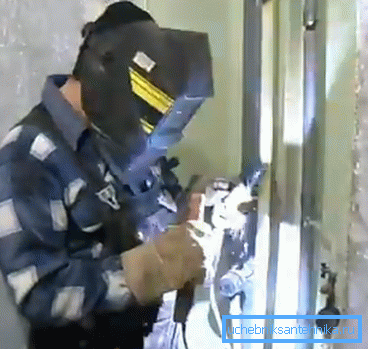
To install the riser of the heating system, usually stainless steel or plastic pipes are used, let's consider their features:
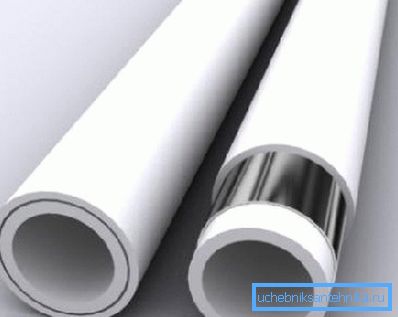
Plastic
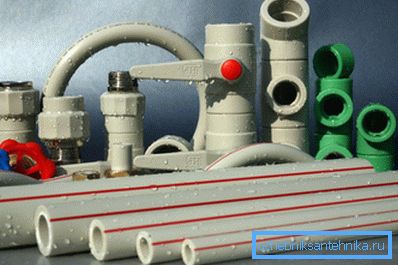
Today, the use of plastic pipes for arranging heating pipelines is widespread due to several undoubted advantages:
- Easy to do the installation work by hand. Connections are mainly made using a special pipe soldering iron.
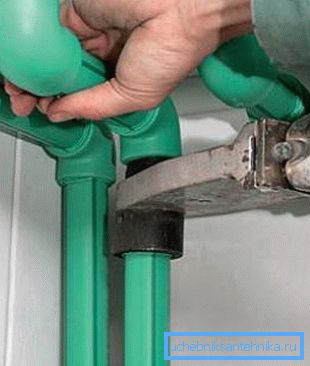
- Flexibility. Polypropylene products can bend, which allows you to make a line of various obstacles without the use of additional fittings.
- A light weight. This greatly simplifies the transportation and lifting of pipes to the upper floors of apartment buildings.
- Relatively low price. Plastic is always cheaper than metal.
- Lack of corrosion processes.
But before you opt for polypropylene, you should understand that its strength characteristics strictly comply with the staff standards of the heating system and are not designed for such critical conditions as:
- Pressure jumps in the heating main from 4-5 to 10-12 atmospheres. Usually this happens only due to the negligence of locksmiths on duty at the boiler house, but, unfortunately, with constant regularity.
- Water hammer Formed at the time of a sharp start of the heating system after the summer break.
- Critical temperatures. They can be observed during the period of annual spring tests of the heating main.
Tip: if you do decide to use plastic pipes, then choose reinforced models that can withstand much higher temperatures.
Metallic
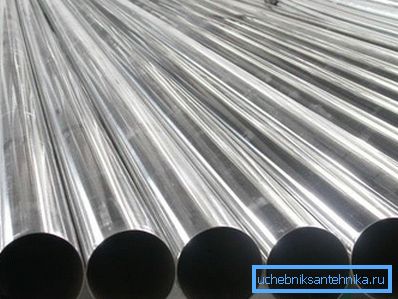
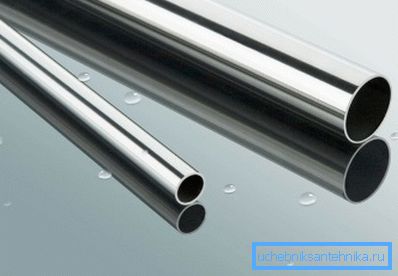
In this case, everything is exactly the opposite. Steel products are more expensive, heavier and do not have the flexibility of plastic. But on the other hand, they withstand any possible flow temperature and high internal pressure. So, if you want to have confidence in the stable operation of your heating system, it is better to stop at the choice of installing a metal pipeline.
The ideal option in terms of practicality and reliability will be the use of galvanized pipe DU-20, which among other things is protected from the occurrence of corrosive processes.
Necessary accessories
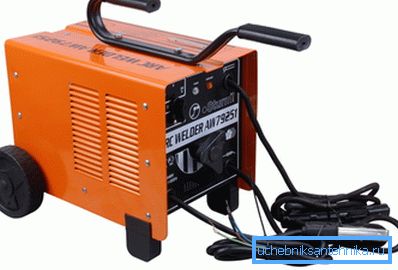
To successfully complete the installation work, you will need certain tools and some additional materials. At the same time, their final list directly depends on the chosen method of connecting the pipeline elements: welding or thread.
| Connection type | List of necessary accessories |
| Welding |
|
| Threaded |
|
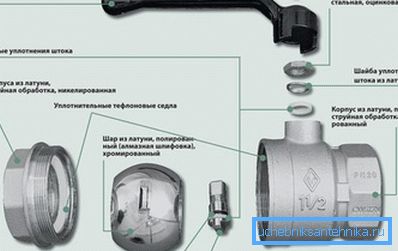
Tip: choose only modern ball valves, as they are far superior in reliability to outdated screw models.
Progress of installation
Replacing the heating pipe in the apartment begins with the discharge of water:
Stage # 1: the discharge of the riser
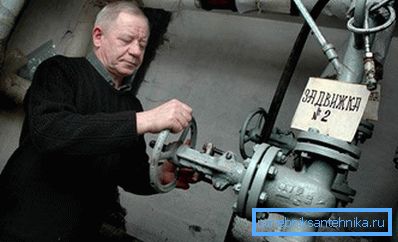
How to disable the riser heating? First of all, in order to avoid serious fines, it is necessary to obtain an appropriate permit in the housing department or other management structure.
Tip: It is recommended to apply for disconnection in advance, as the approval process may take a long time.
If you have the necessary documents on hand, then depending on the type of spill, you should act in one of two scenarios:
| Type of spill | Procedure |
| Lower |
|
| Upper |
|
Stage 2: dismantling
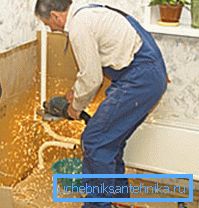
Instructions for removing the old pipeline looks simple:
- We cut through the “grinder” the supply line to the heating radiators.
- Unscrew the remaining piece of liner from the radiator plug.
But then the question arises, where is the best way to cut?
It should be guided by two factors:
- Efficiency. The fact is that the pipelines undergo the greatest corrosion inside concrete floors. Thus, if you want to achieve maximum results, safeguarding yourself from possible accidents in the future, it will be more correct to pierce the floor and ceiling in order to replace even those segments of the pipeline that are located in their arrays. But here your relationship with your neighbors plays an important role, because without their participation or at least permission, nothing will come of it.
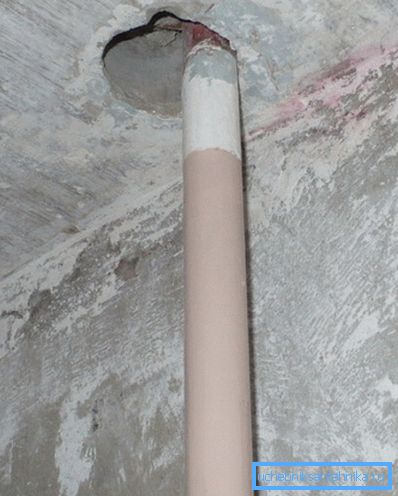
- Convenience. In this case, the cutting place should be chosen in such a way that it would be comfortable for you to apply thread or welding to the remaining section. It is desirable that while it was not too close to the floor or ceiling.
Stage number 3: threading
In the case of using a welding machine, everything depends on the skills of the welder, and this process does not need a detailed description.
But if you are using threaded connections, then it will be very useful for you to familiarize yourself with the necessary steps to perform:
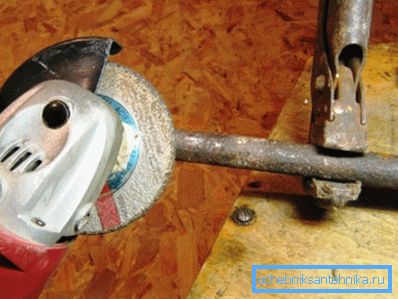
- We remove the chamfer from the pipe with the help of a file or “grinder”, having previously fixed it in a vice or in another no less reliable way. This will allow the die or screw plate to freely enter it.
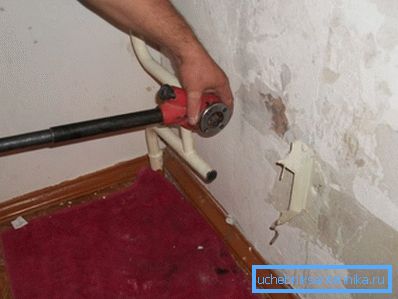
- Strictly perpendicularly put on the tube holder with a die or screw die.
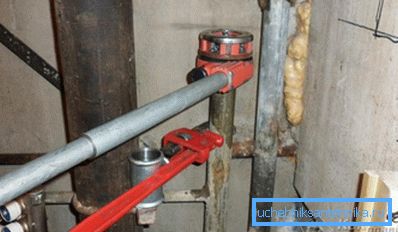
- In the process of creating a thread at the edge of the pipeline, we hold it with a gas key to prevent the formation of a gap above or below the sprue.
- At the time of entry of the tool on the edge of the pipe, press it as tightly as possible.
- Cutting carried out in a clockwise direction, to the key, we make efforts directed in the opposite direction.
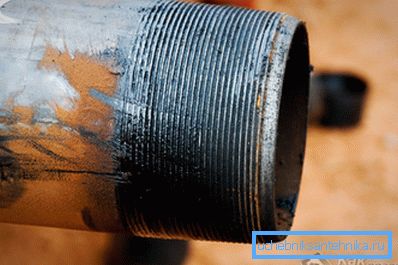
- On the stand itself we cut short threads, not exceeding five threads, and now on the leads to the radiators - long ones.
Stage # 4: Build
After all threaded connections are prepared for further operation, proceed to the assembly:
- Billet pipes pass through the overlap and connect couplings with the edges of a common highway.
- We carry out reeling with sanitary flax, which guarantees tightness, and silicone sealant, which prevents premature rotting and burnout of flax.
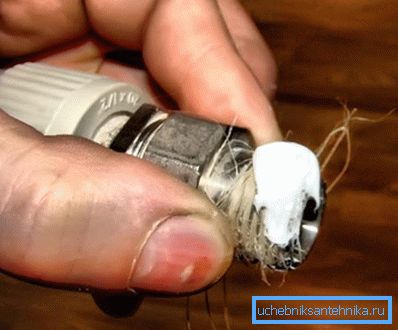
Tip: an alternative to flax and silicone is a polymer thread. Although it costs more, it gives a more reliable and high-quality result.
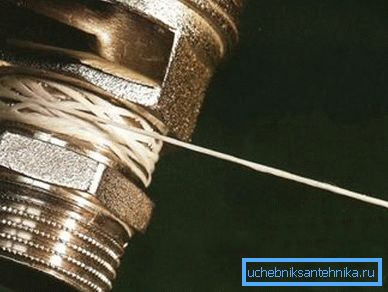
- Next, mount the tees. It should be borne in mind that the distance between the internal threads was at least half a meter, otherwise the liner will have to be installed in a tight fit.
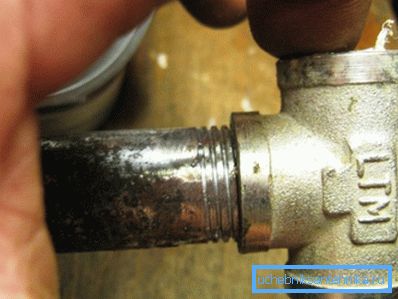
- Screw valves into tees.
- We install long nozzles in the valves, with a short thread cut from one side and a long thread on the other.
- On the resulting drives, we mount the locknut so that its flat side faces the battery, as well as the radiator plug.
- Similarly, install and jumper.
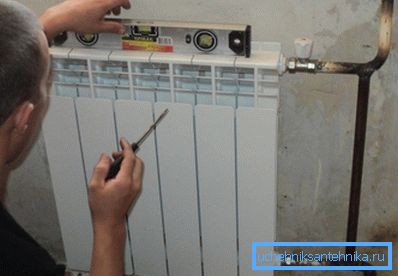
- We hang on the brackets radiator. At the same time, we make sure that the axial lines of the threaded connections under the plugs completely coincide with the axial lines of the threaded connections of the supply lines.
Tip: use a spirit level when installing a radiator. This tool will allow you to achieve the perfect horizontal.
- Twist plugs and lock nuts, ending the assembly.
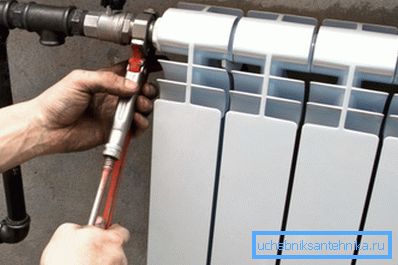
It should be remembered that the presence of a welding machine significantly reduces the number of threaded connections required.
Stage 5: System Startup
After assembly, it is necessary to test and run the riser in operation.
Test:
- The valve on the jumper is opened, and closed on the radiator to limit the number of connections falling under the first test.
- We close the dumpers in the basement.
- Slightly open valve on the installed riser.
- After the liquid stops making noise in the ajar tap, we open the water supply to the system completely.
- Returning to the apartment, slowly slowly open the radiator valves, carefully examining the design for the presence of a leak.
Tip: it is advisable to have an assistant at trial start who can notice the flowing place while you are in the basement or in the attic. Then you can shut down the system in time, avoiding flooding.
The method of air bleeding depends again on the type of spill:
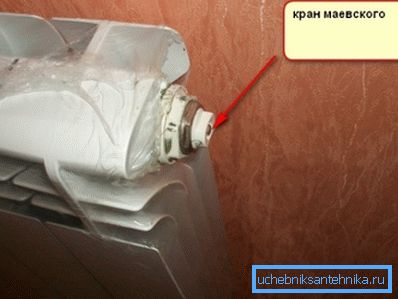
- At the bottom you need in the upper apartment to open the valve Mayevsky and wait until all the air comes out.
- At the top, the airlock is forced into the expansion tank, located in the attic, independently.
Conclusion
Replacing the riser in the apartment is quite feasible on its own. For this, the main thing is to have the desire and to follow the instructions in this article precisely. Additional materials are provided on the video. Be careful, and you will succeed!
