How to make a cap on the pipe: 7 simple steps, saving money
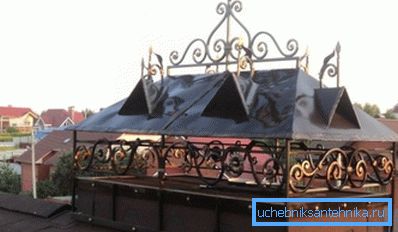
For the normal functioning of the engineering systems of a country house, you must have different pipes that go to the roof of the building. They are important for the operation of the kitchen hood, heating boiler, fireplace, and so on. To protect these structures from the adverse effects of the environment helps cap on the pipe ventilation and heating.
Design features
Protection against precipitation
Chimneys and ventilation pipes are made of high-quality material and in compliance with a variety of technological nuances, thus avoiding the occurrence of cracks and splits, deteriorating their technical characteristics.
But the upper end of the structure is constantly affected by rain, snow and wind, which gradually destroy even the most reliable masonry. In addition, during a heavy shower, a small amount of water may get into the stove or fireplace, which will cause the fuel to get wet and may cause smoke.
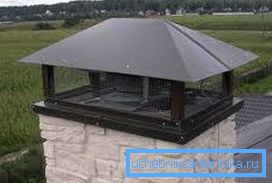
When a strong wind starts to blow, smoke also cannot get out of the chimney and begins to accumulate inside it. In addition, cold air gets into the inner space of the pipe, which begins to put additional pressure on the hot smoke.
As a result, the thrust is reduced and in some cases the reverse process can begin - pulling smoke into the firebox, and through it into the living room.
Kinds of caps
To avoid all the above-listed troubles helps the cap on the chimney, which can be easily made with your own hands.
It allows you to save traction on a windy day and prevent premature destruction of the chimney under the influence of precipitation.
The principle of operation of the windproof construction is as follows:
- rising hot smoke rests against the top of the cap;
- a cold air jet, sliding along the outer edges of the hood, draws in the accumulated hot air, which makes it possible to increase the chimney draft.
The material for the manufacture of the considered parts can be any metal that does not corrode.
The most commonly used are:
- steel protected by polymer composition;
- aluminum;
- copper;
- other material whose price is not very high.
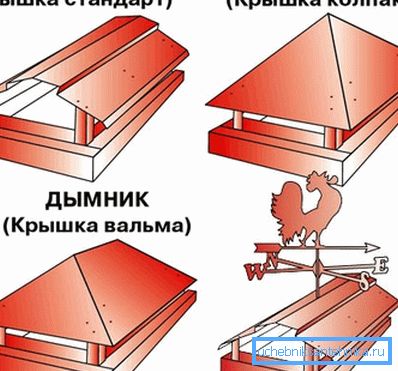
Their designs are also diverse:
- standard protective cap with four sides;
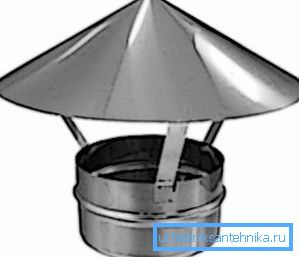
- umbrella on a round chimney;
- the cap, which has a semicircular top - is well combined with the exterior of the dwelling, made in the classical European style;
- a cap equipped with a flat top - is used in the case when the house is built in modern style;
- wind vane with vane - changing its location under the action of the wind, allows you to create the most effective traction regardless of the strength and direction of the wind;
- gable-cap fly-iron - effective in areas characterized by a large amount of snow falling in winter;
- flyogark with an opening lid - allows you to clean the chimney without dismantling the protective cap. (See also the article The pipe for the stove: features.)
Independent production of a cap
Measurements
A cap on the chimney or ventilation must be made so as to protect all horizontal surfaces of this structure from rain and snow. Therefore, if the chimney was made with a widening at the top, the top should cover it.
It is necessary to remove the following dimensions:
- the length and width of the outer part of the pipe;
- geometrical parameters of the smoke outlet;
- distance from broadening to the upper edge of the chimney.

Note! The finished design should be easily put on the chimney. Therefore, it is necessary to add 5-10 mm to the obtained pipe dimensions during construction.
The wings at the bottom of the cap should be made such that they completely cover the broadening.
Assembly
Before you start assembling the chimney cap, make sure you have the following tools and materials:
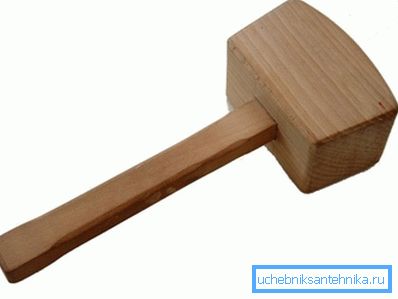
- wooden mallet;
- small hammer;
- clamps;
- metal bar with a thickness of 10 mm;
- scissors for cutting metal sheets;
- rulers;
- pencil or marker for marking;
- metal angle 40 mm wide and 1-1.5 meters long.
Instructions for assembling a chimney do it yourself consists of 7 consecutive steps:
- First you need to fasten a metal corner to the working edge of the table, which you will work. It will serve as the basis for bending metal sheets.
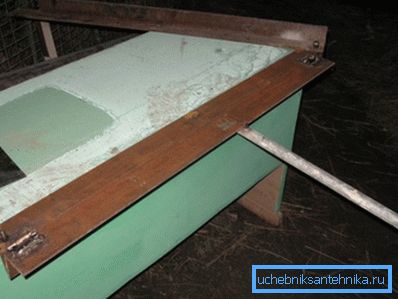
- The drip is bent. This is a special edge about 1 cm wide. It is better to start work from the edge of the sheet, gradually moving to the middle. So the metal will not slide off. Bend the item to an angle of 45 degrees. To do this, the workpiece must be laid on the previously bolted corner and give it the desired shape using a mallet.
- The upper part of the workpiece must be bent to the other side at an angle of 90 degrees. The width of this edge is 2 cm.
- Then, according to a similar scheme, the sheet bends along the central axial line.. The angle of the bend depends on the type of design of the wind cap.
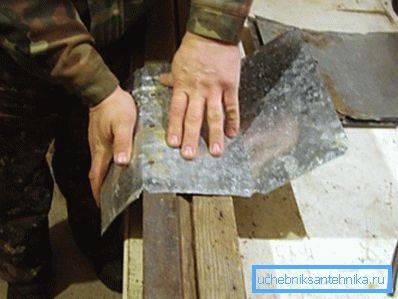
- After that, on all the details folds fold. To do this, you can use a special tool - the so-called gib. (See also the Brick Tube article: features.)
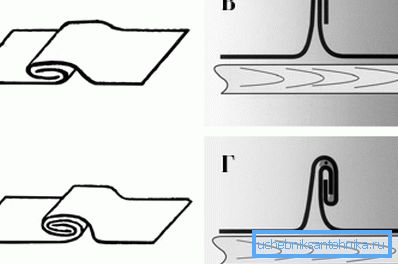
- The next step is making the cover. Its edges are bent at a distance of 15 mm, after which it is installed on the cap.
- Then it is marked and cut a hole, the dimensions of which coincide with the geometrical parameters of the inner part of the chimney, reduced by 20 mm. They will be needed for arranging the edges on each side. They should not be bent down, but up.
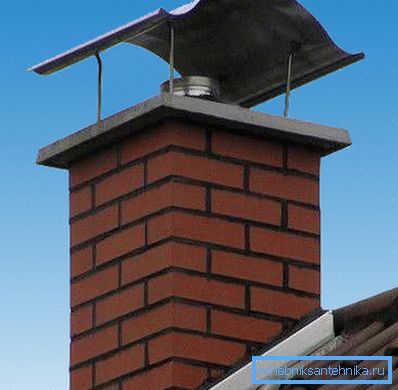
The resulting hood is fixed on the stove or vent pipe with anchor bolts.
Cap on a round asbestos pipe
The design features of such a chimney allow you to create and install a more simple, but, nevertheless, effective cap:
- a metal cylinder is installed on the asbestos pipe, fixed with bolts and nuts;
- to him with the help of racks mounted metal cone, having an extension downwards.
Tip! To connect the parts together, you can use rivets or semi-automatic welding.
Conclusion
By properly designing and installing a wind cap on the pipe, you not only protect the chimney and the ventilation system from moisture and snow, but also extend the life of the pipe. In more detail about the device of engineering networks it is possible to learn from video in this article.