How to make a closet in the toilet behind the toilet: a few
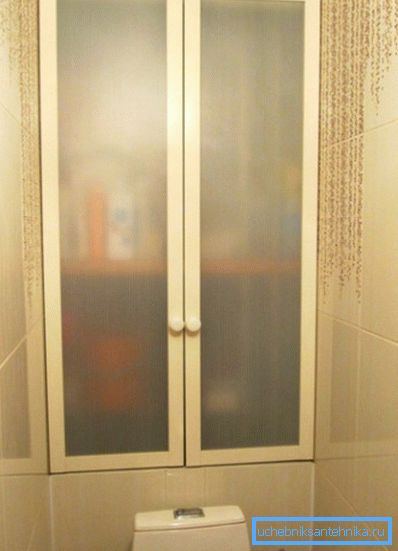
One of the main problems of a city apartment is the eternal lack of space. Countless detergents, tools, screws, nails, spare taps to the mixer and other household stuff quickly fill cabinets and shelves. Today we will get acquainted with several simple designs of toilet cabinets that can partially solve this problem.
Wishes
Ideally, any homemade cabinet above the toilet should meet several simple requirements.
- The depth of the structure should be minimal. Places in the toilet and so little; our goal is to use the niche for the tank with benefit, and not to deprive ourselves of the remnants of comfort.
- The design must be moisture resistant. Humidity in the bathroom is always slightly higher than the average for the apartment due to the evaporation of moisture in the toilet and cistern.
In addition: toilet, bathroom and kitchen more often than other rooms are exposed to flooding in case of accidents. It is desirable that the next incident did not force the owner to do major repairs.
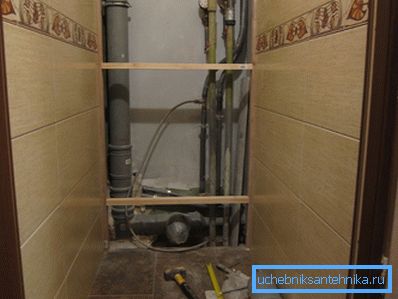
- Finally, the cupboard above the toilet should not block access to the risers located in the niche.. There are also often hidden valve, blocking the water on the apartment, and coarse filters. In houses where hot water is not distributed centrally or is supplied intermittently, a boiler or instantaneous water heater is often located in the same niche.
Materials and Solutions
What can be done with minimal time, effort and money to build a closet in the toilet behind the toilet with your own hands?
We offer some simple solutions.
Drywall
Very aesthetic open shelves can be made from moisture resistant drywall.
The framework gathers from a galvanized profile; The order of further work is quite traditional for constructions made of GCR:
- The plasterboard parts cut to size are stitched to the frame with 25 mm long screws. For cutting gypsum plasterboard, you can use a jigsaw, or you can just break off a sheet, cutting it with a sharp knife to a third of the thickness.
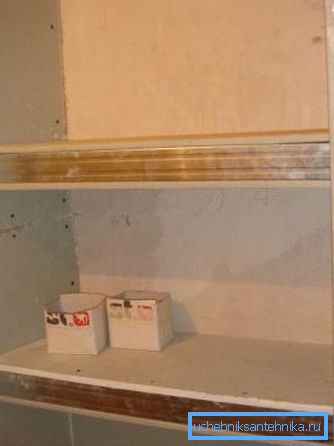
- The seams and caps of self-tapping screws are puttied with gypsum putty (ABC, Fugenfüller) twice with intermediate drying.
- Then, the seams are roughly rubbed with a sanding net and swept from dust, after which the entire surface of the gypsum plaster is primed with penetrating primer.
- The next stage is the reinforcement of the seams. In the modest opinion of the author, for this purpose it is better to use not serpyanka, but rolled fiberglass: with sufficient strength, it will make the seam less noticeable and allow you to do without additional costs for leveling putty. The fiberglass is glued on PVA slightly diluted with water.
- After drying the reinforcement, the seams are re-puttied as thin as possible, on the stripper, with a layer of gypsum, ground with a net, swept over and ground.
How can you finish the plasterboard shelves in the toilet behind the toilet?
| Construction element | Finishing method |
| Upper horizontal surfaces | Tile. It is cut to size with a diamond disc and sits on the usual tiled glue; the seams are rubbed with any colored grout |
| Vertical and lower horizontal surfaces | Waterproofing (rubber) water emulsion. It is applied in three layers with a brush or roller. It is better to wipe the spots on the tile immediately: the rubber dye is very resistant; the author has successfully used it to paint the steps on the street stairs |
| Corners | It is better to paste over PVC with a corner on silicone sealant. Galvanized or plastic corner profiles embedded under the putty will quickly lose their neat appearance |
Plywood
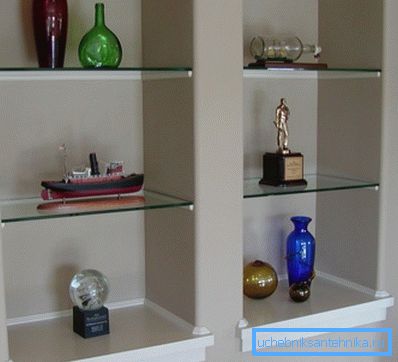
A very strong and durable closet behind the toilet in the toilet can be made of plywood.
The specific design of the reader will tell his creative talent; The author will focus on the technical problems of construction.
- It is better to use FC plywood 15 millimeters thick. More moisture-resistant PSF is not suitable for residential premises due to the composition of the adhesive: it contains phenol-formaldehyde.
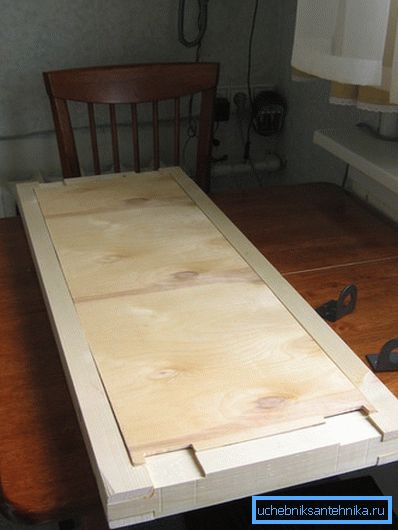
- Shelves up to half a meter in stiffeners do not need and can be attached to the wall-mounted dowel-screws galvanized corners. Longer shelves are better reinforced with vertical ribs cut from the same plywood. Edge width - about 50 mm; it can be put on the near or far edge of the shelf.
- For cutting plywood is better to use a circular saw. Jigsaw cuts will always be less even. Saw along the cut should be slow: there will be much less scuffing.
- The oblong parts are laid out on the sheet in such a way that their longer edges on the front side are parallel to the veneer fibers in the surface layer. The reason is again in the edges of the cut: when cutting along the fibers, there will be no untidy scoring and raised chips.
- Thick plywood can be connected with 45x4 mm butt butt screws. The part, which is attached flat, is pre-drilled with a 4 mm drill; the end of the second part is drilled with a diameter of 3 mm to a depth of 30 millimeters. Do not forget to rezzenkovat hole to hide the screw cap.
- As a protective and decorative coating, you can use parquet lacquer on alkyd-urethane basis. It is applied in three to five thin layers with intermediate drying. Before applying the first layer and after it is dried, parts must be ground: FC plywood initially has a far from perfect surface; varnishing will lift the pile on it, which will make the plywood rough.
Tree
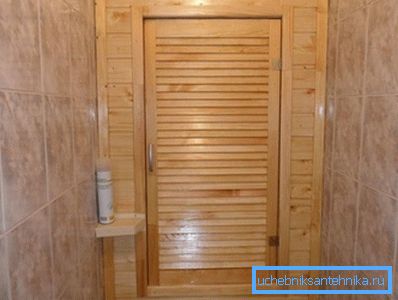
Wood compares favorably with plywood in that it does not sag under long-term exposure to significant loads. In addition, wood (especially noble breeds) looks much better under a layer of clear varnish; however, the price of this material is incomparable with the cost of one or two sheets of plywood.
To connect parts from a solid array, not screws or nails are used, but Nagels planted on glue are planted on glue. For the manufacture of dowels are used solid wood (from the inexpensive birch is quite suitable); adhesives are better to use natural: casein or albumin.
Chipboard
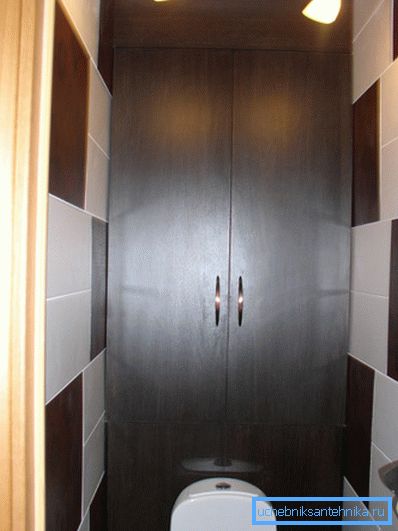
The chipboard plate, which is laminated on both sides, attracts only with the simplicity of finishing the finished structure: in essence, the manufacturer needs to paste over the ends of the parts with an edging tape. With moisture resistance she is sad; We are not talking about any resistance to deformation either - for shelves over 30 centimeters long, stiffeners are required.
The only thing for which chipboard can be used without any problems is the manufacture of the cabinet doors. Toilet doors behind the toilet will not be subject to serious mechanical stress, and vertical orientation will not allow the material to deform under its own weight.
A special case
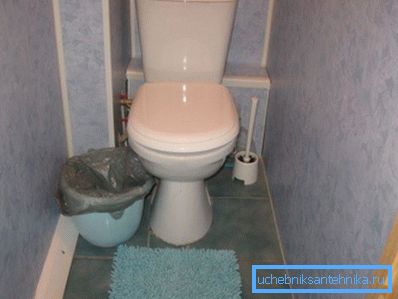
Often, the owner of the apartment undertakes the work for purely aesthetic reasons: the only goal is to close the risers of the water supply and sewage system, considerably spoiling the type of toilet.
What can be recommended in this case?
- Instead of drywall is better to use wall panels made of thick plastic. We emphasize: mechanical strength is important here. A random blow will easily pierce thin, inexpensive panels of domestic production; but one and a half times more expensive Italian can be damaged except with a hammer.
Tip: to assess the strength of plastic, squeeze the corner of the panel with your fingers. If he is crumpled - go to the next rack.
- The panels are attached to the frame of galvanized profile klyimery. The design must be collapsible: sooner or later, access to the risers will be required. Along the perimeter of the wall starts the starting L-shaped profile.
- Access to the valves and filters provides a plastic plumbing flap or, as it is sometimes called, a plumbing door to the toilet behind the toilet. The hatch is installed in the cut-out panels on silicone sealant for pipes.
- In order for the risers to be ventilated and not rust due to the formation of condensate, a pair of narrow and long ventilation grilles is mounted in the upper and lower part of the wall.
Conclusion
Of course, we reviewed only a small part of the complete list of possible solutions. As usual, the reader will be able to find some fresh ideas by viewing the video in this article. Success in creative work!