Plasterboard plasterboard: masking the riser with minimal
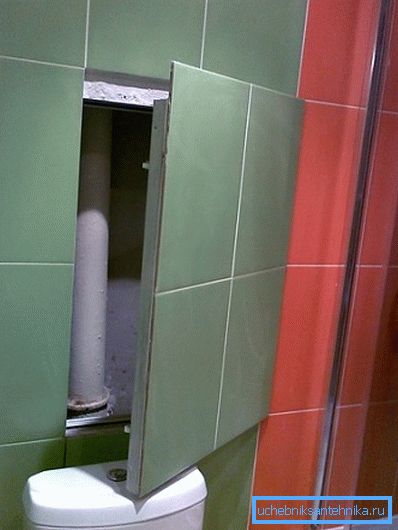
To hide the wiring and risers from prying eyes, the best solution would be to sheathe the pipes with plasterboard. This method of finishing is less time consuming than the hidden laying of communications in the wall gates, but the final result is almost perfect.
Below we will look at the main stages of pipe plating, and also pay attention to the nuances of the workflow, which are known only to professionals.
We prepare materials and tools
To disguise the pipeline, we need:
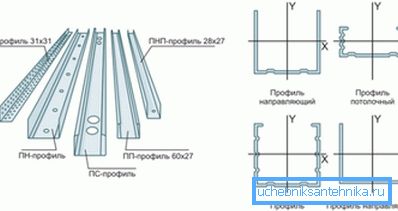
- Elements of the frame. It is possible to use both galvanized steel profiles and wooden bars, but the first option is more technological and less susceptible to deformation under the influence of moisture.
Tip! If you still decide to do the trim on a wooden frame, be sure to treat all the details of waterproofing impregnation with antibacterial components.
- Giposkarton. It is best to use moisture-proof sheets. Their price is somewhat higher, but they will not swell due to condensate and will retain their shape longer.
- Self-tapping screws for drywall and frame. For wood - ordinary, for a metal profile - with a drill.
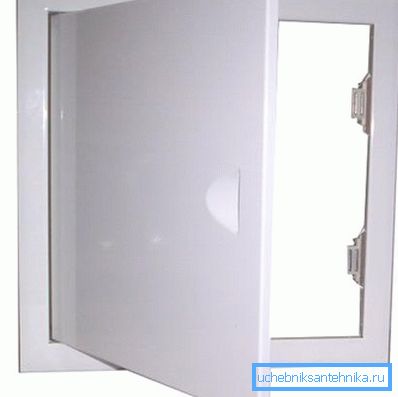
- Inspection hatches through which access to the pipes will be carried out.
- Materials for finishing the plasterboard box - putty, mesh for gluing joints, primer, interior paint or ceramic tile.
- If the box is being built to mask the radiators (which, in general, is not worth doing), then it is imperative to take care of installing plastic or metal gratings through which heat will flow into the room.
As for the tooling, it will be quite standard:
- Punch or hammer drill.
- Screwdriver with a restrictive nozzle for drywall work.
- Shears for metal trimming profile.
- Knife or saw for gypsum board.
As for tools for finishing, they need to be selected in accordance with the chosen decor. List all spatulas, brushes, poluterki, etc. hardly needed - if necessary, you can easily figure it out!
Mounting technology
Frame installation
Before you sew the pipes in the toilet with drywall, it is necessary to determine the configuration of the box. If the riser is located in a niche, then our task is extremely simple, because it is enough just to close the front wall. In all other cases, you will have to make a rectangular frame (see also the article Polymer pipes: how to choose the appropriate material for the arrangement of engineering networks).
It is built in this way:
- On the walls and ceiling using a tape measure and level put markup. At the same time, we make sure that the walls of the box are at a distance of at least 40-50 mm from the edge of the pipe.
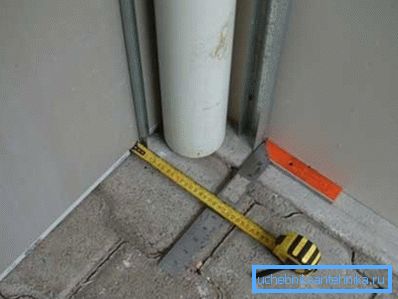
- We attach a starter profile to the floor, ceiling and walls. For installation use plastic dowels with locking screws.
- Further from the main profile we mount vertical racks. Their position must be carefully checked by level. To connect the profile elements take short screws with a drill.
Tip! In order to save time, it is possible to connect metal parts with the help of special pincers working on the principle of a piercer.
- To make the box of drywall for pipes as comfortable as possible to use, in the lower part we install a frame for the inspection hatch. This frame is made of short segments of the main profile.
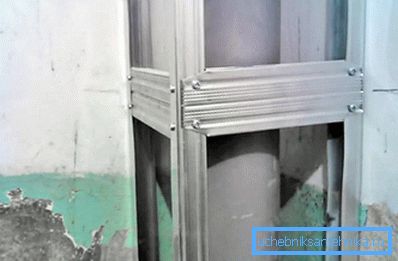
The wooden frame is mounted according to a similar scheme, with the only difference that the corners on the inside should be reinforced with metal plates.
Gypsum profile trim
Next, the instruction provides for the installation of plating of gypsum board:
- Using a sharp paint knife or a saw, we cut strips from a drywall sheet, the dimensions of which will correspond to the dimensions of the box.
- Cutting lines are leveled with a special planer, so that later it would be easier for us to putty edges.
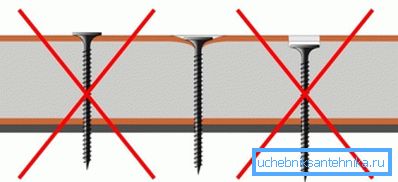
- We put a giprock on the frame and fix it with screws, making sure that the caps do not penetrate the upper cardboard layer, and at the same time do not protrude above the plane. To facilitate this task, you can use a special nozzle on the screwdriver.
- In the mounted frame install the inspection hatch, fixing it with internal struts.
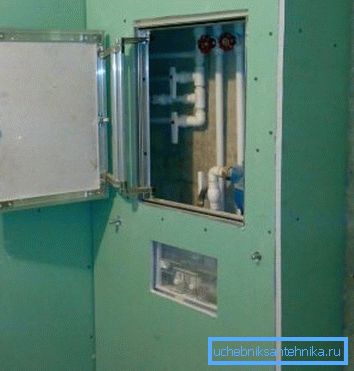
At this the rough stage of the trim is completed. We are left with our own hands to zashpatlevat all defects giprok and perform the finishing finish.
Dressing
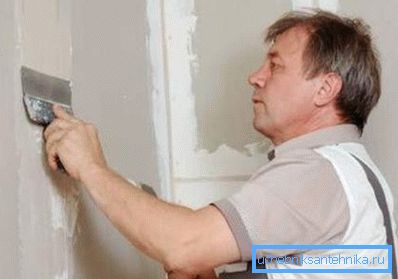
Making box, closing the sewer riser and other pipes, starting with putty:
- Using a ready-made gypsum-based compound, we trowel the caps of the self-tapping screws with a spatula, which were used to fix the drywall to the profile or wooden frame.
- On the corners we glue the lining of perforated metal or plastic. Using a putty, carefully align each corner, “bringing” it to 900.
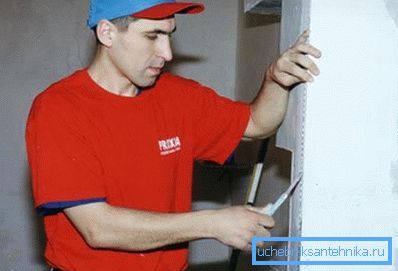
- Further, by the same putty we mask all defects that have arisen in the course of work: dents, cuts, etc.
- After that we process a gidrok with a primer.
- When the ground is dry, apply several layers of moisture-resistant interior paint on the walls of the box. For this purpose it is best to use latex-based formulations.
If it is planned that the box will be tiled, then the sequence of actions will be somewhat different:
- We carry out rough putty, eliminating major irregularities and sealing up the caps of the screws.
- Carefully ground construction.
- Using a special toothed grater, apply glue for tile.
- We carry out the facing of the box with tiles, making sure that the rows go smoothly and the same distance between them remains.
- After full polymerization of tile glue (this process takes about a day), we rub the joints with a moisture-resistant sealant. If the work is performed in a room with high humidity, then you should give preference to varieties of grout with anti-bacterial components.
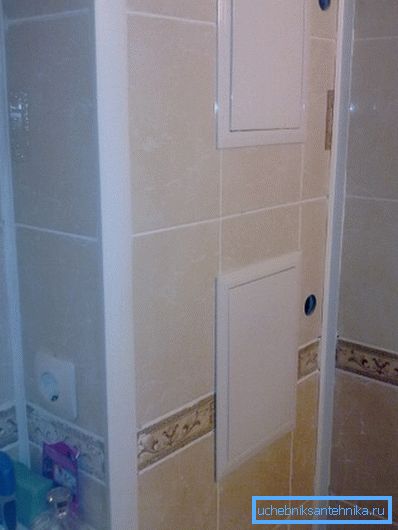
At this, the plating of the riser is completed with a hyprocum We will need only to install baseboards, covering the junction of the box with the floor and ceiling.
Conclusion
It is possible to sew up pipes with gypsum quickly enough, at the same time expenses will be minimum. This technology is one of the easiest to master, but it also has its own secrets (learn here how to close the pipes with drywall).
That is why before starting work you should carefully study all the recommendations that we have gathered above, as well as watch the video in this article. If you do not hurry and carefully plan each operation - you will succeed!