How to remove the cartridge from the mixer: simple solutions
How to disassemble the mixer with a cartridge that has failed? How to fix the mixer on a thin stainless steel sink with your own hands? Can I install a wall plumbing fixture on a wall of plasterboard or wall panels? Let's try to answer these and some related questions.

Cartridge device
The device of the mixer with the cartridge somewhat resembles the scheme of work of ceramic cranes: in both cases, the water is blocked by the mutual displacement of ground ceramic plates with through holes.
There are, of course, differences:
- Three holes in the bottom plate. Two correspond to cold and hot water; the third, of larger diameter, supplies water to the spout (gander) of the mixer.
- The top plate can not only rotate relative to the bottom, thereby ensuring the predominance of cold and hot water in the mixture, but also move up and down, adjusting the pressure.

Please note: the mutual displacement of the plates with minimal effort is provided by a waterproof silicone lubricant. Without it, the force required to adjust the mixer increases dramatically.
The device of the kitchen mixer with a cartridge assumes its easy replacement. Cartridges vary in diameter (28.35 and 46 mm) and length. In order not to be mistaken when buying, the easiest way is to take a sample with you - a defective part.
Typical problems
The design of the single lever mixer has only three typical problems.
| Malfunction | Cause |
| Hand grip, great effort when adjusting | Lubrication leaching (usually occurs after 5-8 years of operation) |
| Stem failure (the handle is completely separated from the body) | Excess force applied to the handle |
| Inability to shut off the water, flow in the lower position of the handle | Chips of plates at hit of garbage, breakage of plastic clamps with excessive force on the lever |
We emphasize: the single-lever mixer closes, opens and is regulated by a smooth movement, without any extra effort. The reason for most faults is the habit of closing the water with a sharp blow to the lever.
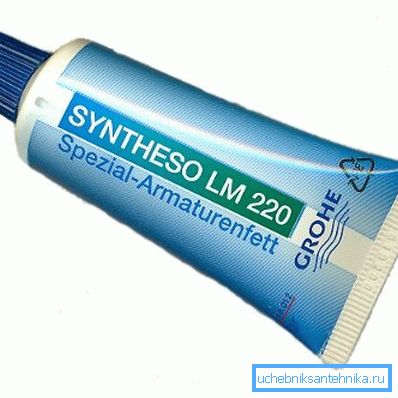
Handle sticking can be eliminated by re-lubricating friction plates. Special lubricant for the mixer cartridge and ceramic bushings is sold in plumbing stores; the price of a small tube is 400 - 600 rubles. A more affordable option is silicone greases used for domestic purposes: a 30-gram tube will cost only 120 - 140 rubles.

In all other cases, the repair manual comes down to replacing the entire cartridge.
Repairs
Mixer disassembly
How to get a cartridge from the mixer and install a replacement?
- We take out a decorative cap from the handle. As a rule, it is simply pressed in with a little effort, and it is easy to pry with a thin screwdriver.
- Unscrew the screw hiding behind it, pre-highlighting the flashlight and determining the shape of its head. It can be under the cross, a flat screwdriver or a hex.

- Remove the lever.
- We turn away the decorative casing. Usually it is equipped with an ordinary, right-hand thread. It is better not to use the tool: the casing is made of thin brass, silumin, or even plastic, and is easily damaged.
- Turn off the fixing cartridge the brass nut of the mixer is already using a spanner or open-end wrench.
- We take out the cartridge itself.

Assembly with a new cartridge is performed in the reverse order.
How to remove the cartridge from the mixer, if you can not remove the lever stuck to the rod?
Here are three solutions to the problem.
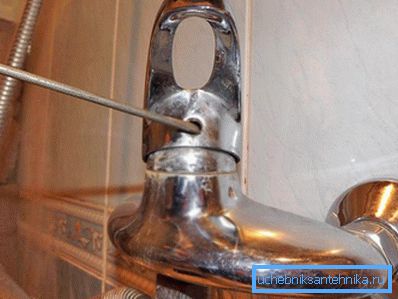
- Inject a bit of WD-40 grease through the hole in the plug and let it disperse into all the grooves.

- Try to heat the lever by watering it with boiling water. Thermal expansion sometimes allows you to remove it from the stock without any effort.
- Finally, in extreme cases, you can try to simply break off the plastic rod by turning the handle with maximum effort and holding the mixer body.
However: in the latter case, the handle itself may break.
Cartridge lubrication
The plastic cover of the cartridge is held by thin latches - clamps. To remove it, it is enough to bend the clips with a thin screwdriver.
Similarly, the top ceramic plate is removed. Be careful: the clips break easily when force is applied.
The ground surfaces of the plates are wiped clean with a dry cloth, after which a drop of grease is applied and rubbed onto one of them.
Mixer mounting: problems and solutions
We will address a couple of problems associated with the installation of mixers of different types.
How to firmly fasten the onboard mixer on a thin sink?
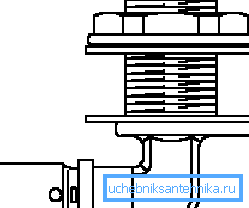
- On the back side of the sink, a liner is made of plywood with a thickness of 15-18 mm. The width is the maximum that the wash shape allows
- The liner is soaked in linseed 2-3 times. It is better to preheat it in a water bath for deeper penetration: the liner will be in contact with the inevitable summer condensate in cold water.
- The mixer is attracted through a plywood lining.
How to fix the mixer on drywall or wall panels?
In principle, for this purpose there are water outlets - press gons for a metal-plastic pipe, which allow the sheet to be clamped with wide nuts on both sides.

However, you can offer a few less exotic solutions.
- From the back of a sheet of plasterboard from profile to profile, glue a sheet of impregnated linseed oil or waterproof plywood onto liquid nails or sealant. Thickness - the same 15-18 mm. To her water sockets can be pulled through the tile laid on the drywall with ordinary galvanized screws.
- If the main wall hides the capital wall - water sockets are attached to it. Under the eccentrics, the threads are brought up to the level of the finish coating by extension cords — branch pipes of the appropriate length with father-mother threads.

Conclusion
We hope that the proposed solutions will be useful to the reader in the process of repair and installation of plumbing. Additional information, as always, can be found in the video in this article. Successes!