Bioseptic itself
In most private courtyards there is a sewage system and its integral part - the cesspool. But not everything is so simple with the maintenance of this pit - with time, it begins to spread an unpleasant smell in the yard, of which neighbors may complain. Every year, cleaning is becoming more frequent, and impurities that have leaked through unsealed walls begin to poison the soil. Therefore, with the advent of the new invention - bioseptic, people began to give preference to it. On sale there are many models, but the high price is not everyone can afford. There is always a way out of any situation and a built bioseptic with their own hands on a plot will work no worse than that acquired in a store.
Preparatory work
To begin with, calculate the volume of the future septic tank:
- Water consumption of a person is considered according to the generally accepted rules - 200–300 liters per day. Beneficial bacteria recycle sewage for 3 days. Therefore, the volume of the septic tank should contain the total amount of water used by all people living in the house for three days, plus an additional chamber for treated wastewater.
- Determine the level of groundwater in your area. This will determine how you will achieve the required volume of the pit: in depth or width.
- Determine the location of the septic tank. It should be no closer than 5 m to the building, 10 m from the water source and 4 m from the fence.
Independent installation of a septic tank
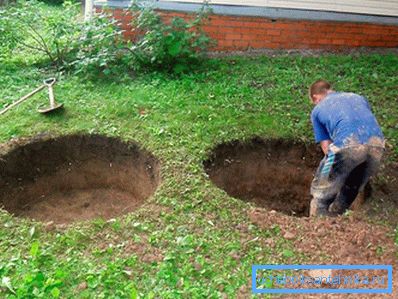
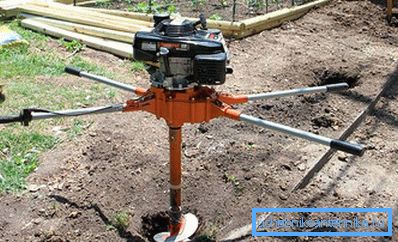
After completing all the preparatory work, proceed to digging the pit. Its size must be greater than the specified volume of the septic tank. Consider the thickness of the walls and bottom of the well. Next, proceed to the construction of the tank:
- At the bottom of the pit poured a layer of sand 15 cm thick and well tamped it. Then pour the concrete, a layer of 15 cm.
- After the concrete grabs, proceed to the construction of the walls. For masonry, you can use a cinder block or brick. But in the absence of such materials, it is necessary to build formwork and pour concrete walls. For the construction of formwork fit any boards, plywood, tin. One side of the wall will carry out the soil of the pit, and the other knock out of the improvised material. Place struts in the middle of the structure so that the concrete does not crush it. It would be advisable to make the formwork taking into account the size of the chambers, so that the partitions were also made of concrete and insert the sleeves in the places where the overflow, inlet and outlet pipes will pass.
- Start pouring concrete into the finished frame, periodically reinforcing the structure with reinforcement. It is installed both vertically and horizontally, around the perimeter of the frame. After full casting, give the construction 2 weeks for freezing.
- With frozen concrete, remove all shields and proceed to the construction of the partition (if you have not done them immediately). The pit should be divided into two chambers. The first chamber into which the sewage will fall should be of large size. Build a partition of brick or cinder block with a window for transfusion from the septic tank to another chamber.
- After construction, perform waterproofing of the walls with hot bitumen or purchased with mastic.
- If this is not done at the stage of pouring concrete, then in the places of the sewage inlet and outlet of the drainage pipe punch holes through the perforator. After inserting the pipes, seal the gap with silicone.
- The lid for the pit can be made of sheet metal, wooden shields, etc.
- The output pipe goes to the filtration field.
Filter field
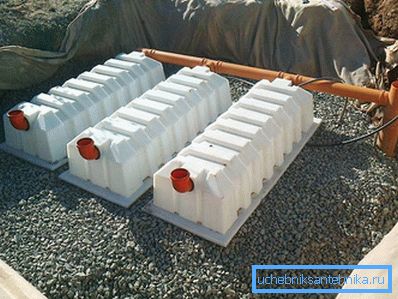
If your site has poor water absorption, you will need to build a filtration field that will act as an additional drain. To do this, buy drainage pipes with holes. Their length will have to be determined practically based on how water is absorbed. But usually it goes somewhere around 15 m.
- Dig the trench from the drain of the second chamber in the direction of free space with a slope of 2 cm per 1 m long and lay the geotextile canvas.
- Pour a layer of rubble 10 cm and lay the drain pipe. Top again with rubble and wrap the edges of the canvas overlap. You will have a pipe covered with rubble on all sides and wrapped with a geotextile canvas. Cover the pipe from above with foam (if it is necessary in your area), cover it with earth and level it.
Total
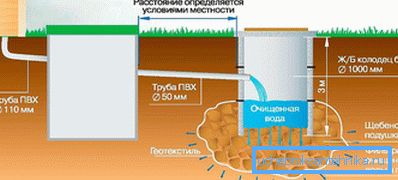
So, you have a two-chamber septic tank. The essence of his work is the recycling of sewage and the withdrawal of purified water into the ground. Wastewater enters the first settling chamber, and is recycled by bacteria to water and sediment. Purified water enters the next chamber through an overflow hole in the partition wall and is absorbed into the ground through a drainage pipe.
Tip! During the installation of the drainage pipe should take into account one thing. On the edge of the pipe located in the chamber, you need to insert a tee and turn it towards the bottom so that its edge is in the water - this will protect the second chamber from the ingress of fat into it, which will disrupt its drainage properties.
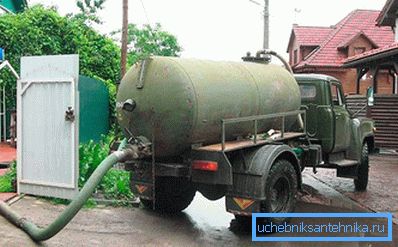
Over time, sludge will accumulate in the sump, which periodically will have to be cleaned. But always leave about 20% of the sludge in the pit. This is necessary so that the bacteria living in it multiply in new impurities. If the septic tank is not used for a long time, the bacteria may die. Then you will have to buy a new drug for bioseptic, and add them again.
So we figured out how to make a bioseptic on your site after incurring the least cost.
Video
This video shows the types, principle of operation and installation of septic tanks: