Rainwater system
It is necessary to divert rainwater, as well as melt water from each house - whether it is residential or not. Protecting the foundation from destruction, such a system also does not allow it to become a “swamp” of the territory surrounding the building. Immaculately functioning rain sewage system (for convenience, then - KFOR) is calculated in a special way and it would be better to deal with professionals.
Some points that are understandable to ordinary people will be comprehensively discussed below. In the presented information, many interested persons will be able to find answers to some questions:
- The "way" of water;
- where to begin;
- assembly material;
- installation of KFOR.
Water path
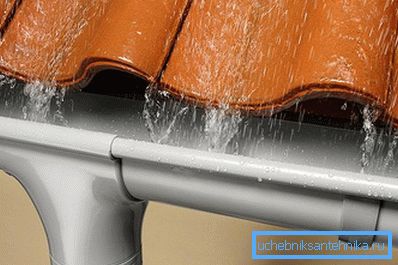
Rainfall in the form of rain falls on the roofs of buildings, sometimes in very large quantities, and this water needs to go somewhere. Melting snow can also create a lot of trouble if water is not collected and not diverted.
If it is a flat roof with a parapet around the perimeter, the water immediately enters the sewer, built into the roof. If it is a roof of the frame type, the water from the slopes comes down into the chute, which is mounted with a bias towards the watering cans, which receive water. Watering cans dump it into the pipe.
Further, through the drainpipe, water enters the storm water inlet, built into the blind area near the wall of the house. In turn, the storm water inlet directs the flow into the pipeline, which leads the waste water to the discharge point.
How to start

To begin to implement any idea, you must first prepare. For this, the necessary calculation is made, which will help in choosing the material for KFOR and will be simply necessary when creating the project.
When calculating taken into account such details as the uneven terrain, the presence of water bodies and underground streams in the area. The rate of precipitation, which is the most important place in the drafting of a KFOR project, depends on the region in which the building is located. And that's not all.
As it was already written above, such calculations should be carried out by experts in their field, but not everyone has the opportunity or desire to contact them. In this case, you need to know the main points: a drainpipe, O100 mm capable of serving 125 m2 the roofs. Water from such a roof is discharged into the pipeline with a minimum O 100 mm. If the roof, for example, is 250 m2, that will be enough pipeline with a diameter of 150 mm.
Suitable material
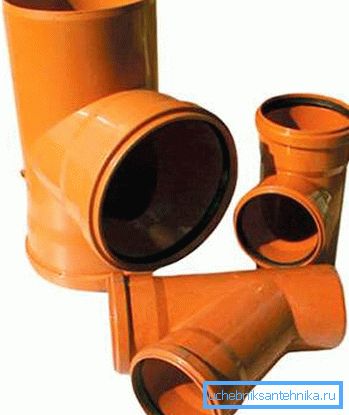
For the installation of rainwater sewerage systems, there are special pipes, but many masters use sewer pipes. Exact design will show what diameter the pipeline for KFOR is needed; it will only be necessary to purchase thick-walled plastic pipes. They are great for this purpose, and all components are easy to find on sale.
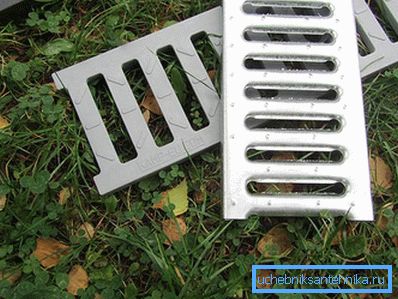
There are many water receivers, they differ in shape and appearance. It is better to choose with a grate, it can protect the pipeline from clogging with leaves and various debris falling on the roof. Crows, by the way, love to dump nuts and not only them. It is better to choose a plastic inlet - it will never rot.
Plastic products are also available for receiving and draining water from the roof into the pipeline, but they are much more expensive than iron parts. Therefore, the best option would be gutters and drain pipes of painted galvanized metal.
System installation
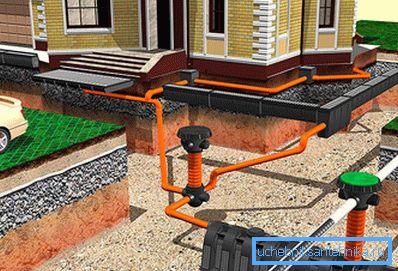
Before the installation of KFOR, the place to which the water will be discharged should already be ready, because the main line will go to his side. The pipe from which it is going to must be of a larger diameter than those that crash into it. This is when the surface area from which rainwater is collected exceeds 100 m.2.
Each roof slope is 130 m in area.2. For the drain pipe is used O 100 mm. It means that there will be two inlets on each side.
Installation begins with the installation of storm water inlets. At first one side gathers, then the other. The first receiver is mounted, the farthest from the trunk - it is from him that the pipeline slope will go in its direction. A “water trap” is installed directly under the drainpipe from the calculation so that when it rains heavily, the stream falls directly into its center.
The storm water inlet is connected to the pipeline with the help of two turning elements, each with an angle of 45 ° (hereafter, for convenience, a semi-outlet) O 100 mm.
Tip! In order to avoid clogging of sewage pipelines in the places of its turning at a right angle, you should not use one 90 ° pivot element. This should be done by two semi-branches.
The pipe is placed in a pre-excavated trench on a layer of sand with a slope necessary for the free flow of water. Due to the fact that the first storm water inlet is the upper point, the pipe is shallow, therefore for its safety it is advisable to sprinkle the pipeline with sand. Its layer above the pipe is 10 cm. The sand becomes compacted around the pipe and adds strength to it, protecting it from being crushed by stones and from deformation.
Tip! When connecting the pipes, you can use silicone. It will add tightness to the system and facilitate the process of connection.
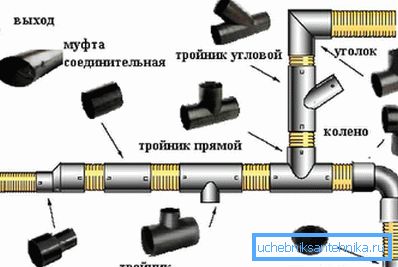
Based on the area, the highway will be 200 mm in diameter. The pipes will also bump through a 200/100/45 ° oblique tee into it.
The second side is going to mirror the first, and from the courtyard the water will first flow into a special tray. This type of storm water inlet is used for external drainage and is mounted so that its protective grille is flush with the upper surface of the yard.
You need to install the tray at the lowest section where all the water will go. It will connect directly with the trunk also using an oblique tee.
Tip! When installing such a rainwater drainage system, it is strictly prohibited to combine pipes coming from receivers into one. If this is done, the pipe will “choke” from too much water. Each branch must be connected to the highway separately.
For the convenience of servicing such a system, it is recommended to install a couple of extra tees as an audit during installation.
Properly designed, designed and installed rainwater drainage systems will last a long time and will cope with large volumes of water.
Since rainwater needs to go somewhere, then tips from the articles will help solve this problem:
- How to make drainage around the house.
- Wall drainage of the foundation.
Video
This video will tell in detail about the storm sewer system: