How is the manual replacement of pipes in the bathroom
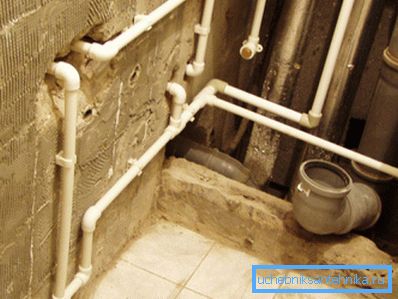
One of the most important stages of major repairs in the apartment is to replace the pipes in the bathroom. After all, the old communications, left under the fresh redecoration, can give you a lot of trouble in the future. Therefore it is worth expanding the budget a little and, having acquired the necessary materials, to update the home pipeline.
Preparatory stage
Before replacing the pipes in the bathroom with their own hands should be a thorough preparation. Since plumbing work will limit your access to water supply and sanitation, they must be completed as soon as possible.
Prepare the necessary materials and tools in advance, most of which we have indicated below:
- Instruments:
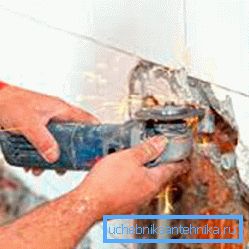
- The Bulgarian (angular grind of the car) with a set of cutting wheels on metal and concrete.
- Electric drill or perforator, drills for concrete.
- Special soldering iron for polypropylene pipes with interchangeable nozzles designed for different pipe diameters.
- Adjustable wrench.
- A device for precision pipe cutting, at a minimum, a hacksaw or jigsaw.
Note! To maintain the sewage system, you should buy a preventive tool in advance for eliminating blockages in the pipeline. The most practical option - plumbing cable.
Technology for the replacement of pipes
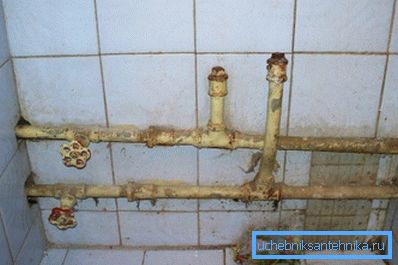
Of course, you will not be able to start laying new pipes, as they say, right off the bat, work should begin with dismantling the old wiring.
Note! Since the planned works will require shutting off the water in the riser of your apartment, warn other consumers in advance about a water shortage. When inserting a new line into the sewer riser, a more comfortable and safe operation will be ensured by the temporary refusal of all users to discharge waste.
Disassembly work
Armed with modern tools you can very quickly and effortlessly dismantle the old water supply system and, if necessary, sewage.
Of course, you should follow the procedure for disassembling and simultaneously installing a part of the new equipment:
- The dismantling process starts from entering the residential network. If you do not have access and opportunities, you should call the plumber.
- Twist the old valves on the inputs. If the carving on the outlet to the apartment is preserved in good condition, we wind on it new shut-off valves. Otherwise, we cut the damaged area with a grinder, cut a new thread with a die and wind the valves. At this stage, with closed taps, you can return water to your neighbors.
- As much as possible drain the water from the pipes of the internal wiring, which was less dampness and dirt. Now turn off all without exception, faucets, appliances and plumbing fixtures.
- From the sewer also disconnect all appliances and equipment.
- Old pipes are cut by grinder and dismantled. Carefully walk the walls in places of fastening products. All fasteners are also dismantled so that they do not interfere with the laying of facing tiles or any other finishing material.
The next important point that relates to demolition work is the decision to hide the new layout. In case you want to brick up the pipes under the cladding, you will have to make walls. To do this, install a disk for the grinder on the grinder; if it hits the rebar, reinstall the disc on the grinder on the grinder.
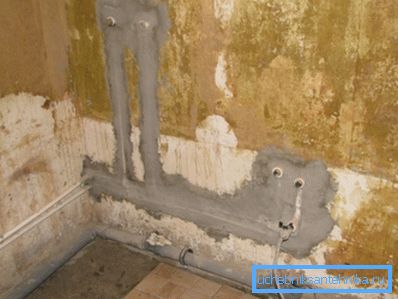
Attention! The process of wall chipping is accompanied by a large amount of dust and possible small fragments, so do not forget to protect the respiratory organs and eyes with personal protective equipment.
Disassembly stage is completed, now replacing the pipes in the bathroom with their own hands goes to the installation stage.
Installation work and connection of consumers
When the dismantling works have been completed, inspect the “battlefield” again for a final decision on the laying of communications and the sufficiency of the materials purchased.
Now the step-by-step installation instructions for the new internal apartment water supply system:
- At the very beginning of work, after the introduction valves, a filter is installed, and then a water meter.
- The arrows on the meter case should point in the direction of water movement. In addition, the meter is installed in such a way that it is easily accessible for taking readings and dismantling-assembling for mandatory verification after the expiration of the established period.

- We proceed to the installation of the pipeline, which is connected in the right places with the use of various kinds of fittings, adapters by soldering on special equipment. Provided that all connecting, fastening and main elements are purchased in the right quantity in accordance with the installation diagram.
Note! If you are not professionally engaged in the installation of plumbing systems, it is not advisable to buy a special soldering iron for polypropylene pipes. Hire from friends or rent. The price of the service will pay off at work in a single apartment.
- We start the assembly of the system by connecting pipes and fittings.. To do this, a pipe and a fitting are put on at the same time for a replacement nozzle at the same time. The standard warm-up time depends on the diameter of the pipes; this information is contained in the operating instructions for the soldering iron.
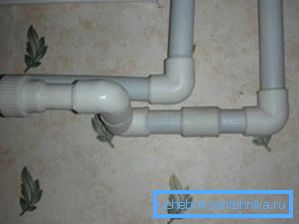
- Sufficiently preheated parts are joined and held until complete cooling and solidification. (about 10-15 sec.).
- Attach the pipe to the wall should be special clips, providing not rigid fixation, so that the product is in a "moving" state.
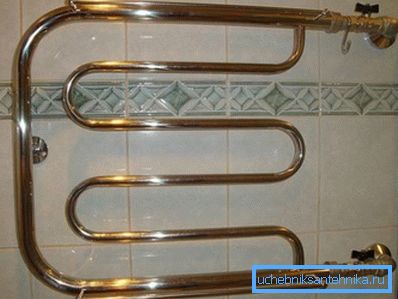
- For each water consuming appliance, it is better to install a stopcock on the liner. This is very convenient, since in the future if you need to replace or repair one of the devices, you can only turn it off, and the rest will remain in working condition with water supply.
Replacing apartment sewage with plastic
If the sewer pipes in your apartment are not in the best condition, it is better to replace them at the same time with the plumbing.
Attention! The most important process during the replacement of sewage pipes in the apartment is to work with the common riser. Very carefully make the connection of the riser with flat wiring by switching from cast iron to plastic.
- When assembling a sewer pipeline, avoid sharp turns at an angle of 90 degrees. In such places it is better to soften the transitions with two taps at 45 degrees.
- The joints of siphons of sanitary appliances with sewer pipes are treated with a special sealant, we install sealing gaskets.
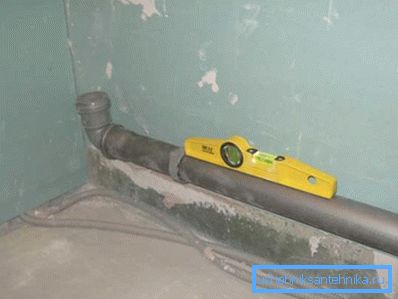
- Connections of pipes and fittings, processed in the process of installation with technical petroleum jelly, will facilitate the disassembly of individual components, if necessary, cleaning or replacement of defective items.
Upon completion of the work, it is necessary to check the quality of the assembly of the water supply and sewerage system:
- Turn on the cold water and wait for the system to fill up.
- Inspect the pipeline for leaks, paying particular attention to joints and connections. If there are leaks, fix them.
- Repeat the hot water test.
- Sewerage is checked on each device separately. Pour about two buckets of water into the device and inspect the pipeline. If there is a leak, fix it.
Here are almost all the key points about how to change the pipe in the bathroom itself.
Conclusion
As you can see, there is nothing difficult in the process described above; all work is performed without the involvement of expensive specialists. As for the time interval, the replacement of pipes in the bathroom will take no longer than several hours, if, of course, the preparatory stage has already been made.
In the presented video in this article you will find additional information on this topic.