How to close the pipe drywall
Surely every person undertaking repairs thinks that it would be nice to somehow ennoble that part of the room where heating or water pipes are located. Of course, you can just hang beautiful curtains, but, as they say, if you repair, then the repair is 100% complete.
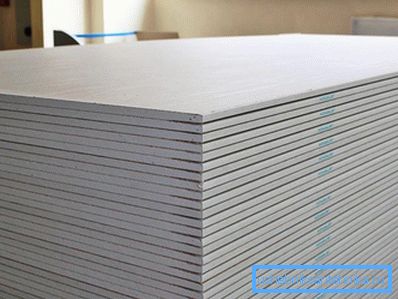
Disguise the unsightly communication pipes will help drywall. Today, perhaps, there is no more simple and effective way to decorate the premises. This material is a fairly large sheet (2.5 × 1.2 m), which consists of thin layers of paper and gypsum, forming a dense structure.
Why exactly drywall?
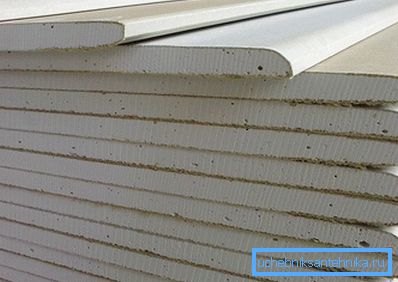
This building material is popular for several reasons:
- It is easy to work with him, because from a sheet you can cut pieces of almost any shape.
- The material is absolutely safe for humans, because it consists of environmentally friendly components.
- It is resistant to temperature changes, when heated, does not emit toxic substances into the atmosphere.
- Ideal for plating pipes in the bathroom and toilet. In case of breakage or leakage of batteries, the drywall construction is easily and quickly dismantled, opening up access to the problem area. In addition, there is a special moisture-resistant drywall, which is perfectly suited for the execution of ducts in rooms with high humidity.
In order to hide ordinary pipes with the help of sheets of drywall, you do not need to be a master builder. The installation process is simple and can be carried out independently. If you do not know what and how to do, then the information below will help you figure out how to close the pipes with plasterboard.
What you need to work?
For the construction of a protective structure, you need sheets of gypsum board, a metal or wooden bar to which the construction material, putty, mounting foam and tape will be attached. Experts advise to choose galvanized steel as the basis for the frame, as it will not collapse from moisture and rust. However, the tree is the most environmentally friendly building material, in addition, later it will be easier to attach, for example, a boiler to the tree if the need arises.

For work are required:
- level measurement tool
- roulette,
- pencil for marking cut lines,
- drill,
- screwdriver,
- hammer,
- jigsaw for cutting off the desired size of drywall pieces,
- metal corner for leveling,
- wide spatula for primer distribution,
- dowels and screws.
The process of building a decorative box for pipes takes place in several stages:
- preparatory,
- assembling a drywall box,
- subsequent finishing.
Training
Before you sheathe pipes with plasterboard, you should take care of their technical condition and appearance. It is very important that the pipes serve as long as possible, because they will be closed with a thick box of plasterboard, which, frankly, can be easily dismantled, but repairs in the room will be hopelessly damaged, and the procedure of covering will have to be repeated anew. You can save yourself from unnecessary trouble in advance. To do this, you need to thoroughly wash the pipes, remove old paint and rust (if any) from the surface and re-paint them. After drying, the paint proceeds to the assembly of a plasterboard frame.
Mounting box
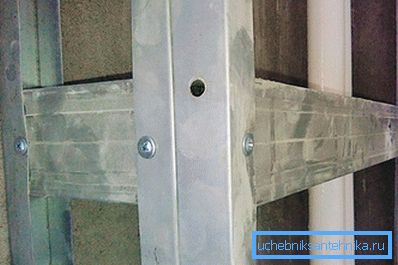
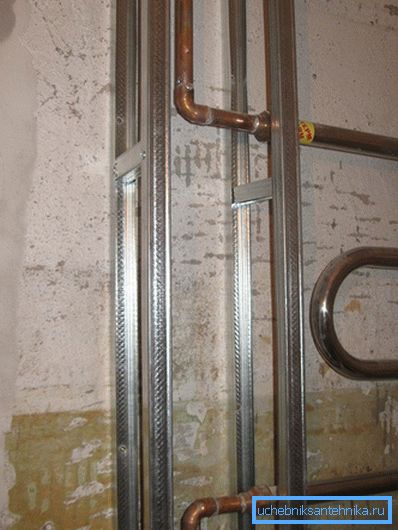
First you need to install rack profiles. Their number and length will depend on the room where the repair is being made. For example, for isolation of pipes in the toilet (there is usually a riser located in the corner), three profiles are required, if the pipes are arranged vertically or horizontally in the middle of the wall, then four rack bars should be fixed. That is, the pipes are either square or triangle - it depends on the wishes of the owners and the characteristics of the room.
The design of the rack profiles fasten the transverse inserts for strength. Sometimes lay a cushioning tape. It is believed that it absorbs vibration, so that the frame will last longer.
Then proceed to the fastening of sheets of drywall to the racks, while using screws on metal or wood.
It is not scary if you cut a piece from the sheet is not in size. In case the fixed sheet of plasterboard is slightly more than the required one, then the excess can be easily removed with a jigsaw or saw. If less, then you can combine the two parts, but in such a way that they docked on the cross bar.
Tip! It is necessary to fix the drywall so that the caps of the screws are no more than 1 mm above the surface of the sheet. If the screws are screwed too deep, this can weaken the fixing of the plasterboard, while over-protruding caps will add to the work during the subsequent finishing. In order to disguise them, you will need more primer and time.
Before closing the box with the last piece of drywall, it is recommended to fill the inner space with a layer of foam.
If you are constructing a drywall box to hide the radiators, then it is very important to complete several holes in it after all the installation work, or to leave an opening in which the screen will be inserted. This will allow warm air from the radiator to enter the room.
You can make holes using an electric drill with a special nozzle. The diameter can be any, as well as the number of holes. The main thing is not to overdo it and not to spoil too large holes the interior of the room. A good option would be to drill a variety of small holes that follow the shape of the box.
Finish
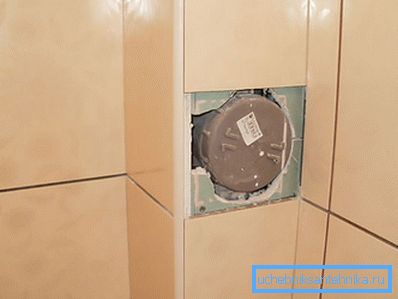
The finished box is covered with a layer of putty, carefully masking the caps of the screws. Before this, it is desirable to glue the places of the joints of sheets of drywall with a special tape - serpyanka.
For a clear and smooth corners using a metal corner. A solution of putty is placed inside of it and, pressing the corner tightly to the edge of the box, stretch it over the entire surface. Then the wall is leveled with a thick spatula, cleaned and primed. The resulting surface becomes suitable for subsequent finishing paint, wallpaper, tiles, tiles.
Video
This video clearly demonstrates all that was said above: