How to eliminate a leak in the heating pipe
In many homes, the heating system is built on the Soviet model. In those days, steel was used as the only material. It has a high level of strength and is durable enough. However, like other metallic materials, steel is easily corrosive. Over time, a crack forms at the site of corrosion. The result is a flow in the heating pipe.
Causes of leakage
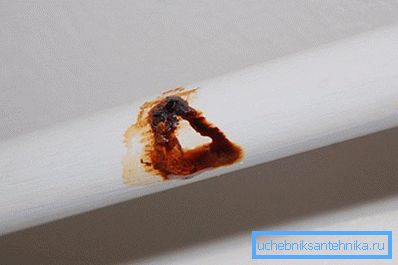
- corrosion;
- increased humidity;
- sudden changes in temperature;
- long service life;
- incorrect installation work;
- periodic occurrence of excessive loads.
All these factors contribute to the gradual destruction of pipes and the occurrence of leaks.
The most common leaks

- places bends;
- pipe connections with fittings, taps;
- joints;
- flat areas with damaged surface.
Preparing to eliminate leakage
It is possible to eliminate the leakage of water in the pipe at any time of the year. If damage is detected, do not delay work until the end of the heating season. This may cause more serious damage.
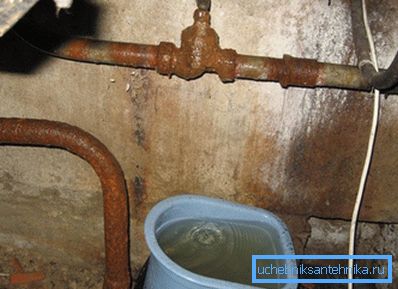
Before proceeding to fix a leak, consider the following factors:
- type of material used;
- damage location
Leak on the straight pipe
The cause of the malfunction in this place may be poor-quality welding. Over time, the places of the pipeline, connected by welding, lose their strength. This leads to a violation of the integrity of the pipe.
How to eliminate a leak in the heating pipe in this case:
- Surface preparation. Cleaning the pipe from paint and drying. Care must be taken when working. When cleaning the surface of paint, the degree of damage may increase. This will increase the leakage.
- To eliminate the problem using a special clamp. He plays the role of a patch. It must be purchased at the hardware store. The clamp has a rubber layer that performs the function of a gasket. It is necessary to impose on the pipe rubber side.
- The clamp is tightened on the pipe with bolts.
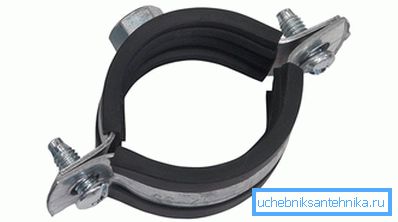
If you are using a metal clamp, you must first put a rubber gasket in place of the leak. Tighten the clamp with a screwdriver.
If the clamp was not at hand, you can use copper wire instead. In this case, the rubber gasket is tightened and fixed with wire.
Elimination of leaks on the threads and joints
Main causes of faults:
- poor installation;
- violation of the integrity of the pipeline;
- leakage;
- corrosion effects.

To fix the problem, you must perform the following steps:
- Turn off the heating system.
- Dropping the riser system.
- Disconnecting threads with a wrench.
- Cleaning the thread from contamination.
- Applying a layer of sealant or sealant in a damaged place. Actions must be performed clockwise.
- System installation.
- Connecting the heating system.
- Run risers.
Damage to radiator sections
Radiators have the property of plasticity. Therefore, the resulting leak at a cold temperature can be delayed by itself.
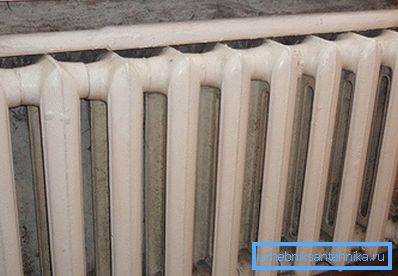
If you still need to repair the damage, you should perform the following work steps:
- Turn off the heating system.
- Dropping the riser system.
- Disconnect the radiator. When working it is recommended to substitute a basin under the radiator. Perhaps in the riser there will be water that can flow.
- Using a radiator key, disconnect part of the radiator with a damaged area.
- Attaching a new nipple to the radiator (it should be well tightened).
- Connecting the heater and launching risers.
Flowing radiator plate
This type of radiator is characterized by thin walls. They are most often subject to damage.
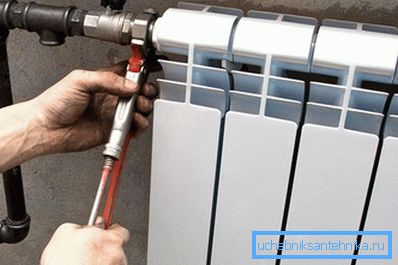
Usually, in the event of damage, it is recommended to completely replace the part. However, there is a way to repair the damage at home:
- Turn off the heating system.
- Dropping the riser system.
- Surface preparation. Cleaning the site of damage from dirt, grease and corrosion.
- Drawing on the damaged site of mix cold welding.
- The mixture should harden. This occurs within 30-40 minutes.
- Connection and start of the heating system.
Temporary solutions
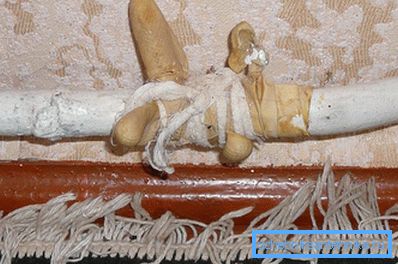
If there is no suitable specialized equipment on hand, you can use the available tools:
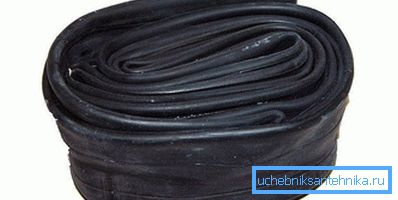
- As a patch, you can use a piece of rubber (for example, a bicycle chamber). It should be wound on the pipe and secure with wire.
- You can use the factory bandage. It should be fixed on the pipe.
- It is possible to seal the leak using a conventional medical bandage and cement mixture. To do this, dilute the cement with water and soak the bandage in the resulting mixture. The finished bandage should be wrapped around the pipe several times. The finished section on top is also worth the grease cement mixture. A day after the patch is completely dry, you can connect the heating system.
- To eliminate the leakage, you can also use a cement-salt mixture. To do this, the cement solution must be lowered for a few seconds. On the finished bandage must be applied a layer of salt. The injury site is wrapped with a bandage several times and secured with clamps.
If the battery is leaking
The resulting leakage in the radiator requires its replacement. However, you can use a temporary fix to fix the problem. So you can extend the battery life by 3 months.
The work will require the following materials:
- Soft fabric.
- Epoxy adhesive. If there is no glue on hand, you can use wood varnish or oil paint.

Working process:
- Turn off the heating system.
- Drying the damaged surface.
- Applying glue to the fabric.
- Wrapping a damaged area in several layers.
- The heating system can be turned on after complete drying of the installed materials.