How to solder copper pipes: high-quality technology
Despite the popularity of modern plastic pipes, copper does not give up their positions. Physical and chemical properties of this material, versatility and durability make it appropriate in any room, and the warm color will enliven any standard room. Having mastered the basic theoretical rules of how to solder copper pipes, even in the absence of experience, you can confidently begin activities on your own.
Advantages of copper pipes
Rejecting plastic and making a choice in favor of the system of copper, you can certainly lose money, but also insure against possible trouble. They are few, but everything happens for the first time. Copper piping is resistant to the negative effects of sunlight, long sections do not “lead” from high temperatures and do not burst from low, which cannot be said about plastic (see also the article Equipment for brazing copper pipes: we analyze the features).
The production of copper pipes provides three options - solid, semi-solid and soft (labeled respectively R 290, R 250, R 220). Hardness means breaking resistance. For the device of a heating or water supply system in the house it is practical and convenient to work with them
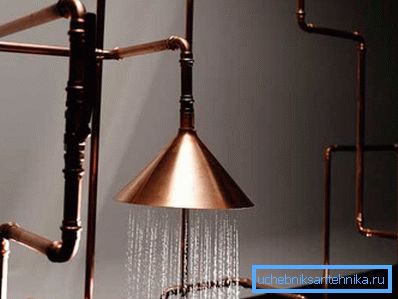
They easily withstand the standard pressure in domestic pipelines and a water temperature of 95 ° C. Soft pipes are extremely flexible and can be easily bent more times using fewer fittings, which can be an original and unexpected design element.
Have you already bought the materials?
Providing a continuous workflow will allow the necessary set of available tools and materials:
- steel brush or scouring pad to prepare the outer surface of the pipe and the inner fitting;
- flux paste (sold in finished form) and brush for application;
- rags to remove excess flux;
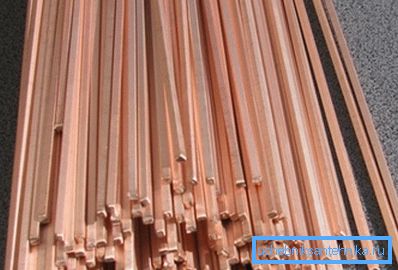
- solder (available in the form of bars in diameter of 3 mm);
- pipe cutter;
- Faskosnimitel or reamer, if you still have to cut a piece of a disk or a saw on the metal and a lot of burrs;
- mandrels and calibration sleeves;
- fitting;
- an expander (with a socket);
- heating equipment (what to solder copper pipes).
Soldering technology
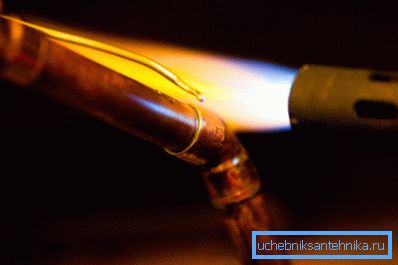
Regardless of what will be used for heating (a torch or an electric soldering iron), the order of action always remains about the same.
It is recommended to work in the following sequence:
- cut the pipe into pieces of the desired length;
- clean the ends;
- apply flux;
- heating the joint to weld solder;
- Allow the compound to cool.
We solder safely - we get beautiful results
When the question of soldering arises, the issue of safety and convenience is perhaps the most compelling argument. Burners with an open flame operate in high temperature mode up to 1000 ° C, which is associated with increased danger: flammable objects, volatile chemical vapors, the threat of burn - this is somewhat annoying.
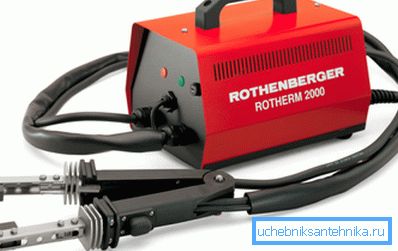
The most suitable option for comfortable working conditions, especially in hard-to-reach places, would be an electric soldering iron for copper pipes. It looks like tongs that wrap a pipe and heat it up.
In this case, soft solder is used (tin-lead, tin-copper and tin-copper) and work at a temperature of less than 450 ° C. The technology of connecting the system remains the same, and the risk of “breaking firewood” decreases.
Between fitting and socket
Usually a soldering iron is used to work with the fitting. This is an extremely convenient, safe, time-saving (but not a wallet) method. Because already at the production stage, a low-melting solder for the low-temperature regime is usually placed inside the connecting element.
It remains only to combine the prepared elements and heat.
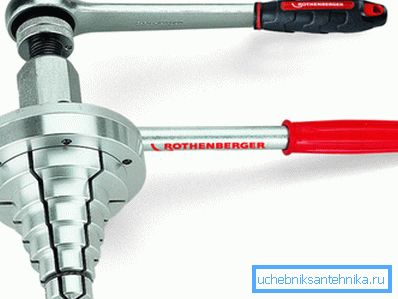
More economical option, but no less quality, will be soldering to the socket, which can be easily done with your own hands. Having selected a head of the corresponding diameter on the expander, insert it into the tube hole. One turn rotates the lever (the cone expands and a socket is formed).
Note! The maximum gap between the inserted pipe and the walls of the connecting element should be 0.2 mm. Otherwise, the capillary “absorption” of the liquid solder will be broken.
Preliminary preparation of surfaces
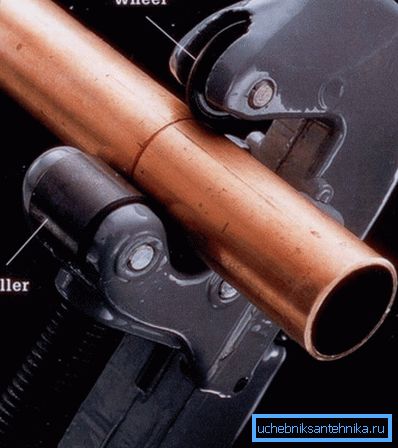
If you have to cut the pipe, it is desirable to use a special device. The operation will take a maximum of 7 turns of the pipe cutter disk and will give a clean cut. A metal saw will leave a lot of burrs, which are cleaned by a grater or face picker.
In addition, slight deformation is possible - a round hole presses down and becomes slightly oval. The defect is eliminated by a kind of smoothing of the surface, first from the inside with a calibrating sleeve, then outside with a calibrating mandrel.
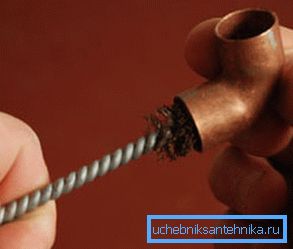
Cut, "ironed" places are additionally processed with a steel brush or a special sponge from the smallest specks. The same operation is performed inside the coupling, fitting, socket.
Cool soldering golden hands
Before soldering copper pipes it is necessary to perform standard operations:
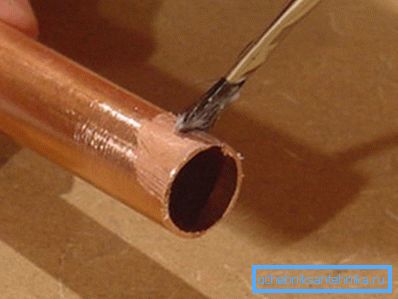
- The area of the pipe edge that will be articulated with the connecting element, brush without fanaticism and economically smear with flux. It finally refines copper and promotes uniform distribution of solder.
- After inserting the pipe into the fitting all the way, turn any of the parts to better distribute the flux.
- Remove excess matter with a cloth.
- Heat the joint to the desired temperature with a soldering iron.
- Having pressed a bar to a gap between the connected details, lead it along a crack, without stopping heating. (Factory solder fittings should be heated only).
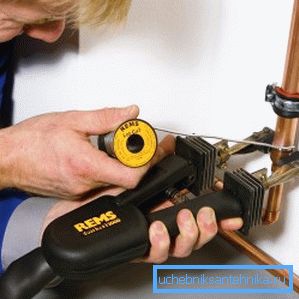
Note! The length of the bar, a little more than the diameter of the fitting or socket, will go to the soldering of one section. The length is easy to note, bending aside the corresponding piece of solder. This instruction will help you not to waste material in vain.
- When a portion of the molten solder is “absorbed” into the slot, remove the electric soldering iron.
- Allow the knot to cool naturally. To accelerate this process with cold water is not worth it - cracks may appear.
- Remove the remaining flux from the outside with a rag, inside with water pressure.
Possible defects
There are situations when, despite the formal adherence to the sequence of operations, marriage happens.
According to the standards of the international welding society AWSC3.3, the main types of defects are defined:
- incomplete drink joints;
- blotches of flux;
- torn edges and cracks;
- overall unsatisfactory view of the finished work.
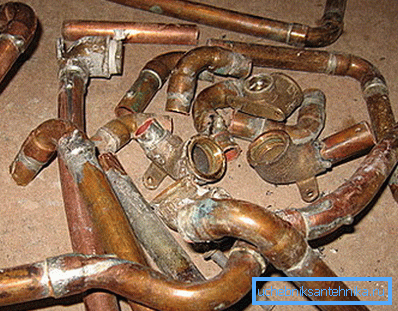
Statistics show that the “human factor” most often leads to poor results, but not the quality of materials. Since the price of copper is high enough, this should be a stimulus to the exact observance of the technological process.
Summarizing
If you used to work with a simple soldering iron or gas burner, then you already know half how to solder copper pipes. The opportunity, multiplied by the desire to have a copper pipeline in the house, is an excellent incentive to master a new technology and gain experience with a new material.
The video in this article will show in detail the preparation of the copper pipe for soldering and the process itself.