Installation of sewer pipes: how to independently assemble
One of the main stages in the creation of a wastewater disposal system from an apartment or a private house is the installation of sewage pipes. Despite the seeming simplicity of the process, it has many nuances, the non-observance of which can lead to significant problems, and even complete inoperability of the drainage network.
Consider this question in more detail.
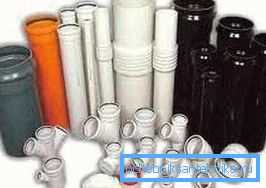
Compound assembly
At present, pipes made of plastic are widely used to create sewer systems. They are easy to transport and install. The elements are connected to each other without the use of additional equipment, glue or other similar substances. In addition, it allows, if necessary, easy to dismantle sewer pipes.
However, there are certain rules, the observance of which makes it possible to achieve maximum tightness and reliability of the connection, the absence of leaks and linear deformation of parts.
Preparatory stage
Before manufacturing the sewage system, it is necessary to purchase the necessary amount of materials, deliver them to the construction site and ensure proper storage conditions. This will prevent the deformation of pipes and the deterioration of their technical characteristics as a result of exposure to adverse environmental factors.
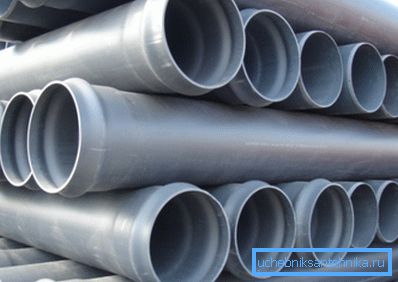
It is possible to stack individual plastic parts in a stack, the height of which should not exceed 2 meters. Remember that polyethylene and polypropylene are afraid of exposure to sunlight. It does not matter what the temperature of the air will be in the room.
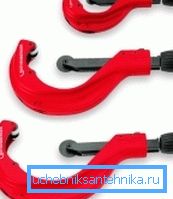
Also take care of the cutting tool, because in the process of installation you will often need to cut the pipe, seeking the right size. It is best to use special tools that, after cutting, form a facet at the end of the product (the price of such a cutter is small and you can freely buy it at the hardware store).
Otherwise, you can shorten the pipe with a hacksaw. It will only be necessary to further process the edge with a file, giving it an angle of about 150 degrees, thus avoiding damage to the rubber seal in the socket.
Note! In no case can not cut the sewer fittings used in the installation process. This violates their technical characteristics and leads to the formation of leaks, as well as the deterioration of the permeability of the installed sewer network.
Main stage
Installation of sewer pipes is made in the following sequence:
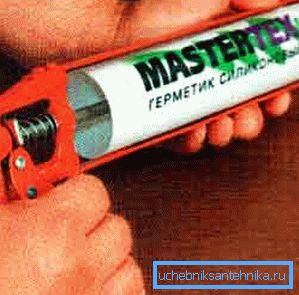
- Silicone or liquid soap is applied to the smooth end of the pipe or fitting..
This substance allows:
- facilitate the docking of parts during assembly;
- reduce friction between parts during temperature expansions of plastic parts of the sewer network;
- reduce the chance of adhesion of parts, which can lead to warping of the drain system;
- keep the rubber sealer from drying out during the entire period of operation of the sewer network.
- The smooth section of the pipe must be pushed into the socket of another pipe, coupling, outlet or adapter until it stops, and then mark the place where the cut will be located.
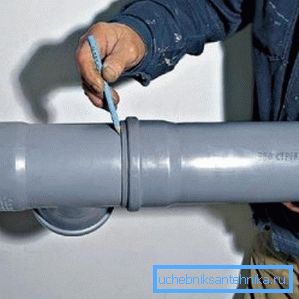
- Push the pipe back a little so that the distance between the drawn line and the edge of the bell is about 1 cm.. This will avoid breakage of the sewage system during operation and reduce the internal stress of the pipes.
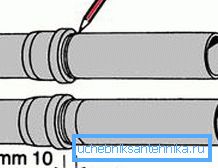
Note! When the pipe is inserted into the fitting, it is not necessary to push it back. It must be pushed in as far as it will go, ensuring maximum reliability of the connection.
Docking plastic and cast iron parts
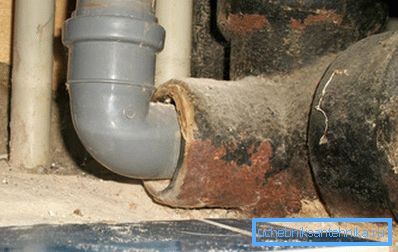
When upgrading drainage systems in old apartments, it is often necessary to connect PVC pipes with an existing cast-iron drain system.
In this case, the work is done as follows:
- for the tightness of the node, you need to use a special adapter of the required diameter;
- if the end of the cast-iron pipe does not have a bell, a double sealing gasket is applied to its end, after which a plastic pipe with a bell is mounted on top (in this case it is not necessary to lubricate the rubber parts with silicone);
- when the cast-iron pipe ends with a socket, then all actions occur the other way around.
Sewer Pipe Fixing
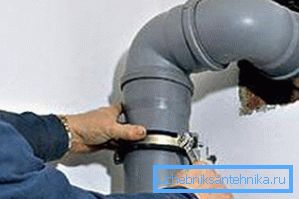
Clamping with clamps
All sewage parts must be firmly attached to the wall or floor.
Before proceeding to this stage of work, you should carefully study the diagram of the mounted network.
The instructions for fixing the clamps include the following requirements:
- fasteners should be located under the couplings connecting the various elements of the drain pipe;
- the distance between adjacent mounting units should be no more than 10 diameters of the pipe used;
- in vertical risers clamps are installed every 1-2 meters;
- the distance between the pipe and the wall surface should be 4 mm.
Regulatory construction documentation (DIN 1986) requires that there is no internal stress in the finished sewer network.
This is achieved by combining rigid and floating mounts:
- Tough. In this case, the pipeline is clearly kept in one position. The clamp does not allow parts to move in one direction or another. But here you need to use sound-absorbing fasteners (clamps, equipped with a rubber gasket).
- Floating. This node provides free movement of the pipe along its axis. Parts can be fixed using the same fasteners (without rubber seal). However, do not overtighten the bolts on the pipe.
Pipeline laying in concrete
In some cases, it may be necessary to pour sewage pipes with concrete. To do this, the installation is carried out according to the scheme described above (with a 10-mm gap remaining at the joining points of the elements), and the fastening is carried out so that the parts cannot change their position during operation.
The gaps between the socket and the surface of the pipeline should be additionally protected with a sticky building tape, and all holes should be closed with appropriate plugs.
If the pipes are held in the wall, then the strobe should be arranged, the size of which should ensure the absence of internal stress.
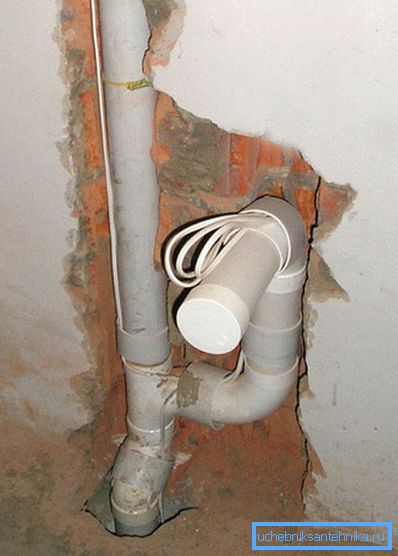
In case the surface is plastered immediately after this, the sewage elements should be wrapped in a soft material:
- corrugated thick cardboard;
- mineral wool;
- fiberglass.
Also consider thermal insulation. Without this, the hot water flowing through the pipeline can damage the decorative finish.
Quality control of compounds
After all the pipes are connected to one network and sanitary devices are connected to it, you should check the resulting sewage system for operability.
To this end, it is recommended to open at full capacity all consumers in the house. The system should drain all the water without delay.
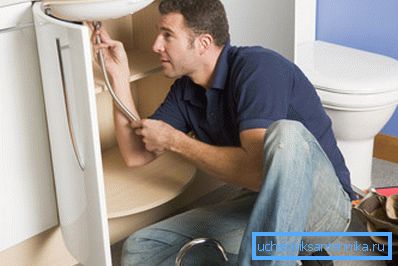
Also check the tightness of the connecting nodes. If a leak is detected, the installation procedure for one or another part of the sewage system will have to be repeated.
Conclusion
As you can see, the installation of sewage pipes with their own hands is simple and allows you to design a reliable wastewater disposal system with minimal effort.
You can learn more about this question from the video in this article.