Profile pipe welding: rules for forming a reliable
Welding shaped pipes with your own hands is a much more difficult task than it may seem at first glance. In fact, even a person who is fluent in a welding machine will have to work hard to get a reliable design that meets the specified dimensions. What to say about beginners who are just mastering this technology?
However, it is still possible to cope with such a task, and besides practice (without it, nowhere!), To ensure an acceptable result, fundamental theoretical preparation is necessary.
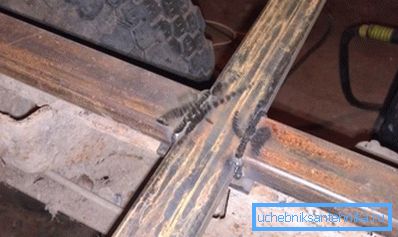
Process features
Pluses of profiled pipe
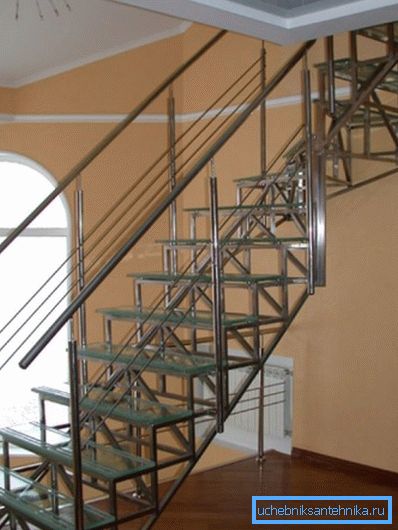
The advantages of profiled steel products as raw materials for welded structures are quite obvious:
- First, pipes are manufactured in standard sizes., which greatly facilitates their combination, especially when the end connection.
- A wide range of sections allows you to select parts for any design.. So if we want, for example, to weld gates from shaped pipes, then we can easily find elements for racks, for the frame, and for filling.
- Another plus is the uniform thickness of the metal.. It is very important during welding, because it determines the reliability of the seam a lot.
- Finally, it is very convenient that we will have to work with an already aligned edge and fairly smooth surfaces.. By production of a profile pipe there are rather strict admissions, and usually deviations do not exceed fractions of a millimeter.
Note! All these advantages are typical primarily for products that were produced in the factory according to GOST and according to the established range. Hand-made profile tubes (for example, rolled from round billets) usually have significantly larger deviations in size, and therefore behave unpredictably when mounted.
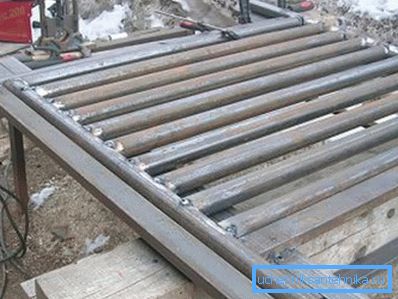
Main difficulties
However, the process of welding square and rectangular pipes includes a number of nuances:
- First, when the product heats up, its configuration changes, often far more than that of a round pipe. Often this leads to the fact that the whole structure is deformed, and the direction and degree of deformation is determined by the placement and number of welds.
- Secondly, when the end connection may form areas of high voltage at the corners. This is due to the complexity of the formation of rollers of molten metal in these areas and uneven heating.
- In addition, this method of installation can lead to a partial overlap of the pipe lumen with hot and then frozen metal. If it is important to you that the parts remain hollow - consider this possibility.
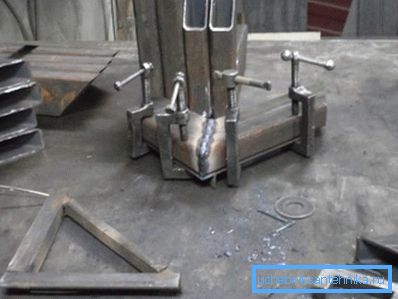
Naturally, these difficulties are usually not stopped by real masters. So after a careful study of technology and practicing skills in practice, you can cook a profile with a bang.
Method of work
Preparation of structures
The success of the event largely depends on how well we prepare for it. For example.
Before you weld a wicket from a profile pipe, you should perform the following operations:
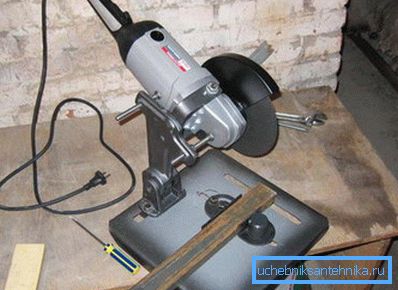
- To begin, we select parts with the required length and cross section. Trimming in size should be done with the help of a saw for metal, and not a welding machine - this way the edges will be smoother, and in the future it will be much easier for us to work with them.
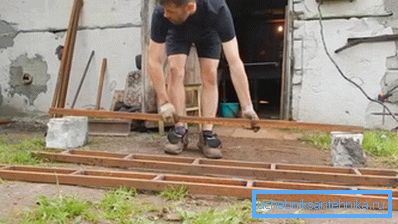
- Next - align all the pipes. Usually, in areas with curvature, the part begins to "lead" when heated.
- After that, we clean the connected areas from rust, brushing them to shine either with a metal brush or a grinder.
- If necessary, align the edges so that when the two elements are combined, the gap is minimal. The more thoroughly this operation is carried out, the less power we will spend during welding.
- Then we put all the elements in the position in which they will be in the finished structure. When performing welding, it is desirable to additionally fix the mounted parts so that they do not deform or move relative to each other. To remove the fixation is only after the cooling of the weld.
Arc welding
So, the parts are ready to work, you can begin their installation. And here two methods can be used: electric or gas welding. Below we take a look at both of them.
For electric arc welding, we need a welding machine. The price of such devices is quite high, because it is worth buying it only when you plan to work with metal more or less regularly. For one-time work, it is desirable to rent the device, especially since there are usually enough opportunities for this.
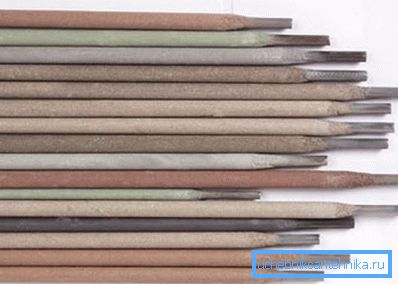
The next moment is the selection of the electrode and the mode of operation. Here comes the following table:
| Pipe wall thickness, mm | Electrode diameter, mm | Current on the device, A |
| 2 or less | 1.5 - 1.6 | up to 50 |
| 2 - 3 | 2 | 40 - 80 |
| 2 - 3 | 2.5 | 60 - 100 |
| 3 - 4 | 3 | 80 - 100 |
| 4 - 6 | four | 120 - 200 |
| 6 - 8 | five | 175 - 250 |
| 10 - 24 | 5 - 6 | 220 - 300 |
| up to 50 | up to 8 | 300 - 400 |
Tip! These values are of a recommendatory nature, therefore, before starting work, test welding should be performed on small sections of the pipe in order to check the quality of the weld.
The connection process itself is performed as follows:
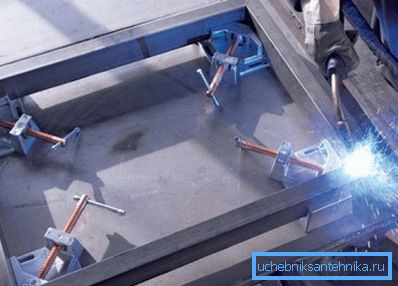
- We fix the parts on the welding table or on auxiliary devices.
- In several places we perform spot welding, “sticking” the pipes to each other. Usually enough fixation at four to five points on all faces of the pipe.
- After tacking, we control the position of the parts. If necessary, hammer blows correct positioning.
- Next, we begin to weld the joints of the pipes to be joined, forming on each roller of molten metal, which will then be shaped as a weld.
- In this case, we conduct the arc in such a way that the edges of the pipes have time to melt, but the metal itself does not sag into the product cavity.
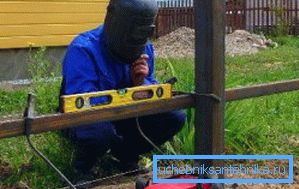
- Weld thick-walled pipes in several stages, gradually connecting all layers of metal. At the same time, we make each next pass in the opposite direction to the previous one: in this way we will ensure the consolidation of the optimal metal structure.
Tip! After each operation, we control the geometry of the product: long pipes usually begin to “lead” precisely after welding long joints, when large areas of tension are formed on the metal surface.
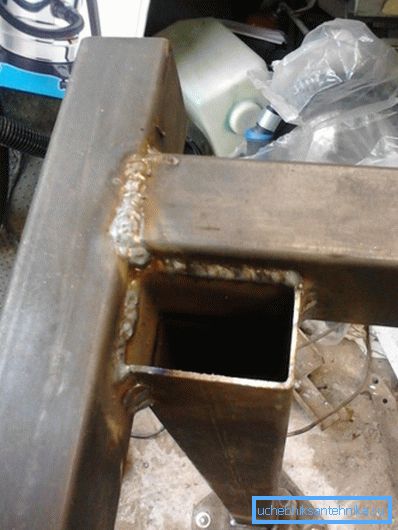
After completing the work, let the structures cool down, and then proceed to the stripping of the weld. In the future, these areas require the highest quality corrosion protection, since the metal exposed to high temperatures will rust much faster.
Gas welding
Instructions for the welded joint of profile pipes using a gas torch will, of course, be quite different:
- We perform the preparation in the same way as for arc welding.
- Before starting work, we cover all the joined surfaces with powder flux, which will contribute to hardening the seam.
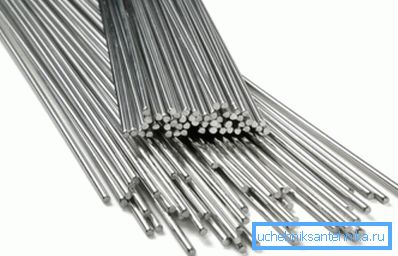
- Prepare the filler wire: optimally, if the composition it will coincide with the metal from which the pipe is made.
Next, start the connection.
There are two ways to do this:
- For thin-walled parts, a right-to-left joint is suitable. In this case, we run the torch along the edges to be welded, and we feed the additive wire in front of the torch. Due to the uniform melting of the additive and the edges, an accurate and reliable seam is formed.
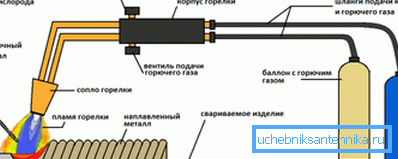
- Pipes with a wall of more than 5 mm are processed from left to right. The flame of the burner is directed to the welded area, and the additive is fed behind the burner. In this case, all processes are much faster, so that the speed of work increases. On the other hand, the seam is not so smooth and needs to be worked out after cooling.
As in the case of electric welding, at each stage we control the position of parts. If even the slightest deformation is noted, we immediately align the structure and provide a more solid fixation.
After cooling the pipes, we clean the joints with abrasive and apply an anti-corrosion coating on them.
Conclusion
Of course, even a sufficiently detailed answer to the question of how to make a profile pipe is not enough to successfully apply knowledge in practice. To make the result even satisfactory, you should carefully study the video in this article, and then try out the techniques presented there on small samples, preferably under the guidance of an experienced mentor. Only in this way you will be able to master this technology of installation at a sufficiently high level.