Replacement of sewage pipes in the apartment
From old sewage pipelines, mounted during the construction of the house, at any time you can expect any trouble associated with clogged sewers or the destruction of the walls of pipes. At the same time in the bathroom or toilet may appear unpleasant odors caused by stagnant phenomena in the drains of the pipeline and require your intervention.
In this situation, when sooner or later, you still have to deal with this issue, the only correct solution is to replace the sewage pipes in the apartment with new ones.
General procedure
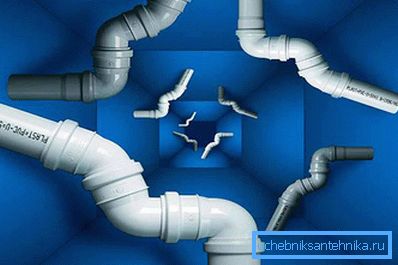
First of all, it is necessary to prepare a list of necessary works with the obligatory inclusion of the following working operations in it:
- acquisition of a complete set of modern drain pipelines;
- dismantling of the old worn-out pipework and riser;
- installation of a new riser with subsequent wiring of the sewage system.
Before purchasing components for the future pipeline, you should definitely consider the choice of material from which the pipes themselves and the elements of their interface are made.
Most often for arrangement of sewer communications pipe products of the following categories are used:
- ceramic pipes;
- plastic (polymer) products;
- cast iron products.
In assessing the upcoming selection, it should be remembered that ceramic pipes are quite expensive and therefore rarely used in everyday life.
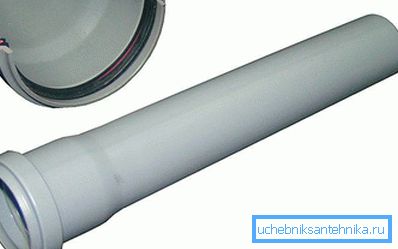
As for cast-iron pipes, despite their excellent anti-corrosion properties and high strength characteristics, they are noticeably inferior to plastic products in cost and ease of installation.
Preparatory activities
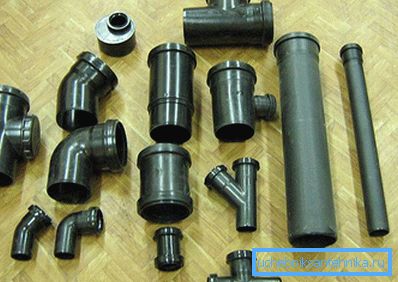
Before starting work, be sure to sketch on the sheet the layout of the future wiring, which will allow you to clearly determine the number of plastic pipes and elements of the interface. It should take into account all available plumbing fixtures, as well as methods for connecting them to the sewer system.
A set of used plastic products (in addition to the pipes with sockets) must include the following elements:
- adapters for joining plastic and cast iron;
- the so-called cross;
- special couplings, elbows and tees.
Dismantling the old layout
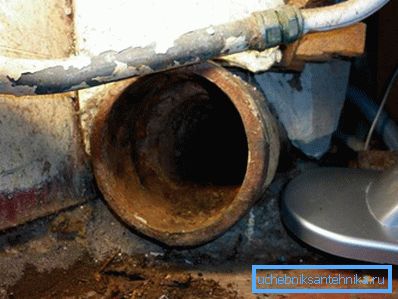
Before replacing part of the riser, or making a frame into it, be sure to coordinate your actions with your neighbors. After that, it will be possible to disconnect all existing plumbing and disassemble the direct spans, and then proceed to dismantle the riser itself.
In the process of dismantling it, an old cast-iron pipe is grinded from above and below at a slight angle. After removal of the cut part, two pipe segments are formed, one of which hangs from the ceiling, and the other is mounted in the lower tee.
Tip! When dismantling, be careful and do not allow small particles of debris generated during the cut to enter the sewage system (the easiest way is to close the hole in the pipe with a cloth).
Installation of the riser and wiring systems
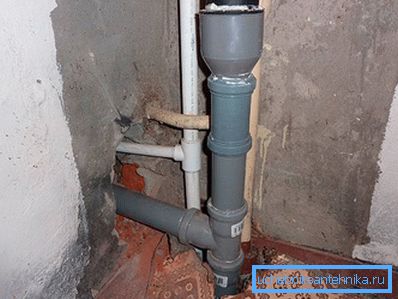
First of all, prepared sections of pipes for the riser and new wiring, the length of which is set in accordance with the dimensions of the disassembled pipeline. After that, it will be possible to make their fitting installation at the place of the future location (without compensators, gaskets and rubber gaskets).
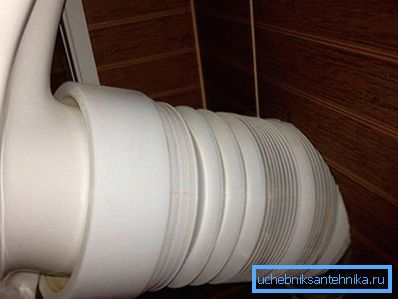
When connecting the toilet to the wiring, a special corrugated pipe should be used, the installation of which is carried out in accordance with the basic installation rule and consists of the following: in order to avoid leakage, the sockets of the sewage main elements should be installed in the opposite direction to the general direction of the wastewater flow.
It is also necessary to ensure that the pipes of the sewer line were located with a slight bias to the horizon.