Replacement of water supply pipes in 5 stages
In every old house, sooner or later, the time comes when it is necessary to update the plumbing system laid down during its construction. You can, of course, use the services of specialists for this, the price of which can be quite substantial, or you can do all the installation work yourself. We will talk about the second option in this article.
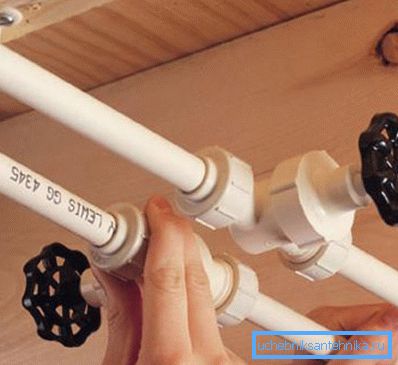
Stages of replacement
So where does the replacement of water pipes begin? From the layout of their layout:
Stage 1: Select and Diagram Connection
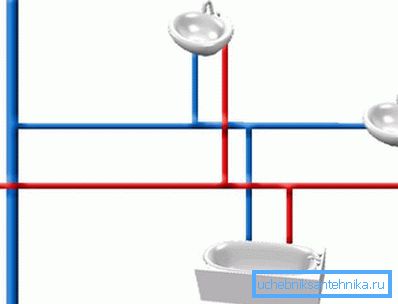
There are three ways of making water connections to your plumbing:
| Title | Description | Benefits |
| Sequential or tee | In this case, one pipe is laid from the collector, and already from it, with the help of tees for pipe laying, connections are made to individual points of the water intake. | Saving on the number of pipes |
| Parallel or collector | Here, the eyeliner is implemented for each sanitary device from the comb with its separate pipe | Minimum head weakening and possibility of overlapping of individual pipeline branches |
| Mixed | For each node, the type of liner is determined and implemented personally, the most rational combination of both the above methods | The possibility of optimizing the price and quality of the entire water supply system |
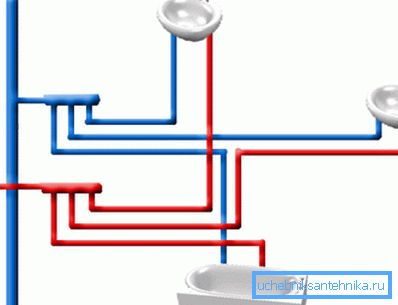
Tip: It is recommended to use a mixed method of laying water. So you can tie up small points of water intake on a more economical tee liner, and for those where the pressure and the possibility of an individual stop of the water supply are important, lay the collector one, which in combination will give the best result.
In drawing up the drawing, pay special attention to the scale and try to mark all the necessary places to connect plumbing. After all, this will be your main document-card of installation works, and having made a mistake in it, you can receive additional costs in the future.
Advice: it is best to draw a diagram to a specialist after drawing up the whole layout in order to avoid banal, but at the same time costly mistakes.
Stage 2: pipe selection
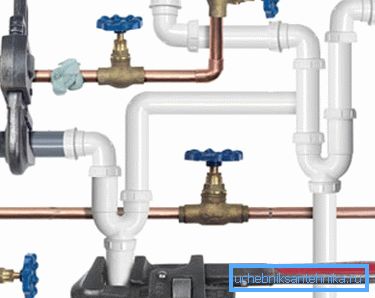
Most often in specialized stores you can find pipes for the implementation of water supply from the following materials:
| Material | pros | Minuses |
| Steel |
|
|
| Copper |
|
|
| Plastic |
|
|
From the table it is clear that each material has its advantages and disadvantages that influence the choice in a given situation, but when it comes to self-assembly, it is most rational to choose the choice of plastic products. We will sort out their arrangement further.
Stage 3: cost estimate
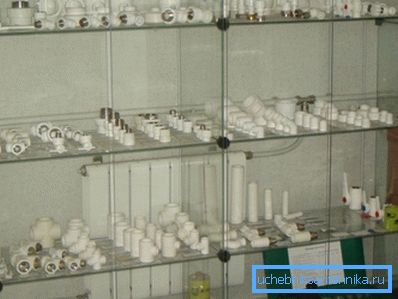
Estimates for the replacement of water supply pipes completely depend on the first two stages, that is, on which connection system you chose, and on which materials you are going to use. Then, having checked the prices of the nearest store and the drawing, it will be easy to calculate the necessary expenses. At the same time, do not forget to include in them the purchase of connecting fittings and fixing clamps.
Tip: purchase materials with a certain margin, in case the products are damaged during the installation process.
Stage 4: dismantling
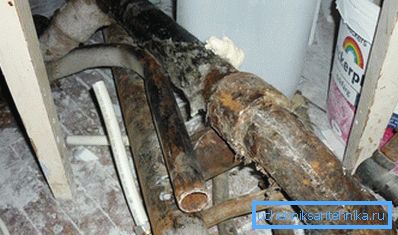
Replacement of water pipes is possible only after removing the old system. Stock up for this purpose with wrenches, a “grinder” and just in case a hammer, and then proceed according to circumstances.
The main thing is to try not to damage the walls and inspect the condition of the riser after dismantling all the apartment elements. If it also has critical wear or damage, then it is worthwhile to call plumbers.
Stage 5: Installation
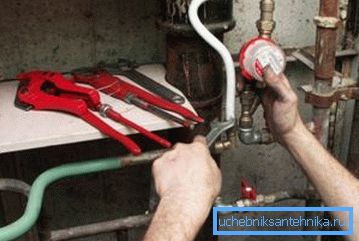
Instruction:
- Cut the pipe into the desired segments according to the drawing.
Tip: It is recommended to cut polypropylene products with special scissors. They allow you to make an even cut at a right angle in one motion.

- We carry out the connection of all the necessary elements according to the again drawn scheme. The most optimal variant of this task is soldering. Everything happens as follows:
- We take a soldering iron for pipes. For this, the simplest and cheapest model is suitable, since the power in such an instrument affects only the heating rate, but not the quality of the connection.
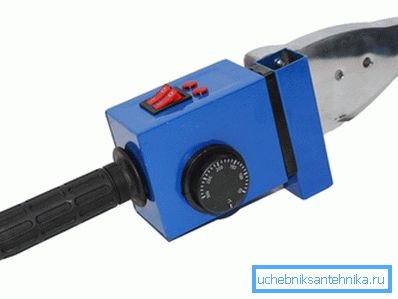
- We insert the nozzles suitable for the diameter and turn on the unit.
- After he has gained a sufficient temperature, which is 260 degrees Celsius, we insert a pipe section into a smaller nozzle, and a larger fitting into the larger one.
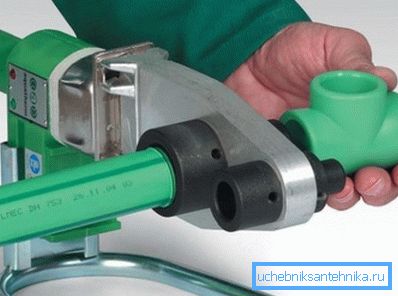
- As soon as we notice that the products have begun to melt, take out and tightly connect.
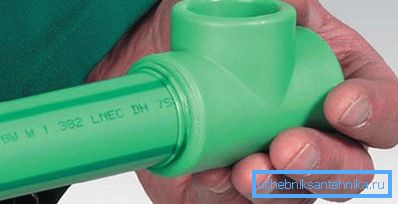
- Hold for ten seconds - everything is ready.
- In places of long passages we mount special clamps in the wall to support the pipeline.
- If necessary, install a counter at the entrance, cutting it between the main water main and your home system.
Conclusion
To replace the pipes, it is not necessary to call plumbers whose work will be expensive. Today, it is possible to carry out the entire distribution of water supply pipes on their own using plastic pipes, which are very easy to use. The above describes all the necessary steps to complete this task.
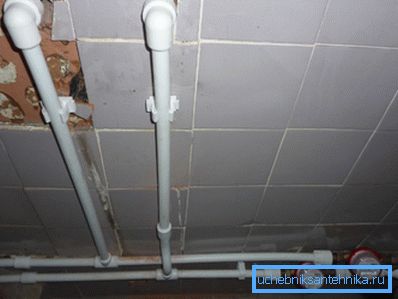
The video in this article will introduce you to additional materials. Successful to you installation works!