Replacing the pipes in the toilet - a guide to action
In due course even the water supply and sewerage laid according to all the rules start to make unpleasant surprises. At the joints there are leaks, sewage is often clogged. Local repair cannot be considered as a complete solution to this problem. Only complete replacement of pipes in the toilet, bathroom, and possibly in the whole apartment will help.
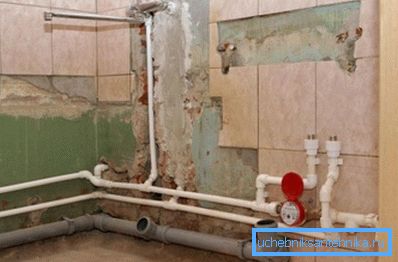
When do you need to replace sewer?
If the apartment has recently been overhauled with the laying of new pipelines, then in case of problems with the sewage system, plumbing or heating, cardinal measures are not needed. The decision to replace the pipeline is most often made in cases where the old cast-iron sewage drainage system has already served its purpose.
Replacing pipes in the bathroom and toilet is quite a laborious process, therefore, as a rule, the sewer and plumbing systems change immediately.
As for which pipeline to choose instead of the old one, everything depends on its purpose:
- PVC is usually chosen for sewage;
- for water supply - polypropylene (PP).
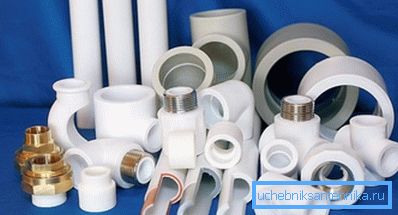
Note! You should not try to save money and use thin PP pipes for hot water supply. In the future, this may cause regular leaks.
Phased sewer replacement
Despite the difference in layout and different methods of installation, the instruction for replacing pipes looks about the same:
- water shut off;
- if possible, remove the remaining water from the old pipeline; it is forbidden to use the sewage system for the period of work in the house
- all sanitary fixtures are turned off;
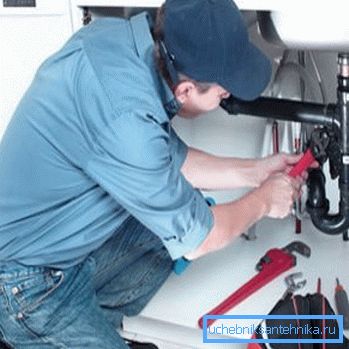
- after that, from the toilet and bathroom you need to remove everything that will interfere with the work. The toilet and bathtub are dismantled and taken out of the room;
- then the pipeline becomes bare, old pipes are dismantled, and new ones are laid;
- after this, it remains only to connect sanitary equipment and restore the decoration of the premises.
Preparation for dismantling old pipes
Residents of private homes simply cut off the water supply to the house and leisurely work. In a high-rise building, neighbors are unlikely to be pleased with this.
Therefore, when replacing pipes in the bathroom and toilet, you can do otherwise:
- it is necessary first of all to remove the section of the pipeline on which the inlet valves are located;
- then a thread is cut to the section of the supply pipeline going from the riser and new taps are installed;
- the water supply resumes and the taps close. The whole operation will take no more than an hour.
Removing plumbing fixtures from the bath and toilet
Toilets, as a rule, change together with the replacement of the pipeline, the price of a new toilet bowl is not so high, and the risk of damage to it is also high when dismantling. Around the base of the toilet bowl, the tiles are carefully knocked out, and the nuts securing the sanitary fixture on the floor are unscrewed.
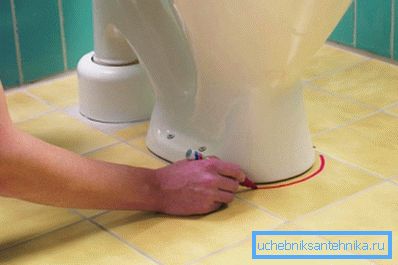
After that, you need to destroy the joint putty on the branch pipe with a chisel (if the house has an old cast-iron sewage system). Then, slightly raising the toilet, flared joints are loosened.
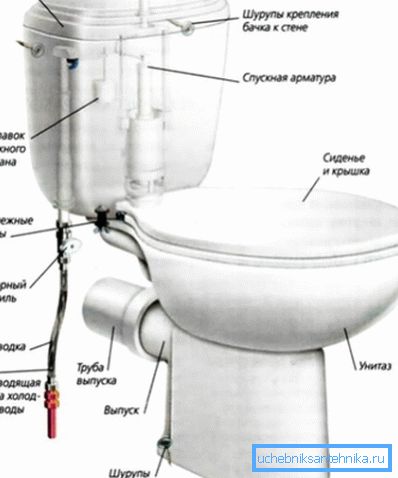
Note! Soviet sanitary appliances were fastened to the floor for centuries. Therefore, you can not waste time trying to remove them carefully, it is enough to discourage the base and then dismantle it in parts.
The same problem appears when dismantling the old bath (especially if it is cast-iron). In this case, with the accuracy of the jewelry you need to dismantle the funnel drain with a chisel and a hammer. The joint with the overflow pipe is cleared of putty with a chisel and hammer.
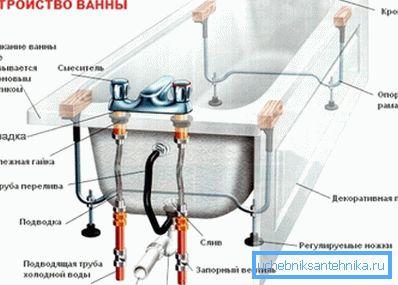
Dismantling old pipes
Replacing the sewer pipe in the toilet is carried out only after the toilet, rugs and all other foreign objects have been removed from the room.
If cast-iron pipes are used, they may not be particularly sparing, the dismantling in this case is performed as follows:
- grinders made cuts at the ends of the horizontal (vertical section);
- with light blows of the hammer, the cast-iron wall collapses;
- the rear wall is cut with a grinder and the area between the kerfs is free.

Special care must be taken when approaching the cast-iron sewer riser. If the tee socket cracks, then the price of repair will noticeably grow, because you will also have to change part of the riser.
Therefore, the Bulgarian pipeline suitable for the fasonine is cut almost right next to the bell. After that, the dismantling of pipes in the apartment can be performed without special precautions.
The complexity of the work increases greatly if a part of the pipe is laid in the wall or in the screed, shaving concrete will take a lot of time. When laying the pipeline it is not recommended to hide new pipes in concrete or in the floor.
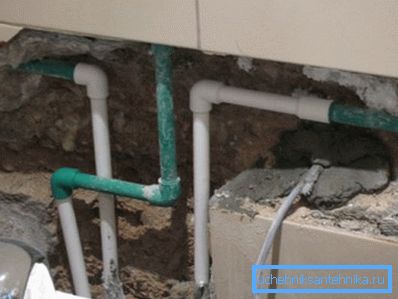
Installation of a new pipeline
Running in the direction of the riser.
It is recommended to adhere to the following recommendations:
- do not use pipes less than 100 mm for sewage;
- It is extremely important to provide the required slope (depending on the diameter). It is convenient to use clamps for this, with which the pipeline can easily and quickly fit your hands with the desired slope;
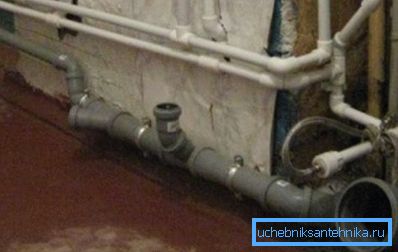
- if the pipes were previously laid at the middle of the wall, then it is better to lower them to the level of the floor, then they will be easier to hide in the box;
- after the wiring for the apartment is done, plumbing fixtures are connected.
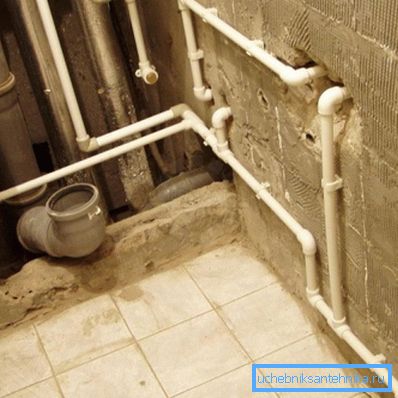
At installation of PVC sewage a bell-shaped connection is used, and when laying the water supply system - soldering. With the help of a special device, the material is heated and while the polypropylene has not hardened, the end of the pipe is inserted into the socket.
Completion of work
After completion of the main part of the work it remains to check the tightness of the joints and carry out finishing work. As for the sewage system, to check the tightness it is enough to pour a few liters of water into the toilet, bathtub, sink and other “suppliers of drains” and watch the joints.
Plumbing is checked after the joints have cooled. The entrance taps simply open, and if after 10-15 minutes no leakage has appeared, then we can assume that the joints are tight.
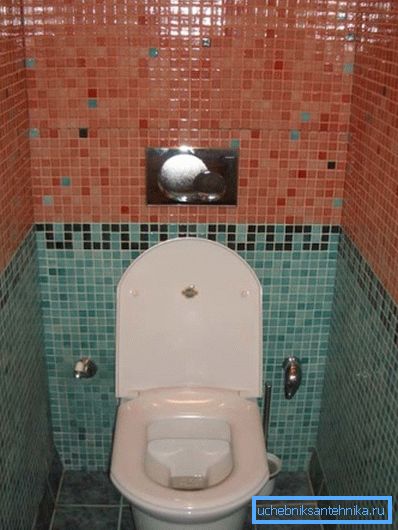
As for finishing, it is most convenient to hide the pipeline in the bathroom and toilet behind the false wall or in the box. If the room is narrow and the water supply and sewage are concentrated at the rear wall, then roller shutters are allowed.
Summarizing
Replacing the pipeline in the toilet and bathroom is not such a difficult job. Adhering to the recommendations proposed in the article, even a novice plumber will be able to cope with this task.
In the video in this article, an example of replacing the cast-iron sewers is analyzed in detail.