Soldering plastic pipes: a step by step guide for
Plastic pipes are currently used everywhere. They are cheaper than metal counterparts, are not susceptible to corrosion, are quite reliable and, which finally outweighs the choice in their direction, are easily installed on their own without inviting professional plumbers. We will talk about how this is done in this article.
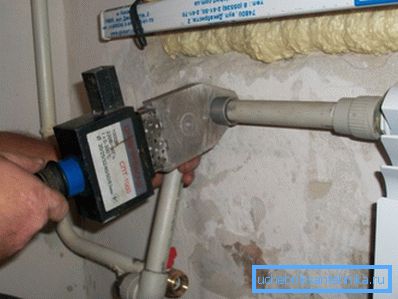
Types of soldering
Soldering or, as this process is also called, polypropylene pipes can be welded in three ways:
- With electro-fittings. In this case, to connect the pipes, special fittings are used, which have a copper ring with two external leads in the inner part. The usual welding machine is connected to it, copper under the influence of an electric current heats up and melts plastic, reliably sealing the joint. Quickly and efficiently, but quite expensive to implement.
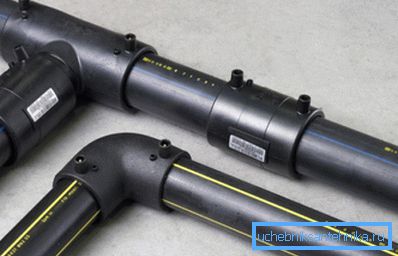
Tip: Electro-fittings are recommended for industrial use. In this case, the level of performance will have a higher value than the price of connecting elements and the obligatory presence of expensive equipment.
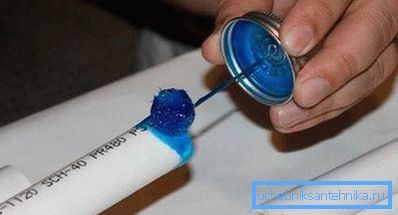
- "Cold". Here, the connection of the pipeline elements is carried out by applying aggressive glue to their joints. The strength of the finished structure is not inferior to the welded one, but its scope is limited only by the cold water supply system and sewage, heating and hot water supply are excluded.
- Polyphusic or "in a bell". This is the most versatile implementation of soldering for domestic use with couplings and a special soldering iron. We will analyze it in more detail.
Stepwise execution
The instruction for soldering is presented in the form of performing successive steps:
Step 1: Tool Preparation
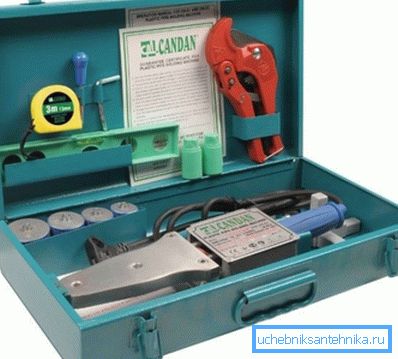
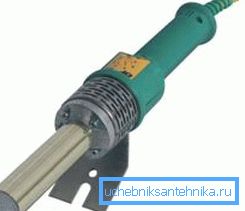
The most important tool is a soldering iron for soldering pipes, it is he who melts polypropylene by heating docking components.
Tip: do not buy for domestic needs to buy an expensive device with high power. This parameter affects only the heating rate, but not the quality of the connection.
In hard-to-reach places, welding is carried out by a special-shaped unit. It eliminates the possibility of connecting two nozzles at once, but with its help it is easier to repair a damaged highway.
You will also need:
| Tool | Purpose |
| Special nozzles | Coupling for melting pipes and mandrels for melting fittings |
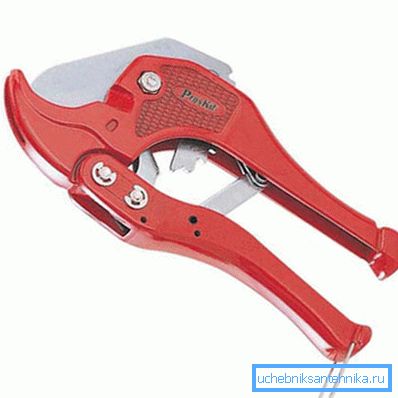
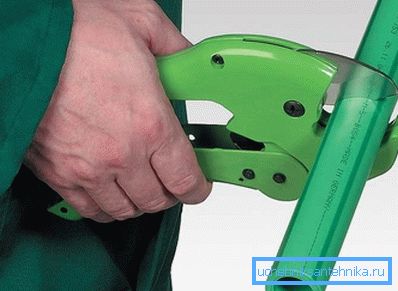
| Pipe cutter | Allows you to make an even cut with one hand movement. |
| Shaver | Removes reinforced layer |
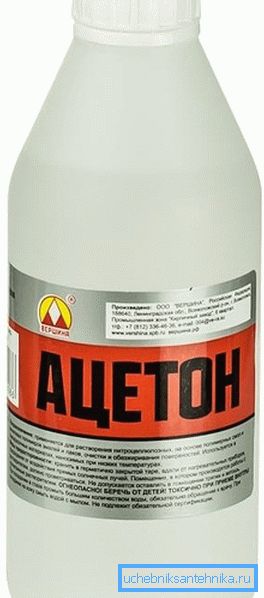
| Acetone | Degreases the junction |
| Marker or pencil | Applies the necessary markup |
| Roulette | Makes all necessary measurements |
| Rags | Removes random plastic drops from the nozzles. |
Tip: in the case of work with products whose diameter exceeds 40 mm, you should use a hacksaw for cutting. Since the pipe shears simply do not take such a large section.
Step 2: Markup and Cutting
Polypropylene pipes are usually sold in coils. That is, you get a one-piece long product that needs to be cut into segments that are comfortable according to your planning.
For this:
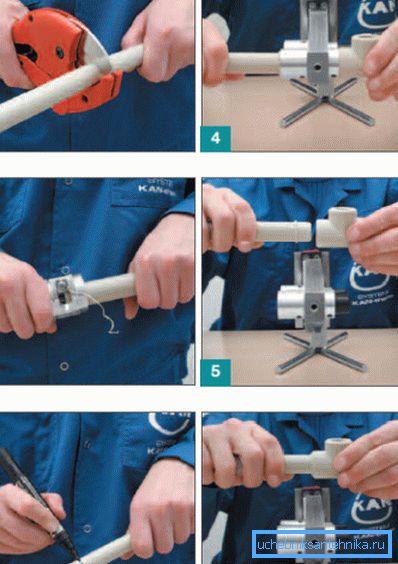
- Measure with a tape measure the desired length.
- Add a couple of millimeters to compensate for the melted part and put a mark.
- Strictly perpendicular to the product we bring the cutter and in one smooth movement we make a cut.
Step 3: Pipe Processing
Before inserting the pipe into the heated coupling, it is necessary to bring it into a certain state:
- If you use reinforced products, it is necessary with the help of a shaver to remove the top layer of plastic and remove the aluminum film. When reinforced with fiberglass or its absence, this item is skipped.
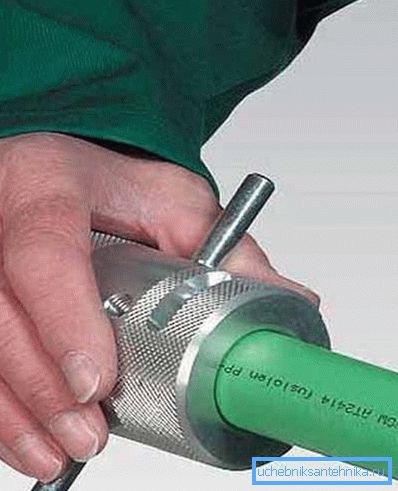
Tip: reinforced pipes should be purchased only if you are planning to install a heating system. In all others, it will only be a waste of money.
- Knife remove from the pipe outer chamfer. This will prevent the molten edge from tearing up during the joint between the parts.
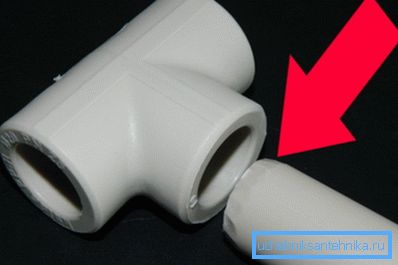
- Acetone degreased welding. In the opposite case, the remaining dirt can reduce the tightness of the connection.
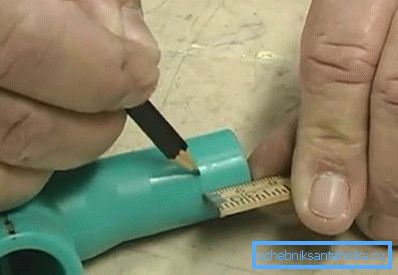
- Measure the distance from the edge equal to the depth of the fitting plus 2 mm to compensate for the melted part, and set the reference mark. The pipe should be immersed in the coupling.
Step 3: Install and Power Up the Equipment
- We put the soldering iron on a flat hard place.
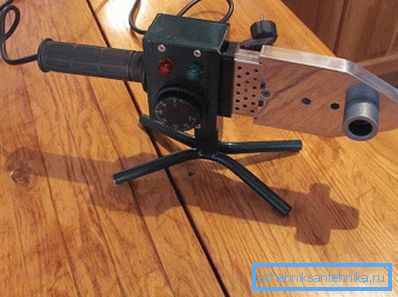
- We connect with a hexagon or cross screwdriver, depending on the fastener, metal coupling and mandrel.
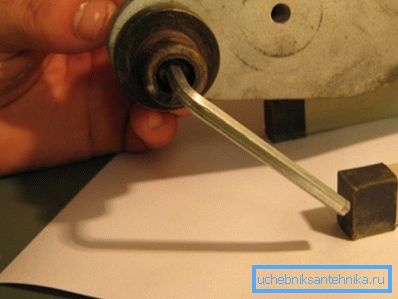
- Set the required temperature according to the following table and turn on the unit:
| Temperature, aboutWITH | Effect |
| 95 | Missing |
| 140 | The product loses its strength, becomes flexible |
| 260 | Polypropylene starts to melt |
- We are waiting for the indicator-light to turn off, indicating a sufficient degree of heating, and proceed to soldering.
Tip: after the device is heated, you can turn off one of the spirals. To maintain the required temperature it will be enough, but in this way you will save energy consumption and reduce the wear of the device.
Step 4: Soldering
Now that you have everything you need at your fingertips and is ready to use, and the soldering iron is heated to the melting point of polypropylene, which is 260 degrees Celsius, we begin welding:
- Insert the prepared pipe section into the coupling for connecting the pipes according to the marked mark. It is not allowed to rotate the product more than 10 degrees.
- On the reverse side, similarly, we put the fitting on the mandrel.
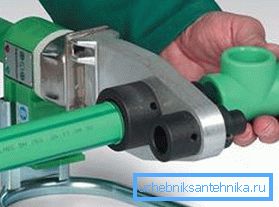
Tip: in view of the fact that the wall of the fitting is usually thicker than that of the pipe, it is advisable to give it some handicap in heating. This will synchronize the melting process.
- We are waiting until the edges of the parts are melted, forming a kind of roller, which is called grab. The following table will tell you the time required for different diameters:
| Section size, mm | Heating time, with | Soldering time, with | Cooling time, with |
| sixteen | five | four | 3 |
| 20 | five | four | 3 |
| 25 | 7 | four | 3 |
| 32 | eight | four | four |
| 40 | 12 | 6 | four |
| 50 | 18 | 6 | five |
| 63 | 24 | 6 | 6 |
| 75 | thirty | eight | eight |
| 90 | 40 | eight | eight |
| 110 | 50 | ten | ten |
| 160 | 80 | 15 | 15 |
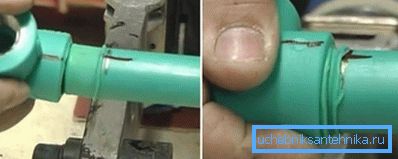
- After the specified time has elapsed, we carefully remove the components and quickly connect them all the way along the axis. In this case, in no case can they be turned, as the result is folds that break the tightness of the connection.
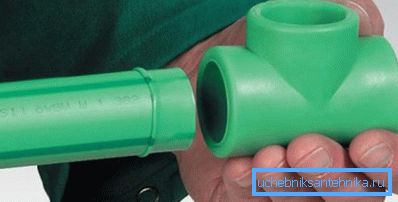
- We hold them for some time, which can also be found in the table above, and let them go. Connection is ready.
Tip: in the event of droplets of liquid plastic on the nozzles, you should not try to clean them with a knife, as a result you simply damage their Teflon coating. It is better to turn on the soldering iron again and after they are melted again, carefully remove them with a rag.
Conclusion
The pipeline from polypropylene pipes is quite capable to be mounted without possessing special skills. To do this, you will need a special soldering iron and several other accompanying tools, which, by the way, can often be found in the package with it. Further study carefully the instructions given above and can get to work in which attentiveness and accurate execution of all actions are important.
The video in this article will provide you with additional information directly related to the materials presented. Soldering pipes is easy.