Welding of polypropylene pipes: 8 main stages
Plastic pipes are currently used in plumbing everywhere. And one of the reasons for their wide popularity is the ease of installation work - welding of polypropylene pipes with the help of a soldering iron is available to most homeowners. It is about this process and will be discussed further.
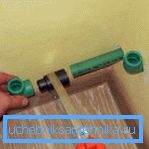
General provisions
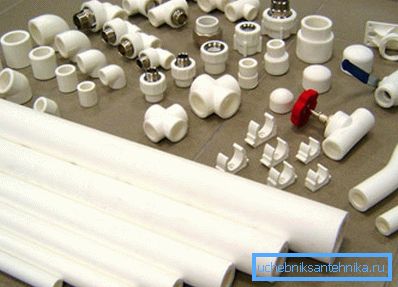
To begin with, we will pay a little attention directly to the plastic pipes themselves, or rather to their positive and negative characteristics, in order to understand further what we will have to deal with.
Merits
- Low cost. Significantly cheaper than similar products from other materials.
- Ease of processing. Easy to cut.
- Elasticity. It is transported and stored in the twisted look.
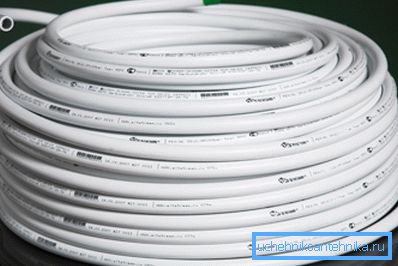
- Little weight. Does not require reinforced fastening.
- Environmental friendliness. Meets all sanitary standards.
- Resistance to corrosive processes. A very important aspect is subject to constant contact with water.
- Long operational life. Properly serve at least fifty years.
- Easy installation by soldering, which we will talk about in more detail later.
disadvantages
- Temperature limit of +95 degrees Celsius. On the one hand, this is a clear disadvantage in operation, but on the other hand it is this quality that allows for welding in living conditions.
Tip: in the case of using plastic pipes in heating systems, where in case of severe frosts, it is possible to supply heat carrier heated over the permissible rate, it is recommended to use reinforced products. They are able to tolerate much higher temperatures.
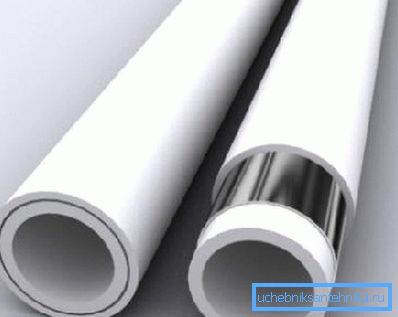
- Relatively weak resistance to mechanical stress. That is, for example, to lay a highway of polypropylene under the carriageway categorically should not be without additional protection.
Soldering
Welding polypropylene pipes, as they call this process, soldering is the most rational and reliable way to connect them with your own hands. It also uses a variety of pipe fittings for arranging a high-quality and convenient pipeline.
The instruction for welding of polypropylene pipes consists of several successive stages, which we will carefully examine.
Stage 1: preparation of tools
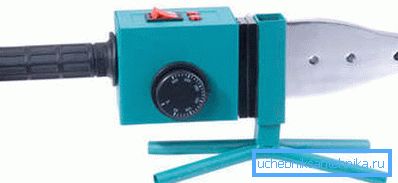
| Tool | Purpose |
| Soldering iron | Creates the temperature needed to melt polypropylene |
| Special nozzles | Allow to heat products in the right places. |
| Cutter | Implements pipe cutting to the right length |
| Marker | Applies the necessary markup |
| Roulette | Makes the necessary measurements |
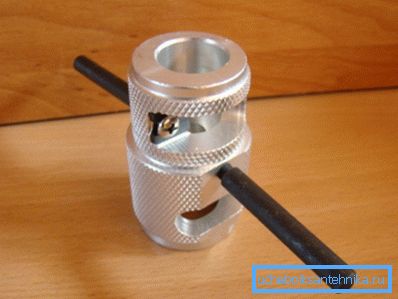
| Shaver | Removes the reinforcement layer. |
Tip: when choosing a soldering iron for domestic needs, you should not spend money on an expensive unit with high power, since this parameter affects only the heating time, but not the quality of the soldering itself.
Stage 2: selection of pipes and fittings
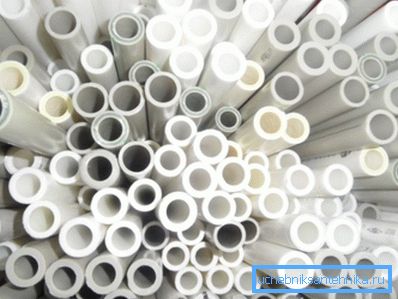
When selecting pipeline components, it should be borne in mind that the products should not enter each other in a cold state. That is, the pipe thickness must exceed the internal diameter of the fitting. Due to this, the strength and tightness of the connection is guaranteed.
In this case, a reasonable question arises: is it possible to weld polypropylene pipes from different manufacturers? It is here that the discrepancy between individual elements may appear, which may adversely affect the quality of the entire future system. Therefore, it is still recommended to use the products of one manufacturer and, preferably, proven.
The entire cost of welding polypropylene pipes with a single-handed performance, in fact, lies in the aggregate cost of the above materials.
Stage 3: Markup and Cutting
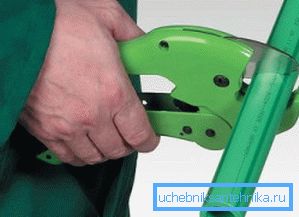
Even such a simple process has a couple of nuances:
- We put a mark according to the size of the segment we need, adding a couple of extra millimeters that will melt during the welding process.
- We bring special scissors strictly perpendicular to the product.
- We cut with one smooth, but firm hand movement.
Tip: if the outer diameter of the pipe exceeds 63 mm, it is recommended to use a hacksaw for cutting, as the scissors simply will not take such a thickness.
Stage 4: Welding Machine Assembly
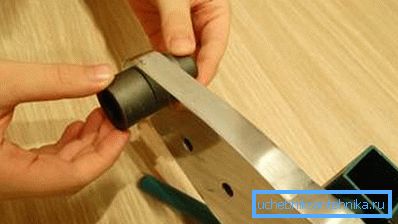
- We put the soldering iron on our feet on a flat and hard surface.
- Using a hex key on one side of the unit in a special groove, fix the metal PTFE-coated sleeve that will heat the pipes.
- On the other hand, similarly fasten the mandrel, designed to heat the fitting.
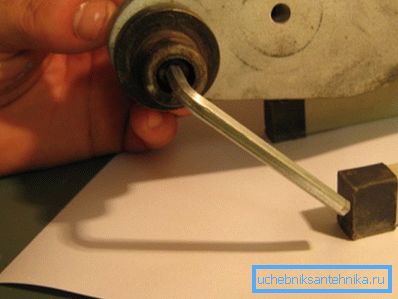
Tip: If plastic tips are stuck on the nozzles, you should not tear them off with a knife, as you can damage the Teflon coating. It is better to heat the unit and gently, so as not to burn yourself, wipe them with a cloth.
Stage 5: Component Preparation
At this stage, four important steps should be taken:
- We set aside from the edge of the pipe a distance equal to the depth of the fitting, add a couple of millimeters and mark this place with a marker or pencil. It is up to this mark that the product should be immersed, not deeper, in order to avoid a possible reduction in cross section.
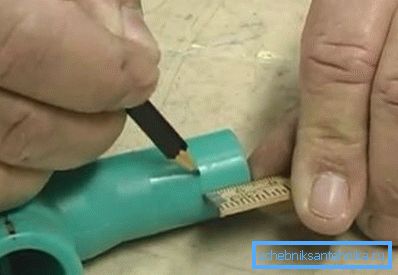
- Remove the chamfer with a knife. Due to this, the melted edge does not accurately retract at the entrance.
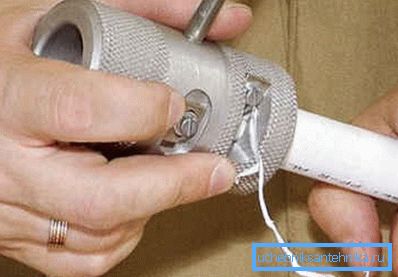
- If reinforced products are used, then with the help of a shaver we remove the top layer of polypropylene and foil. It is noteworthy that if instead of foil in the manufacture of fiberglass was used, you can immediately proceed to the soldering.
Stage 6: Melting Components
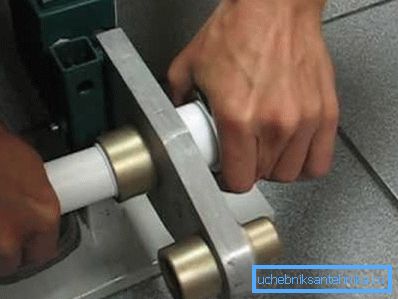
What temperature do you need for welding polypropylene pipes with your own hands? To answer this question, let's consider the effect of the heating process on this material:
| Heat | Effects |
| 95 aboutWITH | Absent |
| 140 aboutWITH | Loss of strength occurs, shape begins to change. |
| 260 aboutWITH | Transition to a liquid state of aggregation |
Consequently, the welding temperature of polypropylene pipes is 260 degrees Celsius. That is what we install on the soldering iron.
At the moment when the device warms up to the desired level, the indicator light will go out, which will serve as a signal for further actions:
- We put the fitting on the mandrel.
- Insert the pipe section into the coupling.
Tip: it is recommended for the fitting to give a head start in time, since its walls are usually thicker and warming up, therefore, it takes longer.
- We are waiting until the edges of the products start to melt, forming a kind of roller, called burr. The welding time of polypropylene pipes is described in detail in the following table:
| Nominal outer diameter, mm | Reflow time, sec | Maximum technological pause, s | Cooling time, sec |
| sixteen | five | four | 120 |
| 20 | five | four | 120 |
| 25 | 7 | four | 120 |
| 32 | eight | 6 | 240 |
| 40 | 12 | 6 | 240 |
| 50 | 18 | 6 | 240 |
| 63 | 24 | eight | 360 |
| 75 | thirty | eight | 360 |
| 90 | 40 | eight | 360 |
| 110 | 50 | ten | 480 |
Step 8: Making the Connection
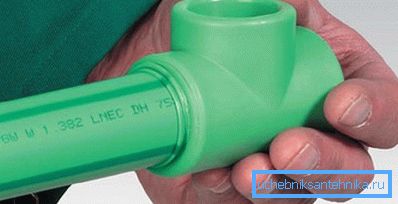
Further, the technology of welding of polypropylene pipes is as follows:
- After the time necessary for melting, we remove the products from the nozzles.
- Insert the pipe into the fitting strictly along the axis to the previously set mark.
Tip: never turn the parts. As a result of such actions, waves are formed that violate the tightness of the connection.
- We are waiting for a few seconds - welding is over. You can proceed to the following fragments.
Conclusion
Plastic piping is not only practical and economical, but also easy to install. Armed with a simple soldering tool, you can easily make connections of all the necessary elements with your own hands. The main thing is to follow the guidelines outlined above.
The video in this article will provide you with additional information that is directly related to the materials reviewed. Be careful and you will succeed!