How to change the mixer in the kitchen itself
For many citizens, it has become customary to use modern, comfortable plumbing in the bathtub, in the kitchen. New materials, technologies, availability of aerators are designed to increase the comfort of the kitchen for the housewife and to give individuality to the design of the kitchen. Sooner or later, any mixer will be replaced by a new one, either for aesthetic reasons or because of the development of its resource and its failure.
The replacement procedure requires certain skills and abilities, since the work will be carried out with the water supply system in which the water is under pressure, any wrong action in this case can lead to flooding and property damage, including from the neighbors below. Knowing how to change the mixer in the kitchen with your own hands, you can do without plumbing services. After all, when self-replacing all the work will be carried out with greater accuracy and integrity.
Preparatory work and the necessary tool
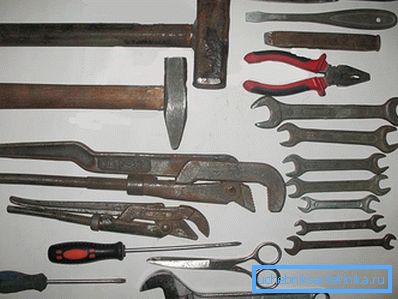
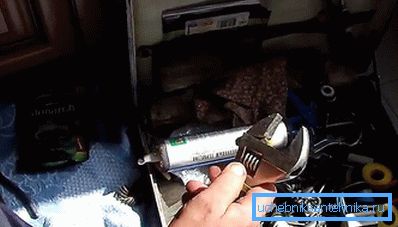
To replace the mixer will need:
- adjustable wrench;
- carob keys;
- flexible hoses;
- rubber (silicone) gaskets;
- slotted screwdriver;
- gun with silicone sealant (if necessary).
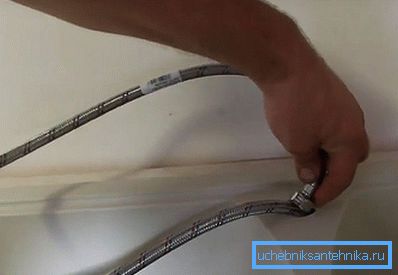
The hoses from the new mixer kit are very short (and may not be the same in size and thread size for connection to your water system). Therefore, it is better to purchase hoses of the desired length. Their connecting elements must correspond to the dimension and type of thread on the pipes. Typically, the diameter of the pipe is? in. The pipe cut must be even, otherwise a transition sleeve must be installed between the pipe and the flexible hose. When choosing a hose, you must consider what kind of thread should be - internal ("mother") or external ("father").
Before replacement, it is required to shut off the risers (hot and cold water) or internal wiring, open the valves for pressure relief. Since during the dismantling of the mixer, the remaining water in the system will pour out, it is better to put a rag under the sink.
Dismantling mixer
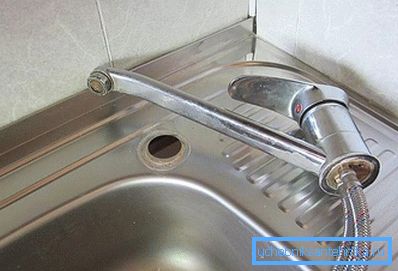
Before dismantling the old mixer, it is necessary to once again check whether the internal wiring is blocked, otherwise you cannot avoid troubles.
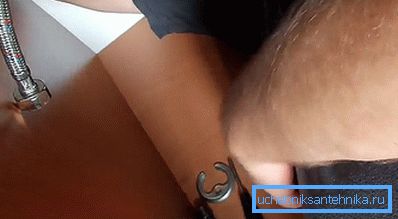
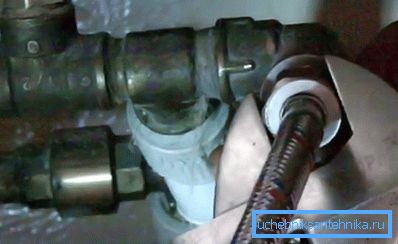
- We find the junction of flexible hoses with domestic pipes of hot and cold water supply and unscrew them with an adjustable or open-ended wrench.
- If the sink to which the mixer is attached is removable, then disconnect the siphon from it, and remove it together with the mixer. On a removed sink, changing the mixer is much more convenient. If the sink is not possible to remove, then you have to remove the mixer in place, climbing under the sink.
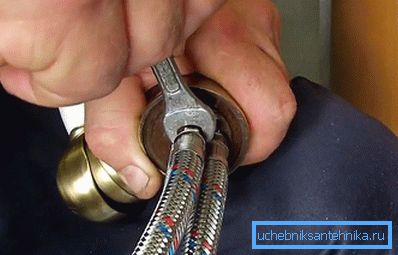
- Turn off the hoses from the mixer. It is inconvenient to do this with an adjustable key (there is not enough space), therefore the rozhkovy keys are used.
- Turn off the nut on the stud (heels), which attach the mixer to the sink.
- Disconnect the mixer from the sink. Do not forget to disconnect from the inside the rubber gasket and washer, with which the mixer is attached to the sink.
In most sinks, the hole for the mixer is wide enough to pull out the hoses through it without unscrewing them from the mixer.
Installing a new mixer
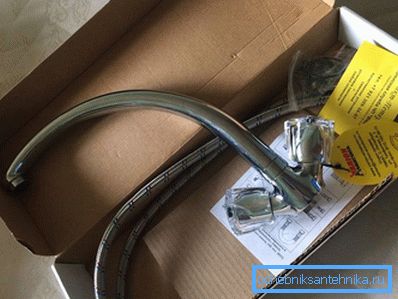
- Unpack the new mixer. If the mixer valve, then collect it according to the instructions. We regulate the moments of tightening the spout (spout) of the crane, valve (crane axle box). When tightening between the tool and the surface of the mixer, we enclose a rag so as not to scratch the chrome-plated surface.
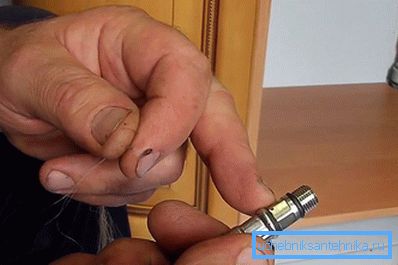
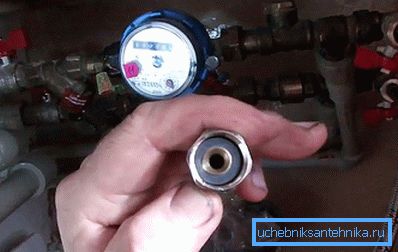
- We clean the place of fastening of the mixer on the sink from pollution, and the threaded connections on the pipe from rust and dirt. At the pipe bends, you can install the shut-off ball valves. This will allow to change or repair the mixer in the kitchen without overlapping water throughout the apartment. Cranes are best placed such that the output is an external thread. In this case, the metal-braided flexible hoses will have a nut with internal thread (standard on the mixer). The rubber (silicone) gasket will ensure tightness. If you use a flexible hose with an external thread, the tightness of the connection will depend on the correct winding of the tow or synthetic flax. The use of synthetic flax is preferable to fum tapes, since flax, while soaking, expands, self-removing the leaky joint.
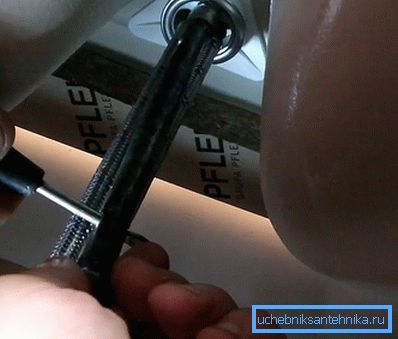
- Fasten the hoses to the mixer. As a rule, the holes in the sink for hoses are small, and the slags screwed in advance to the mixer will not go into this hole, since the size of the nuts attached to the pipes is much larger than the diameter of the hoses themselves.
- Screw the stud (stud) attachment to the mixer.
- Pulling through the hole in the sink, attach the flexible hoses to the pipe outlets. The tightening torque must not be large so as not to damage the rubber gasket.
- Before installing the mixer, you must ensure that the sealing ring is correctly positioned between the mixer and the outer surface of the sink. From the inside of the sink (under the sink) on the hairpin (studs) we wear a rubber gasket and washer fixing the mixer to the sink. Tighten the mounting nut. Before the final tightening set the mixer in the correct desired position.
- If the car wash was removed, then install it in place and attach the siphon.
- Having closed the taps on the mixer, we check the correctness of installation and connection of the hoses to the pipes with cold and hot water. On the left side - hot water, on the right side - cold water.
- We open the previously closed indoor wiring and check all connections for leaks.
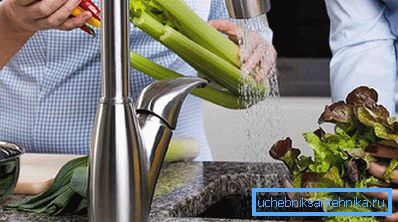
If you are not confident in your abilities or there is no necessary tool, then it is better to entrust the replacement of the mixer to a specialist.
It is better to find out how much this type of work costs in its management organization or by ads in specialized print media. But knowing how to install the mixer, you can handle the replacement yourself. For clarity, you can watch the video.
Video
This video shows how to replace and install the mixer in the kitchen:
We also want to invite you to read the articles that describe the installation of mixers:
- How to install the faucet on the sink.
- How to install a flush-mounted mixer.
A photo

