How to connect a sink
Carrying out repairs in the house requires special attention to every detail. So, an important part of the process is the installation and connection of sinks in the kitchen and bathroom. You can entrust these procedures to professional plumbing. However, these actions are not so difficult. You can connect sinks quite independently. It does not require specialized knowledge. Independent connection of the sinks will significantly save money and carry out work in a short time.
Preparatory work
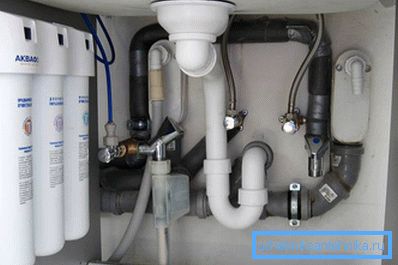
The basic technology of connecting sinks in the kitchen and in the bathroom is one. Consider the main stages of preparation for the connection process:
- Installation of a place for mounting. Determining the height of the location of the sink.
- The marking work.
- Installation of fixings for fixing the sink.
Installation of attachment points
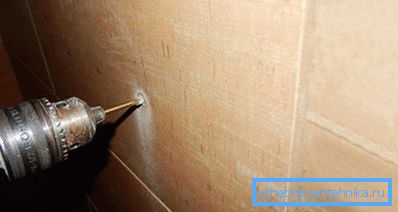
After determining the location of the sink, it is necessary to determine the height of its installation. It depends on its type.
The sink, located in the bathroom, can be installed on a pedestal or without additional details. If additional parts are not attached to the sink, the average height of its location should be 85–90 cm; if the shell to be installed has a bearing horn or other parts for support, its installation height should correspond to the height of the supporting parts.
The installation height of the sink mounted in the kitchen should be the same as the height of the kitchen cabinet in which the installation will be made. To fix the selected level of height on the wall surface it is necessary to draw a horizontal line.
Marking work
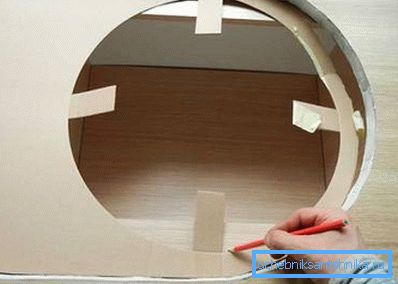
If the installed sink can add additional support in the form of a pedestal or bedside table, plumbing can first be put on a support, and then mark the place of attachment.
Installation of fixings for fixing the sink
Installation is carried out in several stages:
- Drilling holes in marked fixing points.
- Install the fixing dowels in the holes. It is recommended to use plastic dowels.
- Installing mounting studs. Produced by screwing.
Determining the length of the mounting stud. When choosing the length of the mounting stud, the shell thickness and the thickness of the fixing nut should be taken into account. Usually it is 1.5–2 cm.
Making a connection
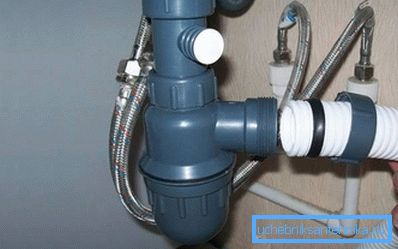
How to connect the sink in the kitchen or bathroom independently? The work is carried out in several main stages:
- Carrying out installation work on the mixer.
- Fixing the product on the surface of the wall.
- Installation and connection of water supply system.
- Conducting connections to the sewer system.
Installation work
To optimize and simplify the installation process, it is recommended to pre-install the mixer, then connect the sink.
The mixer set, observing the strict rules of its location. Installation should be made strictly at right angles to the surface or to the side of the sink.

Work:
- Install fixing studs on the mixer. In some models of mixers it is necessary to install 2 studs.
- Connection of pipes for cold and hot water. They should be fixed with an open-end wrench. The degree of tightening is average.
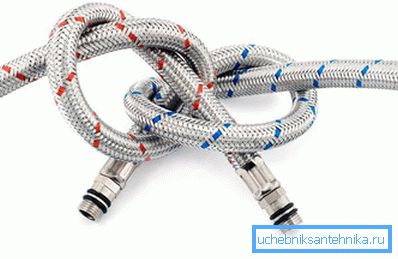
- Through the hole in the sink, you must stretch and install hoses for supplying hot and cold water.
- Installation fixing studs. It must be strengthened with sealing materials. Usually used special gasket. It is mounted on the inside of the stud. It is sealed with clamping washers and nuts for fasteners.
- Tightening the nuts. Produced with a wrench.
The installation of the mixer is presented in the following video:
Fixing on the wall surface
After the sink has been connected to the water supply system, it is possible to fix and fix the sink on the wall surface.
The prepared device must be put on the fixing pins mounted in the wall.
Install plastic or rubber liners.
Then install and tighten the locking nuts.
Tip! If the installation of a sink with supporting elements (for example, a pedestal or a bedside table) is carried out, it is necessary to take into account their height and only then carry out the procedure for fixing the sink.
Installation and connection of water supply system

It is necessary to connect the hot and cold water pipes attached to the sink to the piping system. They should be fixed with a wrench. The degree of twisting - medium.
In order for the joint to have the greatest density, it is recommended to install an intermediate gasket between the materials. It is recommended to use a rubber product.
After connecting the pipeline it is necessary to check its reliability level. To do this, turn on the water and check whether water leaks form. If it occurs, it is necessary to tighten the nuts at the points of fastening of the pipeline.
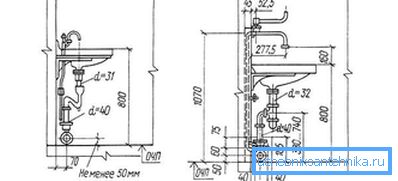
The basic connection diagram of the sink is shown in the figure:
Connection to sewer system
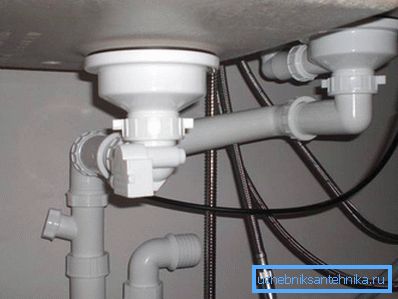
To connect the sink to the sewer, you need to connect a siphon to it.
You can use devices of various forms. Experts recommend using an S-shaped device on kitchen sinks. This type of siphon is less prone to clogging.
For mounting the sink in the bathroom, you can use a bottle-shaped device. Drain the sink in this siphon more prone to contamination, so it is suitable for use only in the bathroom. In the kitchen, this type of siphon will need to be cleaned weekly.
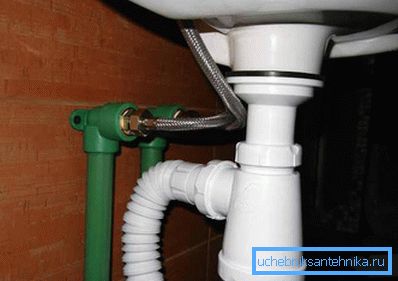
Work on connecting the sewer system:
- Installing and securing the siphon at the sink sink.
- Attaching the pipe to the device. It is recommended to use a corrugated pipe in kitchen rooms, and a pipe made of rigid materials in the bathroom.
- Connection of the installed pipe to the sewage system. When the difference in the diameter of the pipe is recommended to use an adapter - cuff. It is made of rubber and allows to seal well the joints.
- Connecting the system and checking it for leaks.
Identifying errors in the work
If mistakes were made when connecting the sink, they can be indicated by the following:
- odor;
- siphon humidification during sink operation;
- the appearance of leaks and puddles under the sink;
- the occurrence of difficulties and slowing down the speed when draining water.
Carefully check the installation.
Video
An illustrative video instruction is presented below: