Installing a suspended toilet itself
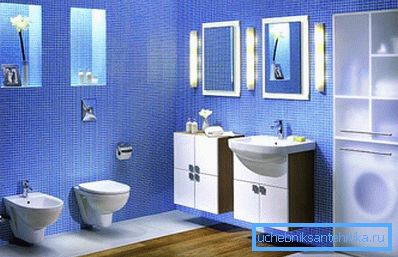
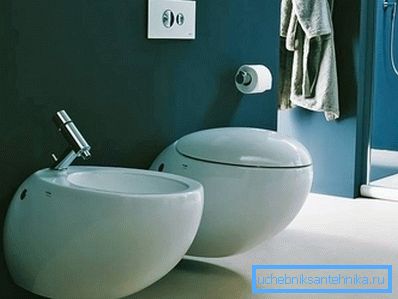
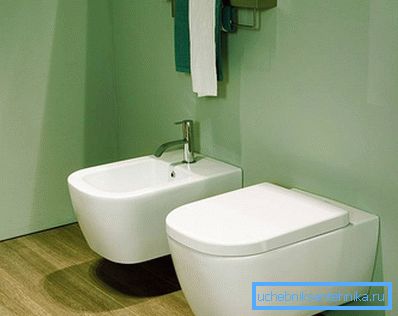
If during the construction of a country house the owner can allocate any area for a bathroom, then in urban apartments this room always has limited dimensions. To make the toilet or combined bathroom more comfortable and free hanging toilet will help. The tank hidden in a niche of a wall allows to save the considerable area of space. The works are coming up complex and it makes sense to pre-learn as much information as possible about the features and sequence of installation of the toilet bowl console system.
Design
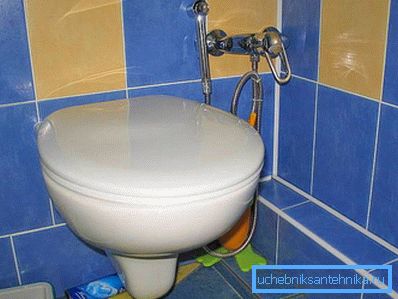
Having studied a number of nuances of installation, you can do everything in a short time and efficiently, without attracting professionals. Console toilet is difficult to repair, so manufacturers emphasize the quality and reliability of products.
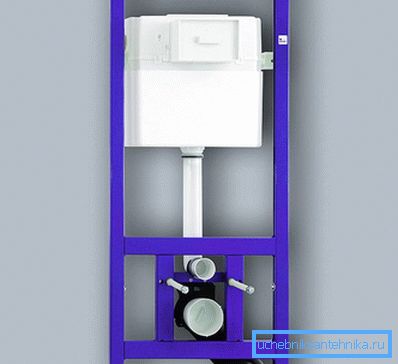
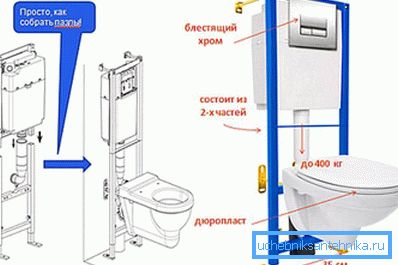
The system is delivered to the consumer in the state ready for operation. You need to prepare a niche for the tank and, having carefully studied the instructions attached to the product, assemble all the elements into a single working system. The presented type of toilet bowl consists of installation (frame with cistern) and bowl. With the installation of the bowl, no problems and time-consuming special time are foreseen. Much more time will take installation installation.
Its design includes the following elements:
- Metal console. It is height adjustable. In the lower part of the frame there are holes for inserting studs for fixing the bowl.
- Drain tank with working mechanisms.
- Pipes.
In addition to these elements, you should buy pipes connecting the installation and the bowl, and the kind of drain button you like. It should be noted that you will have to buy the design separately.
Installation instructions for installation
Stage # 1. Installing an installation for a suspended toilet begins with the preparation of a niche for the tank. For work you will need a grinder and a hammer drill. In the installation site (in the wall itself) you will have to cut a recess with a height of 100 cm, a width of 60 cm, and a depth of 20 cm.
Tip! The design of the suspended toilet is designed to save bathroom space. Installing the installation just on the wall without a niche, you can not take advantage of this.
Stage 2. In the prepared niche, you must first bring the sewer pipe. For this you need a pipe with a cross section of 100 mm. It should be laid as close to the floor as possible, setting a slope from the toilet bowl towards the sewer system. The end of the horizontal sewer pipe should be at a distance of 25 cm to the center of the niche. Now you need to put on the end of the pipe bend at an angle of 45 degrees.
Stage 3. The toilet bowl is fixed to the frame with four points of support. Attach the lower ends to the floor. The installation is attached to the wall at the top with two brackets.
Tip! The work is simple, but everything must be done strictly according to the level. Check mounting installation do from all sides.
Before fastening the upper part, adjust the installation height of the installation. There are four holes in the horizontal bar on the bottom of the frame. Set the height of the jumper with holes no higher than 40 cm from the floor level. Between the extreme holes the distance is 23 cm, and between the internal - 18 cm.
Stage 4. Connecting communications. Start this phase of work with connecting the installation to the sewer pipe. When buying an installation, pay attention to the presence in the set of black color of the right. This tap must be sized and installed. For secure installation, snap the clips into the frame.
To ensure the supply of water to block the riser with water and make a drain to the side of the tank. The water supply pipe should be placed in the upper corner of the prepared niche. The exit pipe can be located in any corner, as you wish. Connect the end of the pipe to the threaded nipple.
Tip! For the supply of water to the tank use polypropylene pipes.
When all connections are well secured and sealed, conduct a test water supply to the tank by opening the pipeline valve. The faucet is installed in the tank to supply water to the toilet bowl. Do not drain water from the tank.
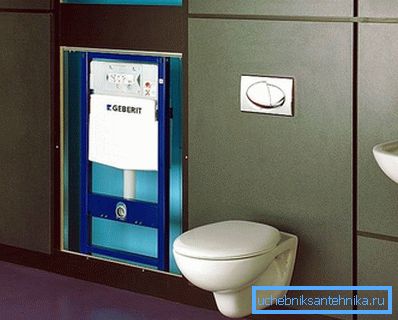
Stage 5. The moment came when you can sew a niche with a built-in installation. Give a niche look corresponding to the design of the bathroom.
Bowl Assembly Instructions

Stage number 1. Make the fitting fittings. One branch pipe goes to the tank, and the other to connect the bowl to the sewer. Both nozzles protrude at least 5 cm beyond the wall.
Stage 2. To put on the pipes and studs common gasket, having the form of a truncated pyramid.
Stage 3. Bowl wear on studs. Using plastic inserts, washers and nuts, fasten the bowl to the installation. The height of installation of the bowl depends on the height of the installation lintel.
Tip! Be sure to check the strength and reliability of the attachment of pipes to the toilet.
When all is well fixed, cut off the protruding gasket with a sharp knife.
Now it's time to check the connection of the toilet to the sewer system. Pull the drain lever and carefully watch the bowl fill up first with water, and then drain it. If you made a mistake during the installation, to change something without disturbing the repair of the room will not work. Everything must be done neatly and securely.
Stage 4. Installing the drain button. The shops sell pneumatic and mechanical products. To install a pneumatic button, you need to properly connect the installation and push-button tubes. This type of plum buttons works flawlessly and is particularly reliable.
To make a high-quality installation of a mechanical button, you need special pins. They are first screwed and then adjusted.
Stage 5. Now you can clean the room.
Photo hanging toilet bowls
