Installing the installation of the toilet
For reliable fixing plumbing fixtures and connecting them to the water supply and sewage systems use installations. Such designs allow you to hide all communications and thereby improve the appearance of the bathroom or bathroom. How to install the installation of the toilet with their own hands and will be described in this article.
Preparation for installation
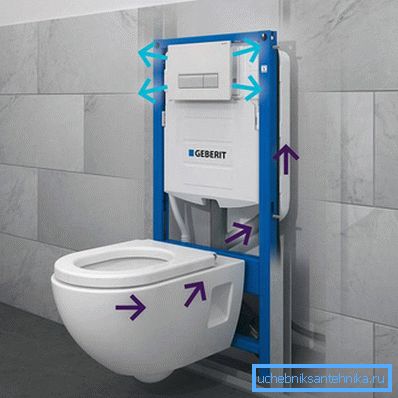
Before installing the installation, it is necessary to prepare a place. Such constructions are attached to the wall, but the choice of location strongly depends on the type of installation. There are two types:
- block;
- framework.
The first option should be mounted in a niche in the wall. This design is a plastic tank, fittings and fixtures for the toilet. The latter should only be of the suspended type.
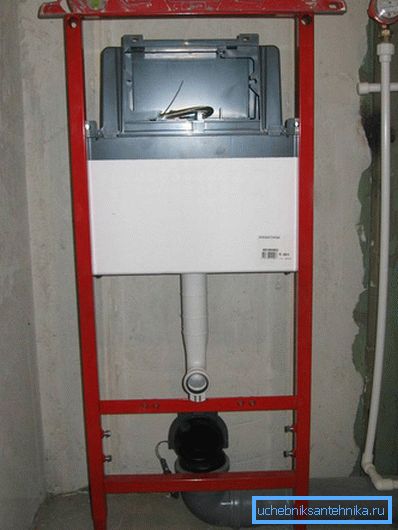
If you bought a frame installation (which is more expensive), then the choice of installation location and toilet are made at your discretion. Such structures are a frame that is attached to a wall, to two walls, a partition or floor. On the frame are mounted toilet and all communications.

If you have decided on a place, then it is worth preparing the necessary tools and devices:
- perforator or electric drill, drills that coincide in diameter with the fasteners of the installation;
- wrenches for mounting bolts;
- construction level, ruler, pencil;
- installation and toilet itself.
Now you can get to work.
Installation Procedure
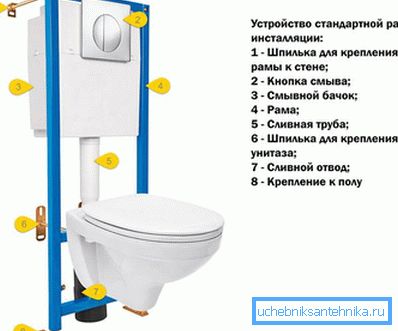
How to install the installation will depend on its type. In the beginning we will examine the stages of mounting the frame structure. To install it, you must perform the following work sequentially:
- Making markup to install the frame. Here everything will depend on the place of installation. As a rule, the frame is attached with two mounts to the floor and in addition to a wall or partition. When marking use level and plumb, so that the installation is straight.
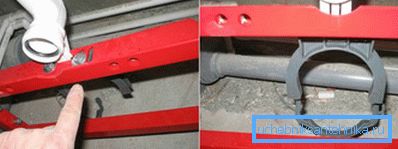
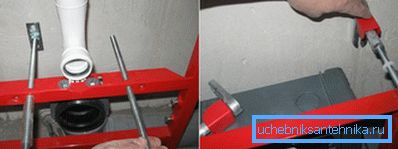
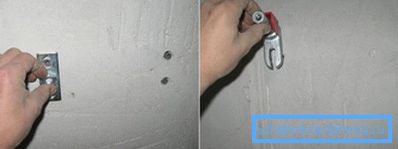
- At the marked points make holes with a punch or electric drill. The dowels are placed in them, and the frame is fixed. Anchor bolts can be used, so the structure will be fastened more securely.
- The next step is to connect the water supply to the tank. Everything will depend on the device of the latter. Available tanks with side and lower entrance. When connecting, use a flexible metal hose.
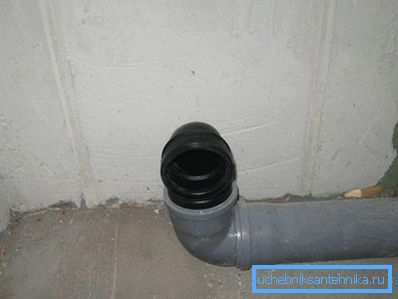
- Now the installation is connected to the sewer. To do this, you can use a pipe or corrugation. Typically, the diameter of the drain is 110 mm. Now you can temporarily connect the toilet and check the tightness of all connections. Also checked the smoothness of the shutter button.
- Now you should sheathe the installation. For this you can use a variety of materials. For example, a combination of drywall and ceramic tile is very popular. When carrying out these works, it is necessary to secure the profile along the perimeter of the installation. On it will be mounted drywall. Then the tile is laid (how to lay the tile on the drywall can be found by viewing the video below). When performing these works, do not forget about the hole for the drain button. This place is protected by a special cuff that will not allow construction debris to get inside.
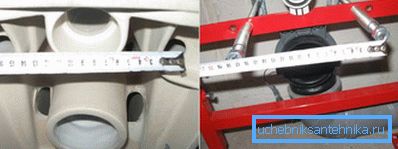
- After that, the toilet is mounted, and everything is ready for use. Modern frame installations are universal. They can easily connect the toilet of any design. At installation special hairpins and bolts are used.
- Installing a block installation is slightly different. First of all, as in the case of the frame structure, we make markup for the tank. Here you need to follow the instructions for the installation itself. The tank itself is usually installed at a height of one meter from the toilet. The number and location of attachment points will depend on the model chosen.
- After marking, we make holes using a perforator. Using a drill can make it difficult to work, because such structures are attached to the wall (usually the carrier). Making holes with a drill without a percussion mechanism in masonry or concrete is quite difficult.
- The next step is to install the tank and connect it to the water supply. It is also necessary to mount special pins for fixing the wall-mounted toilet. They are screwed into pre-prepared holes in the wall.
- After that, you can install the toilet and check the tightness of connections. The final stage will be a niche seal. For this you can use drywall or other suitable material.
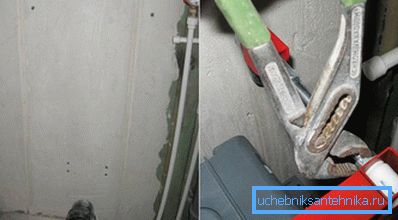
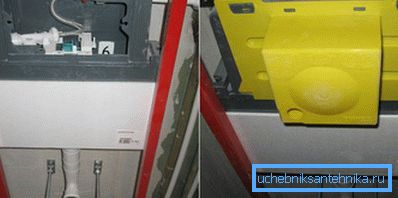
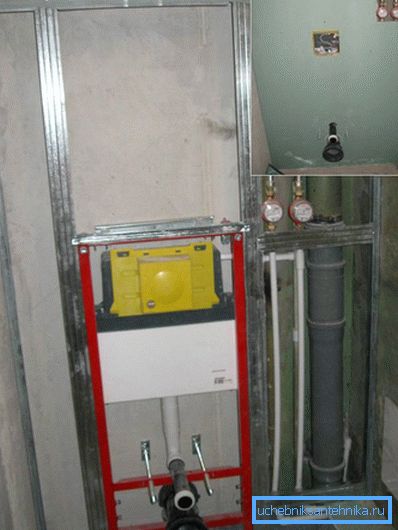
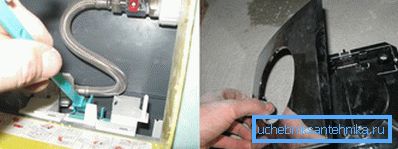
The principle of installation is presented on the example of the following photos:
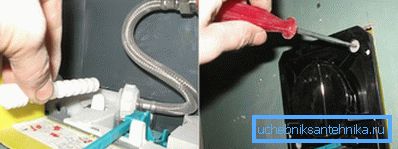
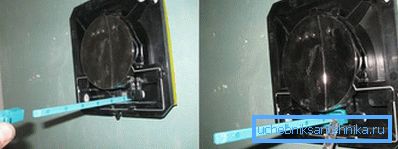
Some helpful tips
Choosing a tank, select a design with a system of water saving. In this case, a drain button with two keys is used. In this case, when you press one key, the water drains completely, on the other - only half of the tank.
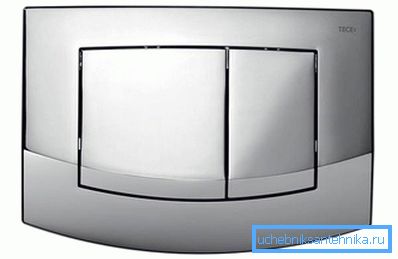
Closing the installation tile, start from the drain button. It should be located either at the junction or in the center of the tile.
When finishing, provide a technological hatch under the buttons. So you get the opportunity to repair the drain systems and the tank itself.
We recommend to read:
- how to hide pipes in the toilet with plastic panels;
- how to clean the sewer in a private house;
- How to clean the clog in the bathroom soda.
Video
In this video, the master tells about the various difficulties that may arise during the installation of the installation and introduces the order of execution of the installation of the structure: