Choosing and installing a washbasin: newbie tips
What are the signs of choosing a new washbasin in the bathroom? What are its optimal sizes? At what height should I mount the sink? Finally, what tools and in what order do you install the washbasin with your own hands? Let's figure it out.
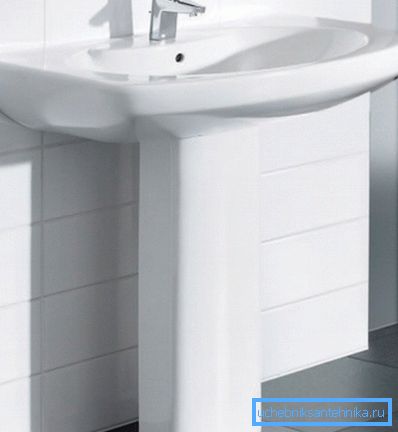
Go shopping
To begin with, on what grounds we will pick up the sink.
There are several criteria:
- Material. In the mass sale you can find sinks from faience, porcelain and artificial stone (polymer concrete).
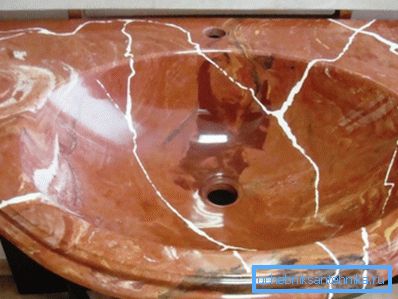
To clarify: strictly speaking, the choice is much wider. If desired, in the shops you can find wash basins made of bronze, copper, tempered glass, stainless steel and even natural stone. However, the high price of most of the exotic and, sometimes, its impracticality make most potential buyers pay attention to more traditional solutions.
- Horizontal dimensions and depth of the bowl.
- Installation method. Washbasin can be mounted on the wall or on the cabinet; in the latter case, it can be mortise or overhead.
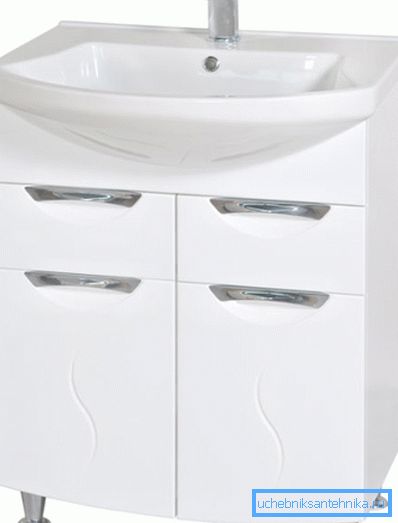
- When wall mounted sink can be equipped with a pedestal or dispense with it.
Material
Let's evaluate the key properties of the three most popular materials.
| Properties | Material | ||
| Sanitary faience | Porcelain | Polymer concrete | |
| Resistance to acid and alkaline cleaning agents | High | High | Low |
| Abrasive wear resistance | High | High | Low |
| Resistance to pollution | Average | High | Average |
Probably worth mentioning a couple more features of these materials.
- The cheapest washbasins are made of sanitary ware; polymer concrete is the most expensive material on our list. Porcelain on average costs 10 - 30% more expensive than earthenware.
- Due to the viscosity of the binder, acrylic artificial stone is more resistant to shock loads.
Dimensions
Instructions for choosing a washbasin in size looks like this:
- The distance from the hole for the mixer to the front edge of the sink should allow the shortest member of the family to reach the taps or lever without leaning forward.
- The width should ideally be in the range of 40 - 65 cm. At smaller sizes, a significant part of the water during washing will be on the floor; an increase in width over 65 cm will not affect the usability of the sink, but it will occupy the space of the bathroom.
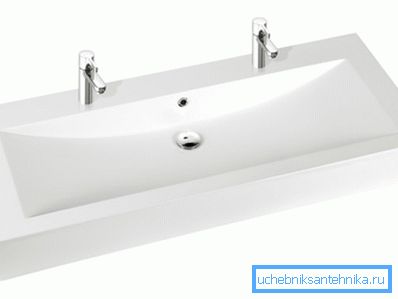
- With the depth of the bowl, it is completely simple: the larger it is, the less splashes will fly around during washing.
By the way: if the dimensions of the mixer allow the water jet to beat precisely into the outlet grate, the spray will again be smaller.
Mount and pedestal
Of course, tastes do not argue; however, the author will take the liberty to recommend a wall-mounted sink with a pedestal.
Why?
- The cabinet is trite uncomfortable: when washing your knees against it. In addition, most of the low-cost washbasin stands are made of laminated chipboard, a material that is contraindicated for high humidity.
- The pedestal removes part of the load from the fastener, and at the same time hides the siphon, the tee of the sewer and the water supply.
Installation
At the beginning - a few general points.
- In the presence of a pedestal, the height at which the washbasin is installed is dictated by its size. If you have chosen a sink with installation on the brackets, then it is again better to be guided by the smallest member of the family. The standard installation height of the washbasin from the clean floor is 85 cm; however, it is convenient, above all, for a person of average height and, if necessary, can be reduced or increased.
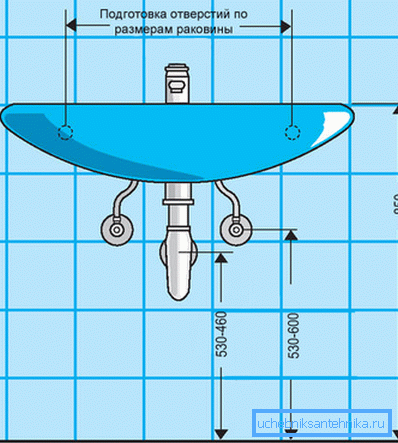
- By the time the sink is installed, water and sewage must be connected to it. It is better that the threads and the sewer tee are located as close as possible to the center of the sink: in this case the pedestal will completely hide them.
- The height of the thread connections should allow you to connect the hoses without significant sagging, but with a small slack. It is impossible to put them in tightness: sooner or later the liner connecting the cap nut with the braid will not stand.
- It is better to provide the liner to the sink with a pair of valves. If you have to repair the mixer, they will allow not to turn off the water in the entire apartment.
- By the time the plumbing is installed, the walls and the floor should be finished. If you first mount the sink, and then pour the screed and put tile, the final installation height of the washbasin in the bathroom will decrease by a few centimeters and may well be uncomfortable.
Materials and tools
What you need to stock up before getting started?
- Drill and drill on tile. The diameter of the drill should be slightly larger than that of plastic dowels from the mounting kit.
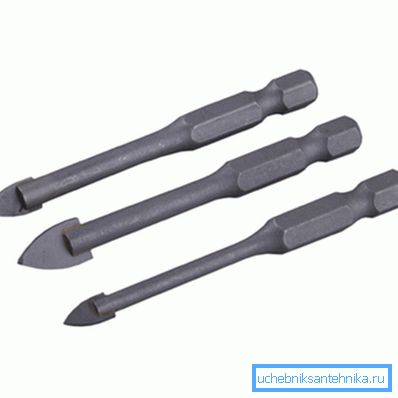
- Puncher and drill. In this case, its diameter must coincide with the diameter of the dowels.
- Adjustable wrench.
- Level.
- A hammer.
- FUM tape or polymer sealing thread.
- Silicone sealant. Better - transparent: unlike white, it does not turn black with prolonged contact with water.

Work order
So, how to install the sink in the bathroom, in what order to perform the main stages of work?
- Put the sink on a pedestal close to the wall.
- We expose it strictly horizontally along the axis parallel to the wall and with a slope of 2-3 degrees to the front edge - along the perpendicular.
Hint: the slope is needed so that no water lingers on the shelf under the mixer.
- Mark up future holes in the wall.
- We drill tiles at minimum speed, with moderate pressure, constantly cooling the drill with water.
- We pass the holes with a perforator to the depth of the dowels.
- We hammer in plastic dowels and screw in the anchor.
- We put on the sink issue and mixer. We screw in the hoses only with the key: it is very easy to tear off the sheath from the sleeve. It is better to reel threads on them: regular rubber rings do not always ensure the tightness of the connection.
- Apply on the back wall of the sink at the bottom and top of the two strips of silicone. It will serve as a damper between the sink and tile.
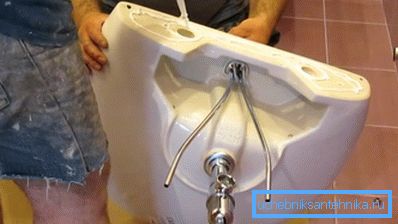
- We hang the sink on the anchor, install plastic liners and once again check the horizon level.
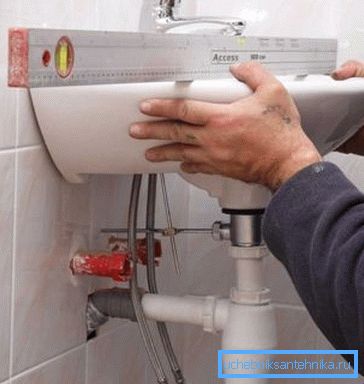
- Carefully, hand tighten the nuts. Efforts here are unacceptable: it is much easier to crush ceramics or polymer concrete than it seems.
- We connect flexible hoses to liner connections. Here, additional winding is not required: gaskets will ensure tightness.
- Install the siphon. Turn on the water and check the hoses, exhaust and siphon for leaks.
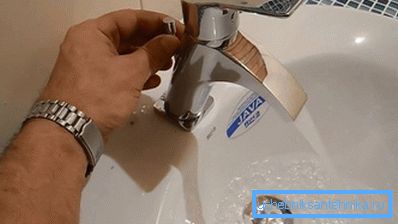
- After loosening the nuts, push the pedestal under the sink. Again, tighten the mount.
- Seal the silicone with the wall of the sink.
The work is done.
Conclusion
We hope that our advice will simplify the reader the choice of a new shell and its installation, and at the same time save it from possible errors. More clearly with the installation technology of the washbasin will allow you to get acquainted with the video in this article. Successes!