Connecting the sink in the kitchen - the main features of
Without washing it is difficult to imagine a modern kitchen in an apartment, house or on a country plot. And it is not always necessary to call specialists, you can simply figure out how to connect the sink in the kitchen and carry out all the work yourself.
We will consider what stages the assembly consists of and what it will take to carry out the work so that the result is reliable and durable.
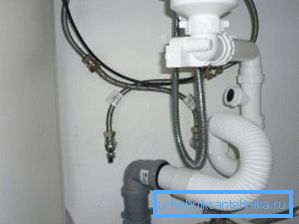
Key recommendations on the acquisition of the necessary elements
Even if you strictly comply with the technology, it does not guarantee a good result, the fact is that the fittings for the kitchen sink must meet a number of requirements, which we consider:
| Suitable design | All nodes must comply with the design of the sink, make sure that the type of connection and the size of the fasteners fit your sink. It is best to buy everything in a complex, then the sellers will independently select the necessary options for the designs in accordance with the characteristics of the sink |
| High quality products | As for the mixer, it is better to choose options from brass - they are heavier in weight and much more reliable than structures made of powder alloys, there should be no flaws on the surface. As for the siphon selection, it is better to choose either a polypropylene version (its price is low) or brass - this type of construction is more expensive, but it can withstand hot water |
| The presence of sealing materials | In order to ensure the reliability of the system and its performance, all connections must be reliable. For sealing threaded connections in flexible liners, a special Unipak compound is used, and for sealing sewers - silicone sealant with antifungal additives. |
| A set of necessary tools | In fact, it takes only a few simple tools to carry out all the work at the proper level: a plumbing key for clamping connections and two screwdrivers - flat and cross-shaped |
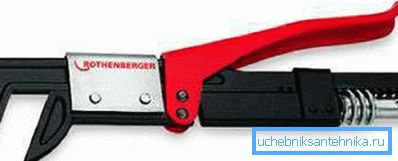
Tip! You should not save on quality, as not only the comfort of use depends on the reliability of the reinforcement, but also the durability of the assembled system - any malfunctions can lead to leakage and flooding.
Installation process
If you do the work yourself, it is easier to break the whole process into two stages, since each of them is carried out separately. It's easier to understand the connection - instructions on how to assemble a sink in the kitchen prescribes a certain sequence of actions.
Mixer connection
The works depend on the type of installation of the system - a wall-mounted sink for the kitchen can be equipped with a wall construction, and this requires prior communication of communications directly to the place of connection.
In the standard versions of the work are carried out as follows:
- First of all, the product is unpacked, most often the mixer is supplied assembled, but sometimes you may need to attach the valves with the screws provided. It is also necessary to check the presence of all seals that should be included.

- Next, the system is attached to the sink, while both the top and bottom must contain a sealing element that will prevent water from flowing during operation.. Fastening can be implemented in several versions - either with a large nut or with the use of one or two threaded rods - the instruction in the kit will allow you to understand the work - everything is very simple and clear.
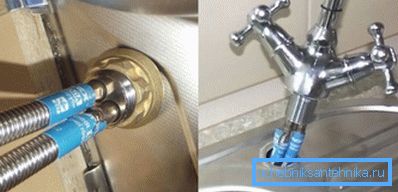
- The next stage is the attachment of the flexible liner, its length should be sufficient in order to be positioned not in a tight fit, but with a small margin.. Rubber washers must be placed under the flare nuts, and the thread itself is additionally sealed with Unipack compound. If there is not enough space under the sink, then the eyeliner should be attached to the mixer first.
Note! It is not recommended to use fum-tape for sealing in these places, as it does not tolerate constant exposure to hot water.
- Lastly, the system is connected to the water supply, after which its tightness is checked.
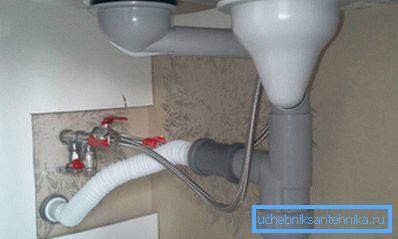
Drain system
There may also be different options - hanging sink for the kitchen requires the installation of a hidden siphon, most often it just hides in a niche wall.
Standard options are collected as follows:
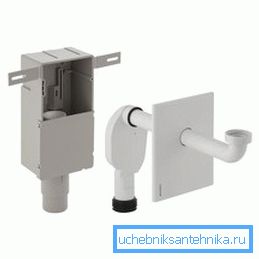
- First of all, an outlet for kitchen sink is attached to the structure; it must be sealed on both sides with rubber rings for tightness.
- Next, the hydraulic lock is assembled and attached to the drain by means of a cap nut, which must also be sealed with a ring.
- The last construction is attached to the sewer system and checked for tightness.
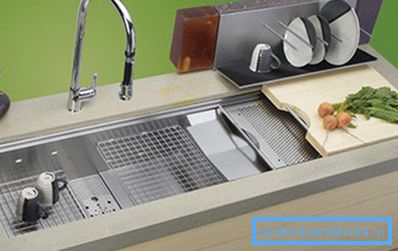
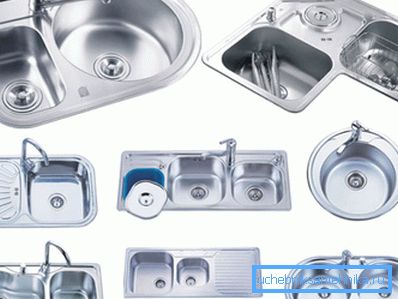
Of course, when it comes to such a group of equipment as bathroom fixtures for the kitchen, washing is the most important part of the system, which should be given very close attention.
Conclusion
Doing work without help is not as difficult as it seems to most people. The video in this article will show visually some of the features of the process and will help to understand the topic even better.