Connecting the toilet: how to connect the device to the
In order for the plumbing equipment installed in the toilet room to work without interruption, it is necessary to properly connect the toilet to the water supply and sewerage. This simple procedure can be carried out with your own hands. The main thing is to strictly follow the procedure outlined below.
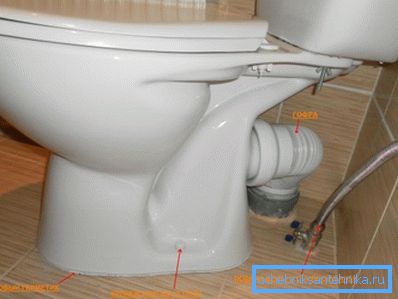
Toilet installation procedure
In the construction supermarkets for sale a large number of different toilets. They differ from each other in color, size and shape of the thicket, the volume of the drain tank and so on.
But the main point that you should pay attention to when buying - the location of the drain pipe. It depends on it the method of docking the sanitary device you purchased to the sewer system.
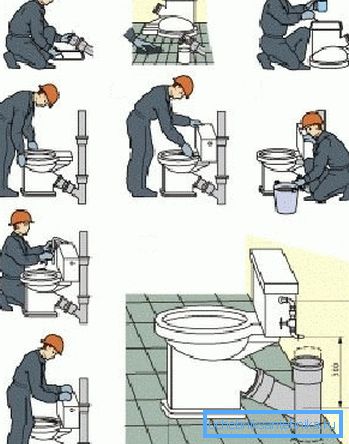
Let us consider in more detail how to connect the toilet with a horizontal release, as they occur most often, and we will mention the features of other models later.
Bowl installation
Each toilet in the base of the foot has two or more openings that are used to secure the device to the floor. You will need studs with dowels or anchor bolts. You can take those that come bundled or purchase better ones.
In addition, you need a cuff for the toilet, made of plastic or rubber. To connect the toilet to a pipe of 50 mm (or another diameter different from the size of the toilet bowl nozzle), an eccentric cuff of appropriate dimensions should be used.
Further instructions are as follows:
- Corrugated pipe is mounted. To do this, the edge of the toilet nozzle is lubricated with a silicone sealant, after which a cuff is put on it. Plumbing gel freezes for about 30 minutes. During this time, no need to touch the toilet.
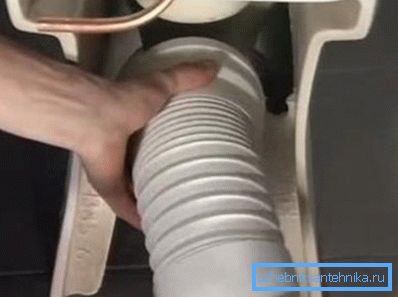
- After that, the device is installed in place and markup is made in the required places. for drilling mounting holes.
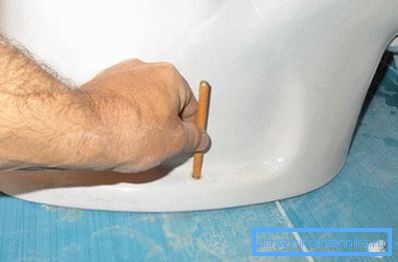
Tip! At the same time you need to check that the corrugation reaches the drain neck of the sewer pipe. It must be leaned against the edge, but not mounted, since the toilet itself will still need to be removed to make holes in the floor.
- Move the toilet away before using the drill. This will protect it from damage if the drill suddenly breaks down or you drop the power tool.
- Making holes in the concrete floor is better perforator. Make sure that the drill used matches the diameter of the dowels or anchor bolts being installed. Prefer tools with special tips for ceramic tiles. This will avoid cracking during the drilling process.
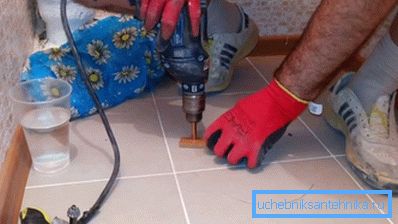
- After finishing work, you can return the toilet into place, insert special bolts into the holes and tighten them. There is no need to wrap the fasteners too much, as excessive force can destroy the fragile support of the toilet bowl.
The last stage is the docking of the corrugations with the drain pipe. Before you connect the toilet to the sewer, grease the end of the corrugations sealant. This will ensure maximum tightness of the connection.
Installation of cistern
A container with water necessary for flushing biological waste in the toilet is attached to the cup of this sanitary device with the help of special bolts.
There are two types:
- plastic mounts (they are less reliable);
- steel bolts fitted with rubber gaskets (they are more durable, but are susceptible to corrosion and with a strong tightening can damage the tank).
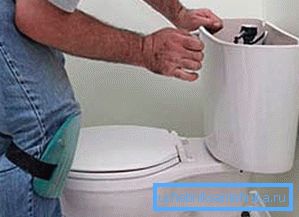
The procedure for fixing is very simple. It is necessary to take the tank, combine the holes in it with the corresponding tank in the bowl and tighten the fasteners. Do not forget to put in place the supplied gaskets, otherwise the drain will leak.
Note! Often the nuts for fastening the tank are equipped with special petals that allow you to tighten them manually. No need to use special tools, so as not to split the ceramics. The muscular effort of man is sufficient.
Water connection
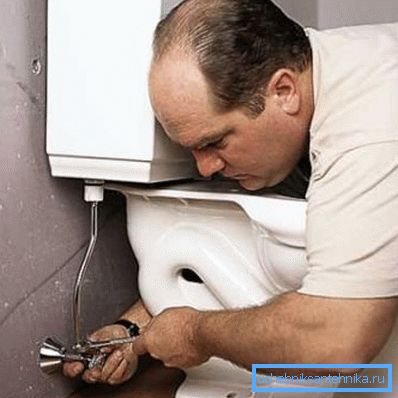
After fixing the tank on the bowl, you can connect it to the water supply. A flexible or rigid hose is used for this. The price of the latter is higher, but with its help you can equip a more reliable connection. In addition to the hose, do not forget to buy gaskets and plastic tape for sealing threaded connections.
Connect the pipe to the water supply better through the valves. So in case of any problems with the toilet, you can cut off the device from the general engineering network without stopping the operation of the latter.
Features of the toilet to connect to the sewer
The greatest difficulty for home craftsmen is the docking of the toilet bowl with the waste disposal system. Although this operation itself is simple, it has its own characteristics depending on the design of the acquired sanitary fixture.
There are three varieties:
- horizontal pipe - the toilet system is located parallel to the floor surface;
- vertical nozzle - the channel through which waste is removed, is located at an angle of 90 degrees to the floor;
- oblique nipple - here the angle is from 30 to 40 degrees depending on the model and manufacturer.
Tip! Choose a toilet on the basis of your sewer system. Perhaps, if you do not understand the question, you will get a device that cannot be connected to the engineering networks without a major upgrade of the latter.
Consider each case in more detail.

Vertical release
Such toilet bowls are practically not used on the territory of our country. They are more common in Europe and the New World. Here the pipe and siphon are arranged vertically and go straight to the floor. In this case, you can put the toilet at any angle to the wall, regardless of the location of the sewer pipe.
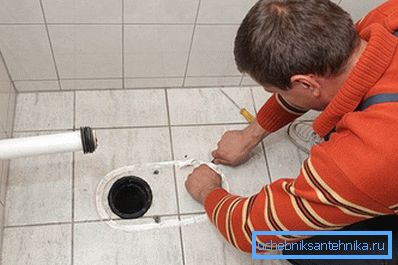
If the mouth of the drain hole is properly equipped (in the floor), the installation of a toilet bowl with a vertical pipe does not cause difficulties:
- Having marked the place, you need to install a special flange in the pipe, which later will fix and seal the connection.
- The neck of a branch pipe is inserted into a flange for sewer pipes and turns up to reliable fixation. The tightness of the connection will be ensured automatically by the O-rings available there.
Horizontal release
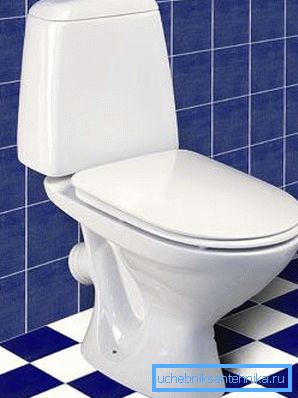
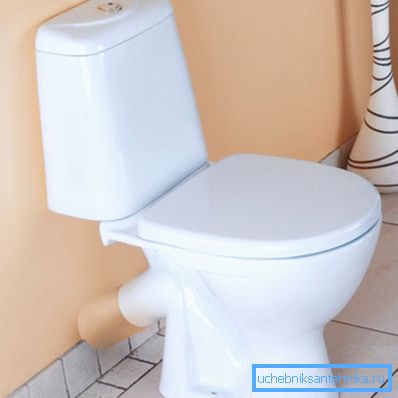
This type is common in our country. It is installed against the wall and docked with the neck of the pipe using a special cuff made of rubber or plastic. Fastening to the floor by special studs.
The entire installation process is described in detail above; we will only dwell on the description of the connecting sleeves on the market:
- Eccentric. The cuff consists of two cylinders connected to each other with the displacement of the central axes.
- Corrugated. It is used when it is impossible to use the previous variety. The minus of the solution is that the plastic from which the corrugation is made is too thin and can melt from the hot water. In this case it is absolutely not recommended to flush boiling water into the toilet.
- Cone-shaped. Used for docking horizontal pipe with cast iron pipes.
With oblique release
Such models of toilet bowls are practically not produced. Plumbing appliances with a slanting outlet are installed in apartments equipped with an old sewer system.
The procedure for mounting the device is as follows:
- The outlet of the drain system of the toilet should be lubricated with red lead and drying oil. On the surface there are special sealing grooves for hardening the joint. They need to be treated very carefully.
- After that, the pipe is wound onto the pipe (for this purpose, grooves are needed). Ensure that the tow does not protrude beyond the cut of the pipe, otherwise the fibers may clog the sewer pipe and form a blockage.
- Tow again you need to miss the mark. The more carefully you cover the pipe, the more reliable the connection with the pipe will be.
- The last stage is the installation. Here, as you understand, the cuff is not used. It is necessary to immediately insert the outlet channel of the toilet into the mouth of the sewer pipe.
Remember that the use of the installed toilet is prohibited until the minium is completely cured. It takes several hours.
Conclusion
Installing plumbing fixtures in the toilet room, fixing them on the floor and connecting to modern engineering networks made of plastic does not cause difficulties even for an inexperienced master. However, the connection of the toilet to the cast-iron sewage pipe has some nuances, the failure to comply with which can lead to unpleasant leaks.
For more information about our topic, see the video in this article.