Country curbstone under the sink of chipboard and wood
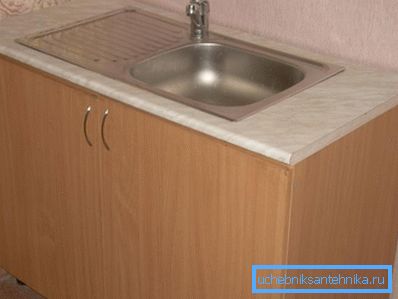
Should attend kitchen sink? 10 out of 10 will answer yes, otherwise you won't do any work on cooking or it will take a lot of time to do it. How should I install it? Here opinions can be divided - some will want a headset, the second - the usual U-shaped metal profile to support the element, and the third - an independent cabinet. Today we will deal with the latest version, where the pedestal stands out under the sink for giving from wood.
In the kitchen, it is a universal furniture element that not only serves as a supporting device. With its help, it is possible to hide the sewage drainage system, to provide space for related products, including dishwashing and cleaning products, foam sponges, metal brushes.
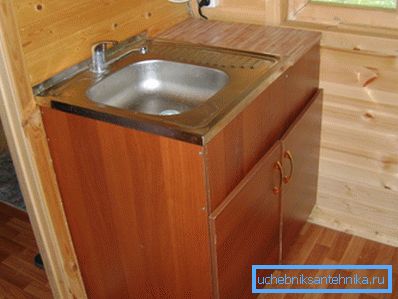
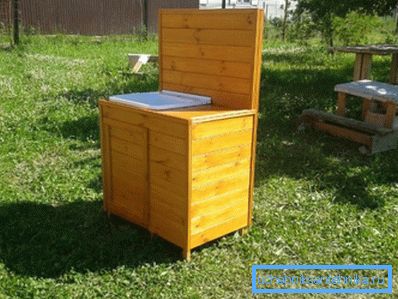
Preliminary stage
It is not necessary to buy a cabinet under the sink, it can be done by hand, after preparing the tool and the necessary material.
You will need:
- plywood 10 mm or particleboard 16 mm;
- hinges for doors;
- furniture corners;
- fasteners - screws;
- primer, putty and varnish - to protect the material;
- putty knife;
- Double-sided tape;
- hacksaw, and better jigsaw with a new file;
- emery paper - for grinding the surface of the product;
- ruler, tape measure and pencil - for marking;
- screwdrivers;
- soft nap brush;
- drills - to prepare places for fasteners.
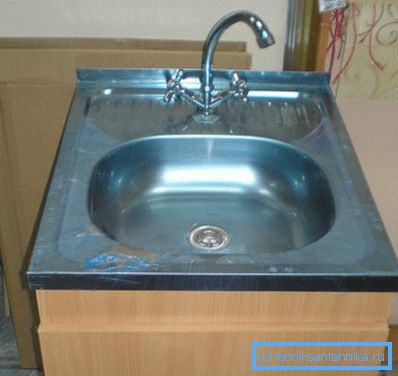
Begin assembly
The instruction will be as follows:
- Thumbnails are selected for washing, and not vice versa. Therefore, using a tape measure measure the sink and record its dimensions. Do not forget to also take into account the height at which the sink should be installed, and how the structure will approach the room of the kitchen.
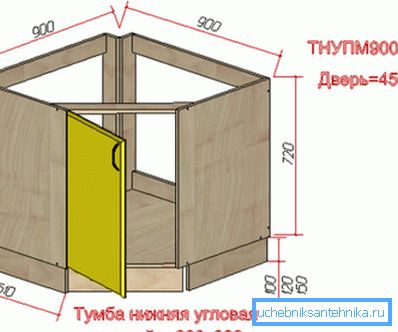
- Make a sketch, where place all the details of the cabinet, the size of the sink and the height of its installation above the floor.
- Mark the plywood or chipboard with a pencil and ruler.
- With an electric fretsaw or a hacksaw, cut out all the details.
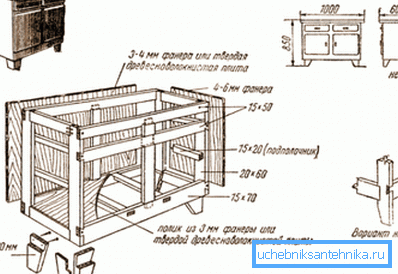
- Assembly cabinets under the sink of chipboard is carried out with the help of special furniture screws, inside the head of which there is a place under the hex key. To join the walls of plywood you can use ordinary screws and furniture special plastic corners.
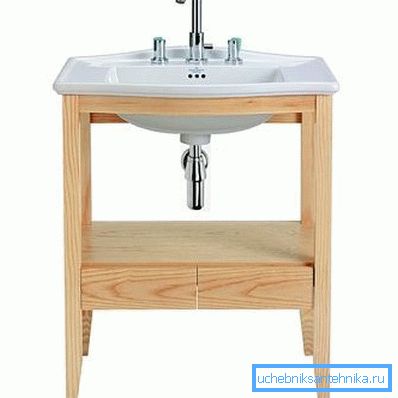
Tip: Make sure that the screw head is completely sunk into the chipboard.
- Place the assembled cabinet against the wall and check its stability as well as the horizontal.
Tip: you can replace the back wall with a crossbar of a board 100 mm wide and 10 mm thick to increase the rigidity of the product.
Treatment
The next stage should be started after you make sure that the manufactured structure conforms to the size and stability. The most important thing is that the sink should enter it exactly as you intended.
Now you should clean the surface of the cabinet to smoothness. Of course, if you decide to spend and purchase laminated chipboard, then you can simply skip this item.
For all the rest we continue.
- Take a spatula and put a putty on the outside of the material, leveling it well.
- Wait until it dries and sand it with sandpaper.
- Take a tinting varnish and a brush with natural nap. The cabinet must be covered in several layers.
- Wait until the varnish is completely dry and install the sink on the cabinet.
- Make a cabinet door. You can use chipboard or glass, as well as other material, there is no difference.
- If you decide to make the door of glass:
- markup;
- give the necessary form;
- make the door matte using sand. Pour it on the glass and moisten it a little. Put another glass on top and start rubbing, gradually adding sand. Work until the door is matte.
Tip: to speed up the process, use a special nozzle for grinding. Sanding at the same time spend at low speeds.
- Fasten the door and adjust it.
Alternative way
To give an ideal option can also be a cabinet of wooden slats and planks. Aesthetics in this case will be enough, besides, the model can harmoniously fit into any interior of a country house.
So, before you learn how to assemble a cabinet under the sink, prepare:
- fasteners - screws;
- impregnation for wood, which protects it from various "troubles";
- hinges for doors;
- hacksaw or jigsaw;
- manual frezer;
- drill, screwdriver, hammer;
- brush and varnish - for processing;
- roulette wheel;
- marker for markup.
Process:
- Select the width and height of the walls of the product.
- Choose the size of the door.
- Mark the parts and cut them.
- Connect the screws of the first and second walls with the screws.
- Assemble the door with slats and fixing screws. Immediately make a handle on the outside.
- Connect all the details in one design.
- Inside the cabinet, provide space for shelves that are best made wide. Install them on wooden struts and secure with screws.
- Treat the material with wood impregnation.
- As soon as it dries, coat with varnish in several layers.
- Use the bollard as intended only after it has completely dried.
Recommendations
If you like tinkering yourself, professional advice will help you not to make unnecessary movements:
- Chipboard can easily be replaced with thick plywood, while keep in mind that it is much stronger, so buy a new electric jigsaw right away. Its price is small, but you will save a lot of time and effort.
- For the bathroom it is better to use laminated chipboard, the film will not allow the material to deform when humidity increases. This will give the opportunity to exploit the cabinet much longer, and not to waste time and money on its repair.
- Apply in the construction level. Which will not allow you to "fill up the horizon."
- You can use paint instead of varnish. It is better that the colors are not bright, although it is to your taste. You can paint both with a brush and a spray gun, while the quality of work will not deteriorate.
Conclusion
Today we looked at two options for the manufacture of cabinets under the sink. You can supplement these examples with your own design elements.
As an option, you can adapt a repaired cabinet for a used sink, which was brought to the suburban area from the apartment. When organizing the process, try to prepare everything in advance so as not to be distracted by trifles. The video in this article will provide an opportunity to find additional information on the above topic.