Cupboard under the sink: self-made simple cabinets
To make a cupboard under the sink in the kitchen or in the bathroom can be done by almost everyone who has at least the minimum skills in joinery. Yes, and the cost of such a product (even taking into account the purchase of all materials) will be much lower than when purchasing a finished structure in a furniture store.
However, it is still necessary to prepare for work, so below we will describe the main stages of assembling such a locker.
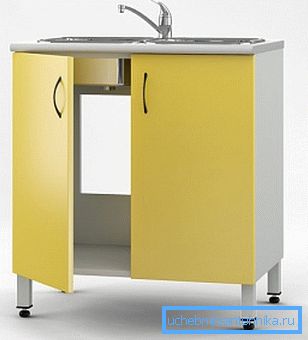
Required security
Materials for work
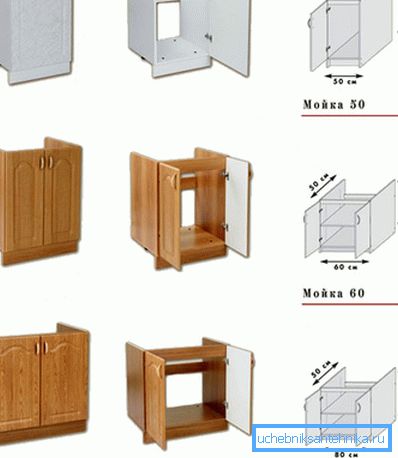
Cabinets under the sink for the bathroom can be made from a variety of materials. However, laminated MDF will be the most affordable, since it tolerates moisture quite well.
Before we start work, we need to purchase the following:
- Sheet MDF suitable color. Sheet dimensions may not be too large, since we will use panels only for the manufacture of sidewalls, the bottom and internal shelves.
- One or two facades whose color matches the color of the headset. Facades also need to be selected in size, leaving the necessary clearance for opening the doors.
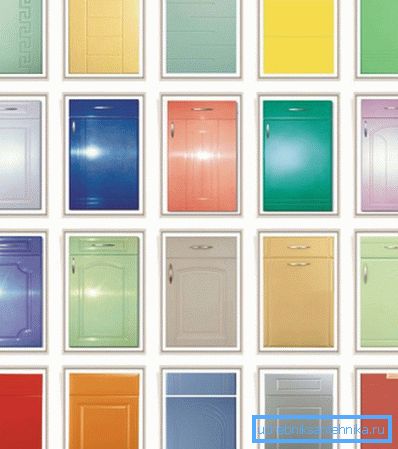
Note! If the price of finished facades seems too high, then you can make them yourself. But this task is rather laborious, so most of the masters prefer not to waste time and effort on its implementation.
- A set of accessories for the locker - loops, handles, supports for shelves.
- Legs (preferably adjustable in height) to install the cabinets at some distance from the floor.
- Edging tape to protect the ends from moisture.
If you plan to install a mortise sink, then we will need a fragment of the countertop of the appropriate size. You do not need to buy a countertop for the counter washing - we will fix it directly on the sidewalls.
Tools used
As for the tools, we need a standard set of modern carpenter:
- Jigsaw or saber saw for cutting MDF.
- Drill for making mounting holes.
- Forstner drill to install loops on the facades.
- A set of euro screws for hex (the so-called furniture screws with a large thread pitch).
- Measuring tools - roulette, level, plumb.
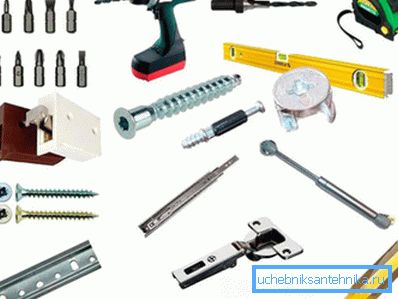
We may also need a building dryer or an old iron for facing panels from MDF.
Mounting cabinets
Assembly of parts
The installation manual for the cabinet suggests that we will carry out all the work according to this algorithm:
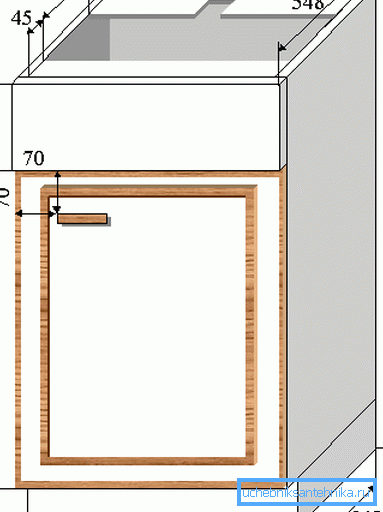
- First we build the drawing of the future locker. As a rule, it does not make the back wall, which facilitates the installation and connection of the sink to the water supply and sewer network.
- Then according to the drawing we carry out cutting MDF. It is advisable to do this on professional equipment, since even the highest-quality jigsaw will not be able to provide such a cut quality, which gives industrial circular saw.
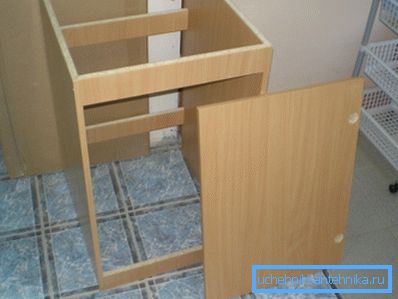
- Those cuts that will not be hidden during installation are carefully processed with sandpaper and sealed with a miter tape, ironing it with an iron. It will not only give the panels a more attractive appearance, but also reliably protect the core of MDF from swelling upon contact with water.
Note! If possible, trimming should be ordered in the same place where the slab is cut.
Next, proceed to the assembly of the frame of our cabinets:
- We fold the panels in the way they should be installed and clamp them with clamps.
- Using a drill bit in wood, we make mounting holes.
- Using a hex key, we connect the bottom and sides with furniture screws.
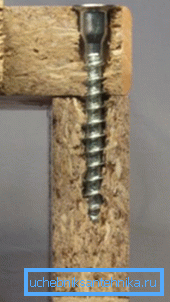
- On top, we additionally reinforce the design with narrow MDF stripes that will fix the side walls.
- We fasten the hinges on the facades and install their counterparts on the inner surface of the side walls. We hang the doors and fasten handles to them.
Note! Modern hinges allow adjustment in three planes, so that an installation tolerance of 0.5 - 1 mm is allowed.
- We fasten the legs to the bottom, which are then carefully leveled by level.
So, the cabinet under the sink in the bathroom is ready, it remains to install the sink itself.
Sink installation
Surface mounted sinks are fairly simple - just fix the special brackets on the base and connect them with the projections on the underside of the sink.
But with the mortise products will have to tinker:
- The table top intended for installation on the locker is laid on the workbench face down.
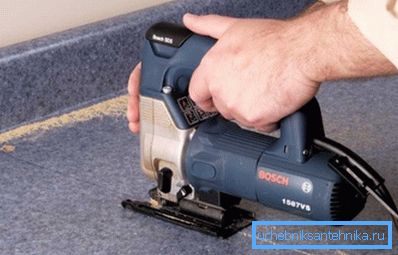
- According to the pattern, which usually comes in a set mortise sink, apply markings on the countertop.
- Using a drill with a large-diameter drill, we make several holes, preferably in the corners of the future washing.
- Connect the holes with a saw using a jigsaw.
- Install the tabletop into place, fixing it with mounting screws to the brackets.
- Carefully process the edges with a seal with a pipe sealant, after which we install a sink in the hole.
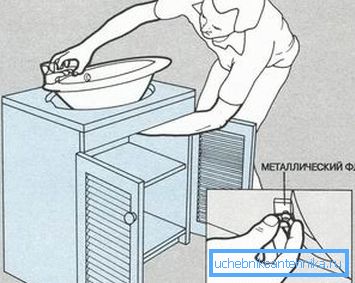
Note! In most cases, sinks are equipped with special butyl tapes, which provide the most tight fit of the metal to the surface of the tabletop. If there is no such tape, you can use sanitary silicone.
- Fasten the sink below using the supplied brackets.
After that, it remains for us to install the locker in place, put the feet on the level and attach a siphon to the sink. At the final stage, we perform a test discharge, ensuring that there are no leaks, and moisture does not get on the MDF. (See also the article Siphon for a sink with overflow: features.)
Conclusion
Using this instruction, anyone can assemble a cabinet under the sink in the bathroom with their own hands. In this case, we will not need any complex tools or expensive materials: the work is hard, but feasible, even for a beginner. If you want to familiarize yourself with the installation technique in more detail, then the video in this article will help you.