Do-it-yourself washbasin: basic design
To make a country washbasin with your own hands, any of us can use it to perform the simplest hygienic procedures. However, if you approach the task as responsibly as possible, then you should not do the simplest design, which is suspended from a tree, but a capital system that can serve for several years. However, all products have the right to exist, so in the article we describe several mounting options.
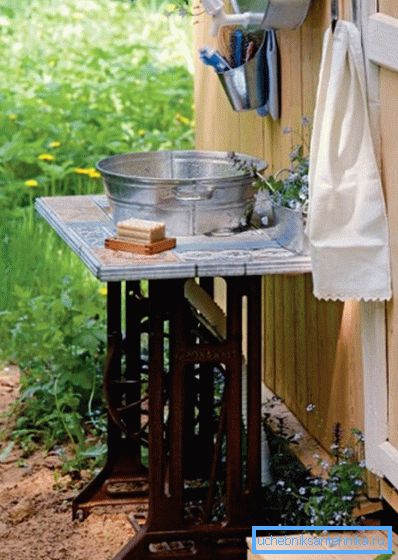
Wall mounted washbasins
Tools and materials
It is possible to make a traveling washstand or the simplest construction for a garden plot in just a few minutes.
For this we need:
- Capacity up to 5 liters (plastic bottle or canister).
Tip! It is not necessary to use large tanks - it is rather difficult to suspend them because of the large mass, and the water heated by the action of sunlight will take too long.
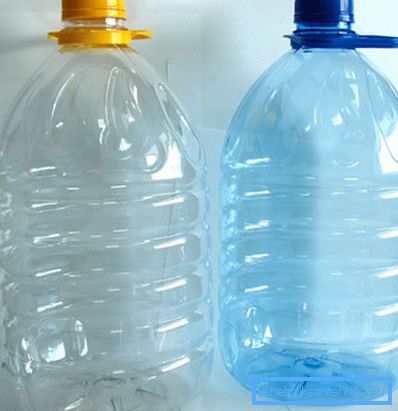
- Strong wire or nylon rope for suspension.
- Nail 150-200 mm.
- A few nuts.
- Rubber gasket.
- "Cold welding".
- A knife with a sharp blade.
Also for installation of the washstand, you can use a disposable syringe or a special plastic tap.
Installation technology
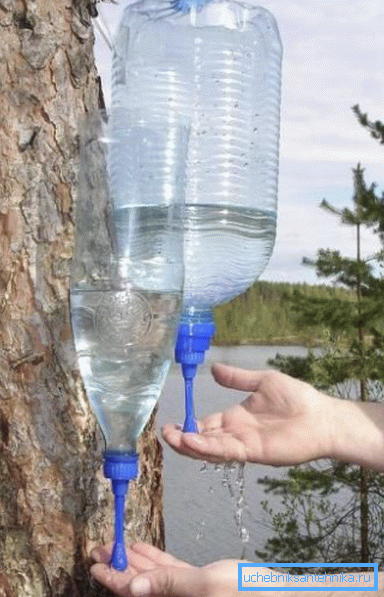
A washbasin on the street at the cottage is done by the following algorithm:
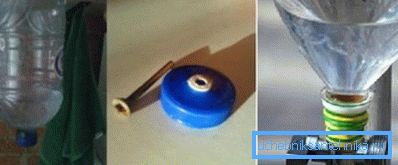
- Cut the bottom of the bottle or canister with a knife. The cut part can be removed completely, but you can leave it on the plastic strip - then we will have a kind of cover that protects the water in the tank from contamination.
- In the upper part we make several holes through which we pass the wire for suspension..
- The second piece of wire is wrapped around the neck, forming a loop on which the structure will rest with its entire mass.. We hang the structure on a tree or on a hook mounted on the wall of a country house.
Note! If there is a possibility, then it is worth simply attaching the container with nails or screws to a vertical wooden surface. Doing the washbasin in nature with your own hands, do not drive, please, nails into living wood - this is an extremely negative effect on the condition of the plant.
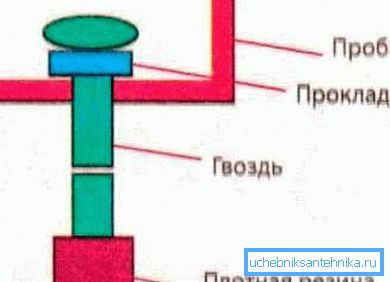
- In the cover we make a hole through which we pass a nail.. From the inside, we put a rubber gasket on the nail, and fix it with a weight nut or a thick washer (they are excellent for “cold welding”).
- We also put a nut on the outer end of the nail., which will play the role of a small weight.
- Screw the cap tightly on the neck, then fill the tank with water.
Now, lifting a nail with a hand, we will open a hole through which the water for washing will flow.
Stationary structures
Required components
If you want to use a more modern product, then the choice is to stop at the stationary types of sinks. The price of finished structures is quite high, and their range is limited, because it is easier to make a washbasin to give your own hands.
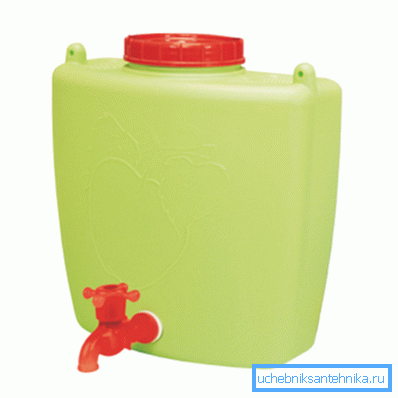
We will need:
- The frame elements are wooden beams, shaped pipes or metal corners.
- Materials for plating - lining, MDF or plastic panels.
- Water tank.
- The locking structure is a pressure valve (the manufacturing process is described above) or a simple metal / polymer valve.
- Sink - suitable inexpensive, made of thin galvanized or plastic.
As for the tooling, it will be quite standard:
- Welding machine - if metal structures are used.
- Drill and screwdriver.
- Wood / metal saw.
- Hand tools - screwdrivers, pliers, hammers, etc.
- Level and roulette.
Additionally, it is worth buying either an anti-corrosive paint for a corner or a profile pipe, or a moisture-proof impregnation for wood.
Equipment installation site
If we make a washstand on the street, then water can be drained directly to the ground. But equipping the sink in the garage with your own hands or mounting the structure on the terrace, you should think about the "cultivation" of the place of discharge.
Note! The easiest way is to stretch the hose or lay the pipes to the cesspool, but if you need to dig a trench for more than 10 m, or the gasket will be associated with violation of the integrity of the beds / flower beds / tracks, you should think about a separate drainage tank.
We perform the work as follows:
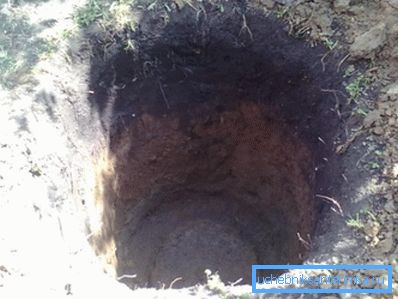
- In the immediate vicinity of the washstand we dig a hole about 0.5m in size2 and a depth of 1 m.
- From the pit to the washbasin we lay a shallow trench in which we place the pipe. It is desirable that the pipe lay with a bias towards the pit: so the liquid will be removed much faster.
- At the bottom of the pit lay drainage - a layer of pebbles or coarse gravel about 40 cm thick.
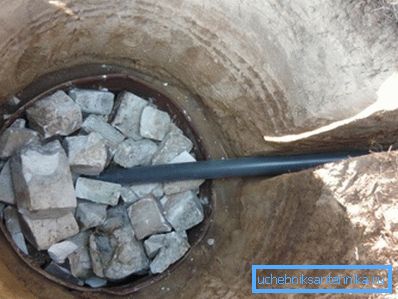
- We reinforce the sides of the pit with durable moisture-proof beams or metal corners. From above we lay a board shield, which we close with turf.
- In the ceiling we leave the products for ventilation in which we insert a piece of pipe with a cap.
Frame and capacity
Instructions for making the washbasin itself is quite simple:
- At the first stage, we assemble the framework of the whole structure from timber or steel parts. It includes the base of the future bollard and two racks, between which a cross bar is installed for hanging the container.
- Capacity fastened to the transverse bar. At the bottom of the set valve or pressure valve.
- We install a sink on the base, and from below we fix a drain siphon to it. We attach a hose to the siphon, which we wind up into a pipe connecting the washstand to the pit.
- The side walls of the cabinets sheathe lining or plastic panels. Front or make a blank wall of the same materials, or install the door. The second solution is more practical because it allows the use of a cabinet under the sink for storing detergents and other small items.
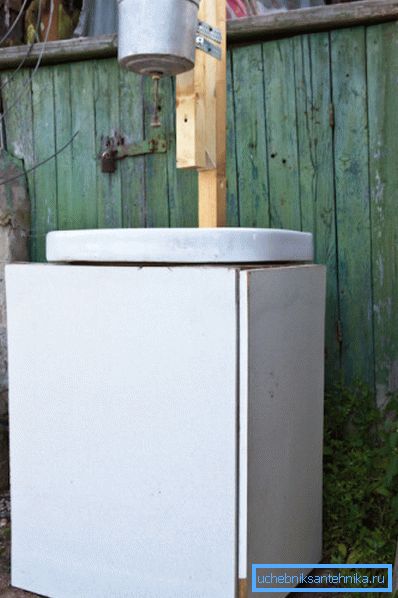
We can only protect the parts from rotting by treating all wooden parts with moisture-proof impregnation.
Gravity or overpressure
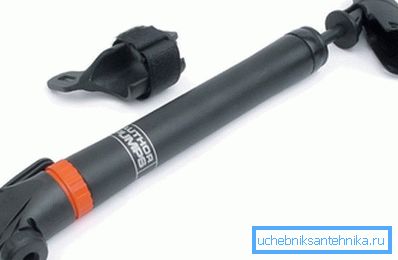
When assembling a washbasin from a canister with their own hands, many craftsmen often face the problem of too little pressure. In principle, the flow of money should be enough, but if not, it is quite possible to attach a pump to the reservoir to create excess pressure.
Note! When using such systems, the requirements for the quality of the valve and the tightness of the connections increase.
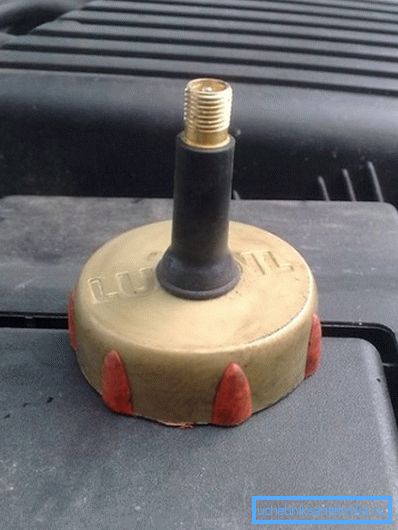
Going design in this way:
- The canister is installed on the frame.
- A hole is made in the cover into which the fitting is inserted. The installation location of the fitting is carefully sealed.
- After filling the canister with water, the cap is screwed onto the neck. At the nozzle is put on the hose from the pump, which begins to force air into the container.
- In order to use the system it was possible even with the pump turned off, it is worthwhile to install a nipple in the cover that will prevent air from escaping.
This design is not without flaws, and the main thing is that it only works when there is voltage in the network. On the other hand, it is quite possible to use it without additional pressure, but in this case it is worthwhile to fix the tank so that the valve is as low as possible.
Conclusion
The above story about how to make a washbasin at the cottage with your own hands, will be useful to anyone who in one way or another is faced with the need to adjust the water supply in places deprived of plumbing. And in order to get additional information on the described technologies, you should carefully study the video in this article.