Drain under the sink: features of the device and 3 stages of
The most important part of the sink is its drain, since it is he who is responsible for its efficient operation. Installation of such an element is quite possible with their own hands, as well as further maintenance.
What will be discussed in this article.
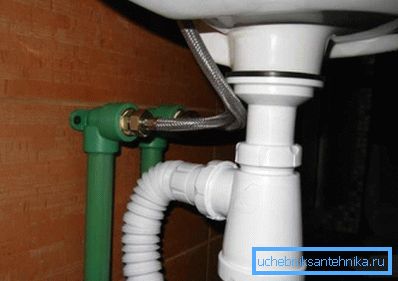
Device
Before installation, it is necessary to familiarize yourself with the structure of the drain system:
General construction
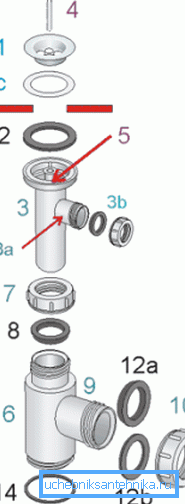
| Designation in the figure | Title |
| one | Entrance grill |
| 2 | Rubber gasket |
| 3 | Additional tap |
| four | Fixing screw |
| five | Drainer |
| 6 | Siphon |
| 7 | Nut for tightening |
| eight | Taper-type gasket |
| 9 | Drain to sewer |
| ten | Sewer hose connection nut |
| 13 | Siphon cover |
| 14 | Rubber gasket |
| 1c, 3v, 12a, 12b | Sealing gaskets |
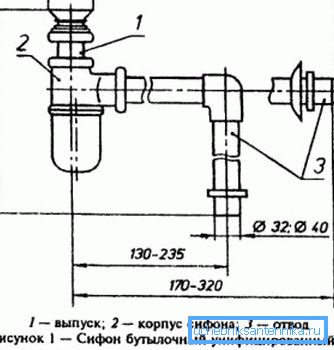
Also, depending on the design of the sink itself, the system can be supplemented by connecting the overflow to an additional tap, indicated in the figure as “3”. This addition eliminates the possibility of flooding the room in which the sink is installed.
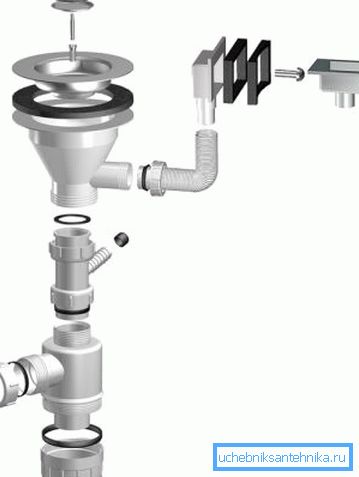
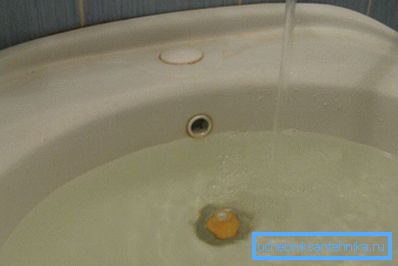
Tip: the presence of overflow is most in demand when you use a plastic stopper in the sink to close the drain hole. Indeed, in such cases, inattention can lead to overfilling of the reservoir, and, consequently, flooding the room.
The height of the sink drain is usually 530 mm, which is quite enough to accommodate the siphon and guarantee sufficient head.
Security snippets
If most of the parts of the drain is designed to guide and seal the exit stream, then some are removable, perform protective functions and need constant care:
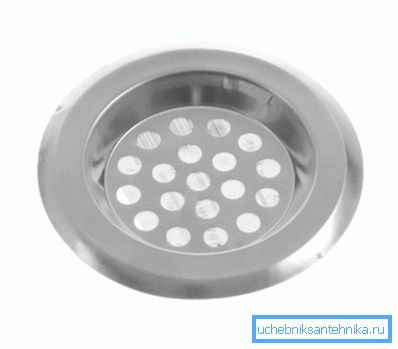
- Filter grate. They are a metal or plastic mesh of a round shape, which is designed to prevent large pieces of food or other materials from entering the drain system. Without such a seemingly trivial component, a garbage plug will quickly form in the sewer pipe.
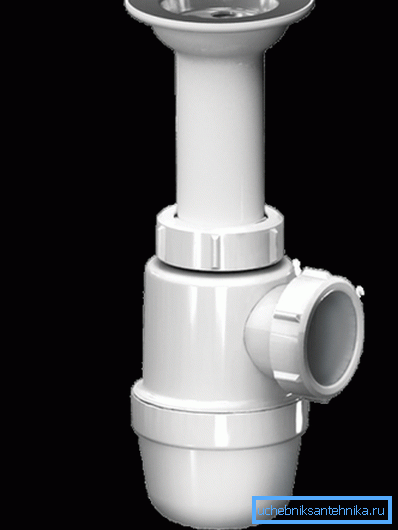
- Siphon. Creates a water seal, preventing the penetration of odors from the sewer into the house. There may be three types:
| Title | Description |
| Bottle | The most common to date model. Although its price is somewhat higher than that of other options, but in addition to the implementation of a water trap, it also accumulates the debris that was able to pass through the filter grate, thereby increasing the operational period of sewage runoff. It has the appearance of a plastic bottle with a tap and a twist off cap. |
| Corrugated | The main advantage of this option is the ability to wrap it in any position. But at the same time it is not adapted for quick cleaning and accumulates fat in its folds. |
| Pipe | It is a plastic knee holding a water lock in its bend. The advantage of this type of siphon is the possibility of removing it from under the sink itself. |
Tip: if there are no special conditions under which the space under the sink is limited or should remain empty, it is recommended to install a bottle siphon. The ability to clean it without having to dismantle the entire drain system will greatly facilitate the care of the waste system.
Assembly work
Installing sink drain in the kitchen consists of three stages.
Tip: if you want to save space and install a wall sink above the washing machine, then the sink with an offset sink is best suited for this task, as it leaves the space underneath it empty.
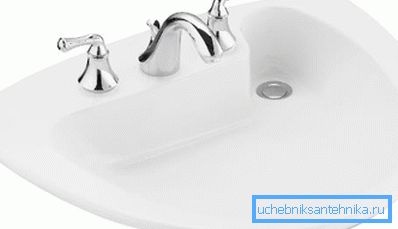
Stage # 1: connecting to the sink
The instruction is as follows:
- We put a gasket on the drain hole.
- From above we mount a filtering lattice.
- On the side of the outlet nozzle fix the gasket of rubber.
- We put the item below the drain hole.
- We pass the bolt through the grille and twist it into the threaded hole of the socket.
Stage 2: installation of a hydraulic lock
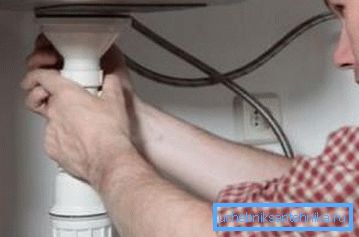
- At the outlet we mount the nut, and then the gasket in the form of a cone.
- Next, we string on it the body of the water gate to the desired mark.
- Lower and tighten the nut with your hands so as not to disrupt the thread.
- We put the rubber gasket in the cover and fasten it to the bottom of the device.
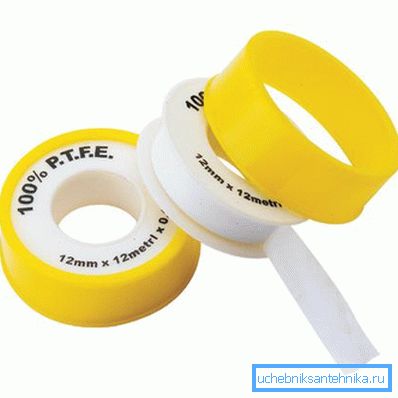
Tip: do not use silicone to seal the cover, since you still have to unscrew it often. Better use for this tow or tape FUM.
Stage number 3: connecting to the sewer
- We insert into the sewer pipe a rubber cuff, the inner diameter of which must be less than the outer diameter of the siphon outlet. This will prevent the penetration of sewage odors into the room.
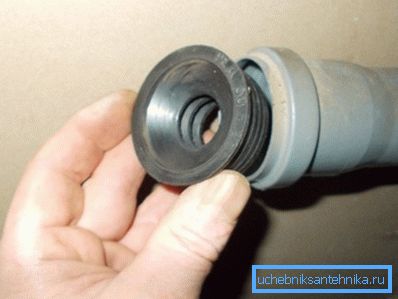
- Fixing is carried out using a tapered gasket and a nut according to the way it happened when the device was connected to the sink.
Maintenance
Now let's figure out how to clean the sink in the sink if it is clogged:
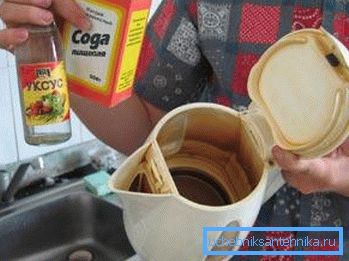
- Boiling water, soda and vinegar. How to clean the sink sink with available tools? To do this, boil a few liters of water, add soda and vinegar in each kitchen, and pour the contents into the sink. This method is remarkable not only because of its cheapness, but also because it is suitable for all types of siphons. But, unfortunately, it does not always work.
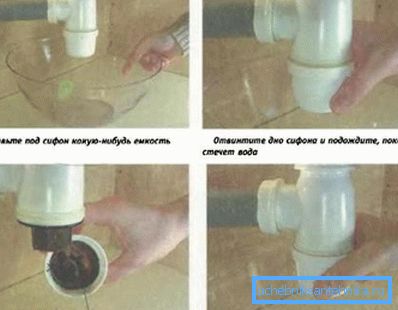
- Removing debris from the siphon. This option is ideal for bottle models. We put an empty container under the drain and unscrew the cover of the hydraulic seal. We clean its internal walls and we twist it back.
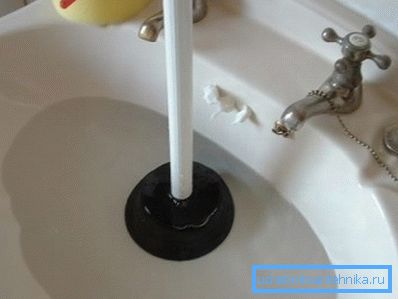
- Vantuz. Another method that is suitable for any design of water valves is the use of a special device, similar to a large suction cup.
We do this:
- We collect a full sink of water.
- Put the plunger cup on the drain hole.
- We press and sharply remove it several times. At this moment, due to the pressure, the rubbish plug disrupts its integrity, and the surging water flushes its remains into the sewer system.
Conclusion
It is not difficult to install a drainage system under the sink, but it is very important to follow the above instructions. In the opposite case, a leak may occur, which will not allow the construction to be fully exploited and will force the entire process to be repeated anew. It is also important to be able to clean the drain, as it periodically clogs.
The video in this article will acquaint you with additional information directly related to the reviewed materials. Be careful in the build process, and you will succeed.