Homemade shower: the main stages of construction
In any case, homemade shower with your own hands will be much more convenient than factory boxing or fencing, and its main advantage will be durability and suitable sizes for you. Maybe someone will think about multi-mode mixers, but they can also be installed in such a building on a special panel - there are now quite a wide assortment in the construction market.
But, first things first, we will pay attention to construction work and materials - brick, blocks and tile, another installation of plumbing communications, and in addition, you can get acquainted with the video in this article.
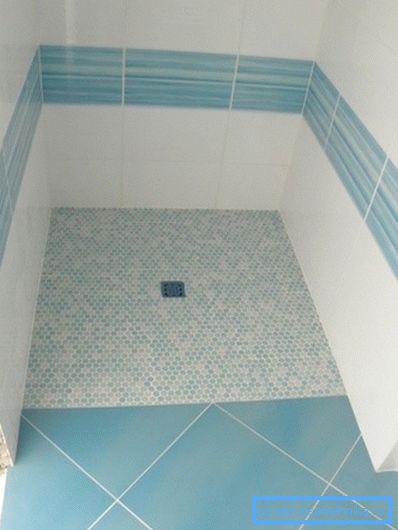
We build a cabin
Design
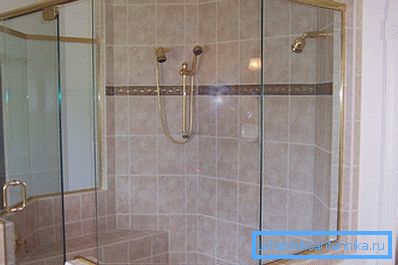
- First of all, you need to decide on the area that the future cabin will occupy. - in this way, not only the quantity of the material, but also its price will become available for the calculations, which is also very important, because, in addition to the cost of the walls, you still have to purchase sanitary equipment. You should also make a decision about the material itself - it can be blocks, a brick or drywall - this will have little effect on the final result, but this is reflected very strongly on the construction process itself.
- It is important to immediately decide how you will have a pallet, and this already depends on the ability to raise the discharge point.. That is, the sewer pipe from the booth should go under a certain incline and if the floor device does not allow to do this, it means that you need to install an autonomous pan or just to raise the floor in this place to install a shower drain or siphon. The fence does not have to be deaf - it can be red-hot glass, as in the top photo, or polycarbonate of any color, mounted on a brick (block) base.
- Think about whether you will install a door on such a fence (if the cabin is large, then sometimes just leave a free opening). If you will, then immediately think of what material it will be made - this will allow you to properly strengthen the partitions. Also, do not forget to pre-determine the dimensions of the door leaf, so that the box would enter the opening almost closely.
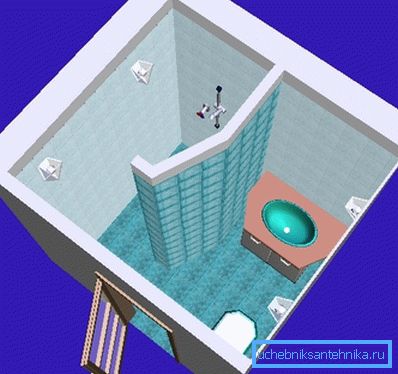
- Regardless of the large or small useful area of the house and, in particular, the place where the cabin will be located, you immediately need to mark out its clear base and do it with reference to building materials. This means that when laying brick or block it is much more convenient to put a whole number of units on the first row. Of course, a failure is possible, but this is already the convenience of installation, which play a significant role in any construction.
- The bathroom you are building may also be with the toilet. - for this you need another partition, which can be made of another material, and the door between the shower and the toilet is not required here.
Base and drain
| Device name | Bias cm / cm linear | Optimum tube diameter in mm |
| Bath | 1/30 | 50 |
| Shower | 1/48 | 50 |
| Toilet | 1/20 | 100 |
| Sink | 1/12 | 50 |
| Bidet | 1/20 | 32-50 |
| Washing | 1/30 | 32-50 |
| Sink, bath and shower with combined drain | 1/48 | 50 |
| Central riser | - | 100 |
| Discharge from the riser | - | 50-75 |
Optimum slopes of sewer pipes
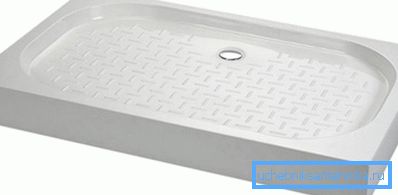
As we have said, when installing a shower stall it is very important to observe the slope of the sewer pipe; moreover, there may be a toilet in the fence, and there the requirements are somewhat different. That is, in this case, the instruction provides for the use of pipes of two different cross sections - for a shower - 50 mm, and for a toilet bowl - 100 mm.
You can see the slopes that need to be specified for these communications when laying, in the table at the beginning of the subtitle.
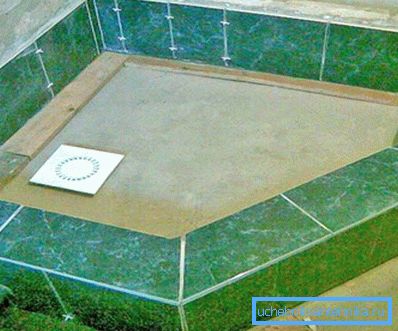
If the floor device or the level of the previously laid sewer pipe does not allow to maintain the desired slope from the drain to the place of tie-in, then you have to use the pallet, or make it yourself, but at the same time raise the level to the required mark taking into account the standards specified in the table.
But, be that as it may, the drain ladder can be installed in the self-made trays for shower cabins, which increases the ease of operation - when cleaning it you don’t have to dismantle the pallet, as you have to do with the siphon.
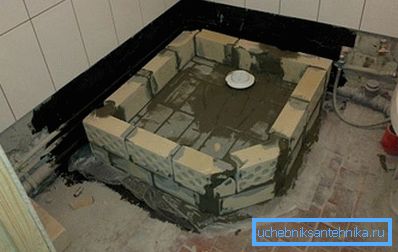
Such constructions are best made of brick - you are scribing the desired shape on the floor and raising a low fence along this perimeter, on which you can then install the same brick, foam block or put glass (polycarbonate) partitions.
But you can make a formwork of the desired form and fill it with fine-grained concrete (instead of rubble - granite sifting), only partitions, despite the fact that they are low, it is best to reinforce with wire or reinforcement.
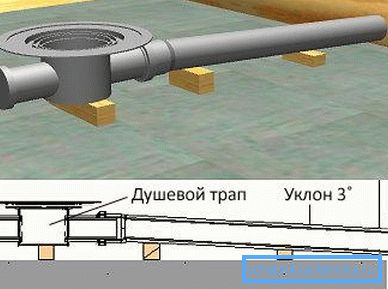
When you install the ladder - do not forget about the mandatory slope and, with its consideration, pour the screed inside the booth, but here you also need to take into account the thickness of the front cover. That is, when the ladder is installed, its upper level (on the grill) should turn out to be 1-2 mm below the floor level, then the drain will be recessed and all the water from the floor will drain into it.
But, besides this, the place where the ladder will be installed should be the lowest relative to the entire area of the pallet - there is no need for a large slope, 3-5 mm per linear meter is enough.
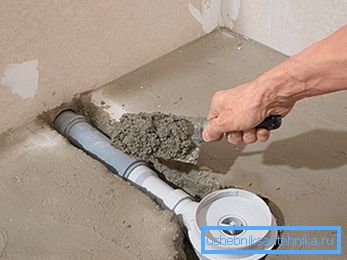
Note. Also, depending on the availability of free space, which is available to create a slope of the sewer pipe, you can choose a floor drain with either the bottom (straight) or side drain. If the main sewage pipe is low, then you can afford a drain with a bottom drain, but to save height, choose a side connection, as shown in the upper photo.
Mixers
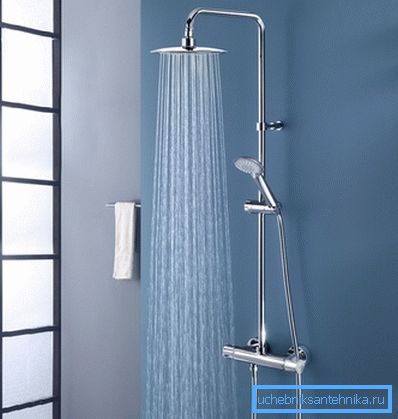
You can install any type of faucet - wall mounted or recessed, which can be conventional, or have up to five positions - in any case, the water supply should be hidden. That is, the hot and cold pipe is always hidden under the lining (plaster, drywall), and for connecting the faucet flush with the surface fittings are removed.
In the case of embedded structures, the connection fittings remain in the wall, but the working (rear) part of the mixer is recessed there.
Country option
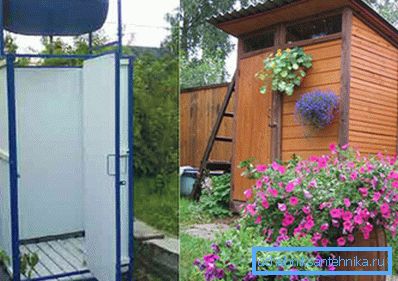
Self-made showers are a slightly different design for giving - it is very easy to provide the necessary slope for sewage pipes, and some even do without them, equipping the drainage and digging a hole for water behind it. Of course, the best option is to install a septic tank, where the final wastewater treatment plant will be a compost pit.
The pallet here can be installed of any type - both factory and self-made - everything is the same as in the room.
Note. The walls here are most often made of lightweight materials - polycarbonate, OSB, corrugated board or boards, and the framework itself can be made of wooden beams or metal profiles, although both materials can be assembled. Any tank is suitable as a reservoir for water here, the main thing is that you have enough engine capacity, moreover, sometimes tubular electric heaters are installed in such tanks, which makes it possible to use the shower in spring and autumn.
Conclusion
Building booths in the room and on the street is not much different on the basis of the design of the fence. But on the street, as you understand, some aesthetic requirements can be omitted, whereas indoors it is completely inappropriate.