How the profile for showers is mounted - features of the
Shower cabins in most cases represent a frame construction based on aluminum profiles. Assembling it is easier than it may seem at first glance, the only thing you need to first get acquainted with the basic nuances of installation. Next, we will step by step get acquainted with this process, as well as analyze the stages of the construction of the summer shower from the metal profile.
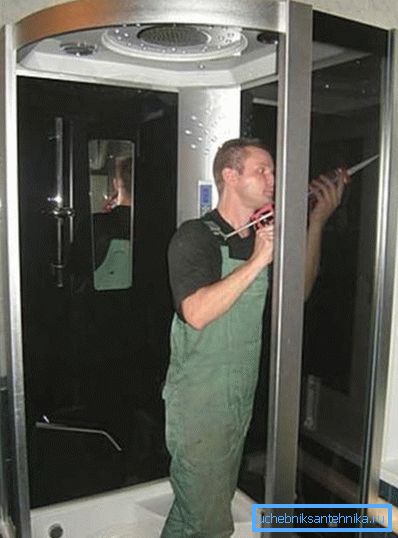
Shower assembly
Pallet Mounting
Installation of most models of showers begins with the assembly of the frame of the pallet, which performs the carrier function. Most often, the frame consists of steel shaped tubes that are attached to the pallet with studs and nuts.
In order to properly assemble the frame, you should be familiar with the assembly scheme, since different models may have different designs. After its installation, adjustable legs are screwed to the profile, and the pallet is level.
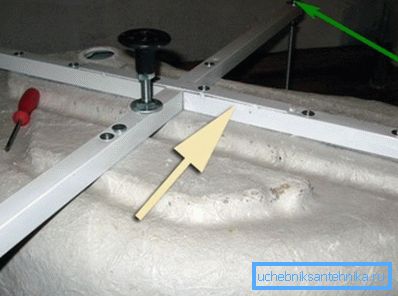
Frame assembly
After installing the shower tray, the main part of the work is done - the frame is assembled.
As a rule, instructions for performing this operation look like this:
- First of all, along the perimeter of the pallet, aluminum profiles are fastened with self-tapping screws.
- After that vertical racks are mounted.
- Then the glass panels of the booth are inserted into the guides.
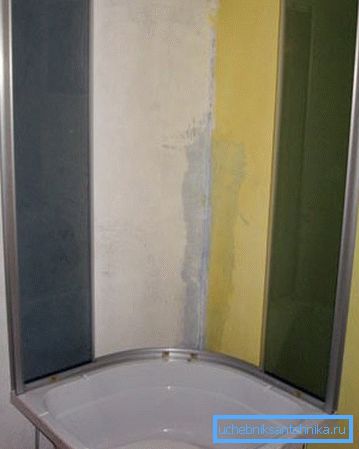
- Rear cab panels are installed on the back side.
- Then the upper profile is mounted, which connects the vertical racks.
- The ceiling panel is fastened to the upper profile and all communications are connected.
- At the final stage, the doors are mounted with the help of rollers according to the assembly scheme. First, the rollers are driven into the upper profile, after which they are pressed in and inserted into the lower guide rail.
- Next on the door is put on a rubber magnetic profile, which provides tight closing of the valves.
Note! All joints of shower cubicles must be coated with silicone sealant, which ensures the tightness of the structure.
This completes the assembly work. It must be said that the process of installing different models of shower equipment may differ somewhat, however, in general, the principle remains the same.
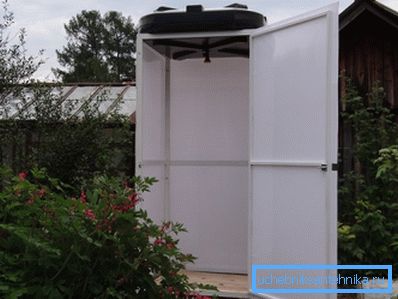
Assembling a summer shower from the profile
Materials
To ensure comfortable living conditions in the country during summer holidays, you can assemble a summer shower from the metal profile on your own. This will require the following materials:
| Materials | Options |
| Profile tube | 40x40 mm cross section |
| Capacity for shower with accessories | The volume depends on the number of people living in the country. |
| Sheet material | Can be used:
|
| Concrete | M100-150 brands |
If the design is collapsible, then you also need bolts with nuts and washers. However, it is much easier and faster to perform the connection of parts by welding.
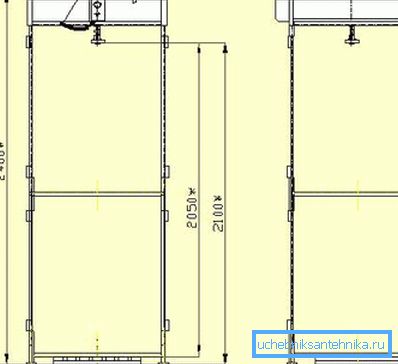
Project
Before starting work, you should complete a drawing of a summer shower from a profile. It is necessary to display the main structural elements and their sizes.
As a rule, the skeleton of the shower consists of four piers connected by an upper, middle and lower strapping. The size of the booth is usually 1x1m, however, the design can be increased, for example, so that there is a place under the dressing room.
Assembling a summer shower
Assembling the summer shower is carried out in this order:
- The first step is to prepare the site. - the soil is leveled, grass, roots, etc. are removed.
- Next, you mark the site and in the corners dig into the uprights of the future frame at a depth of about half a meter. The pillars should be strictly vertical.
- Then the formwork is installed and the concrete platform is poured with a slight slope to the sink.. As a result, the pillars are concreted.
- Further, using a profile pipe, the pillars are tied at the top, bottom and in the middle., which gives the structure strength. It should be noted that the average strapping is carried out only from three sides.
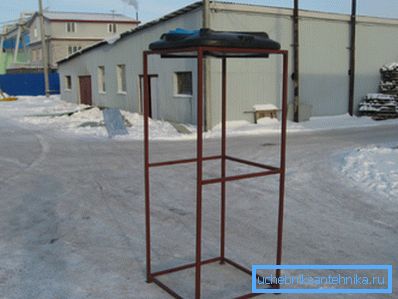
- After that, a shower tank or roofing is placed on top of the pillars., on which capacity is installed. At this stage, the assembly of all accessories.
- Next, the sheet material is cut and the cabin is sheathed.
- Then from the profile you need to make the door and install it on the hinges. The frame of the door is sheathed with the same material that is used to trim the cabin.
- At the end of the work you need to hammer a pallet out of the boards., which fits on a concrete pad.
Tip! Recently on sale you can find ready-made shower tanks with all the necessary fittings. Moreover, they can be both heated and without it. The price of capacity depends on its volume and additional functions.
That is, in fact, all the main points of the production of a summer shower from a metal profile. The only thing if the family living in the country house consists of more than three people, you must also run a drain hole near the booth and lay a pipe to quickly drain the effluent.
Conclusion
Assembling frame shower stalls reminds assembly designer. Therefore, the most important thing in this procedure is to follow the instructions and perform the work carefully. The same applies to the manufacture of frame summer shower.
From the video in this article can be found with some additional useful information on the voiced topic.