How the sink fits: several popular solutions
Our task is to figure out how to attach the sink to the wall, to the tabletop, to the cabinet and how to use the pedestal correctly. In this article we will try to make out the most popular constructions of sinks and washbasins offered by the modern market.
So let's get started.
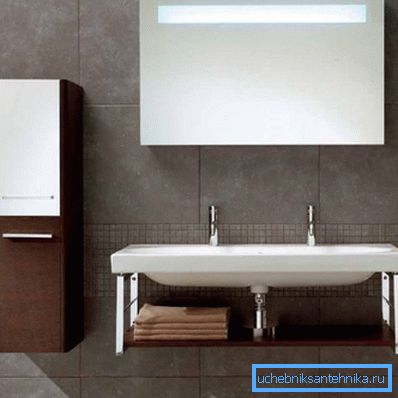
Enamelled sink
In the absence of a pedestal, it can be mounted in two ways:
- On the console, which is attached to the concrete wall with a mounting gun, anchors or dowel-screws.
- On pipes, hammered into a brick wall.
Console
- It is set along the horizon using the building level so that the top edge of the sink is 85 centimeters from the floor surface.
To clarify: if the sink is located near the stove or the working surface of the kitchen unit, it will be logical to focus on the level of their surface. The height difference between the furnishings of a small kitchen is ugly and impractical.
- Through the holes in the console are laid out the location of the fasteners.
- Holes are drilled by a drill with a size corresponding to the diameter of the anchor or plastic dowel. In this case, wooden chopikas for screws should not be used: with constant contact with water, the tree will quickly crack and the sink may fall.
- The console is attracted to the wall.
- A sink with a mounted mixer is screwed to it with a pair of bolts to prevent displacement in the horizontal plane.

Pipes
How to fix the sink to the wall, using pipes instead of the console?
Here you will need a piercer made of a thick-walled DU 20 pipe (3/4 inch), a pair of pipes of the same diameter and about 60 cm long, a heavy hammer and a gas wrench.
- At the points marked on the level along the edges of the sink, two holes are punched with a depth of at least 10 centimeters. Do not forget to periodically remove the piercer and clean it from the blockage of the crumb brick. Since the piercer will get stuck, it will have to be turned with a gas key.
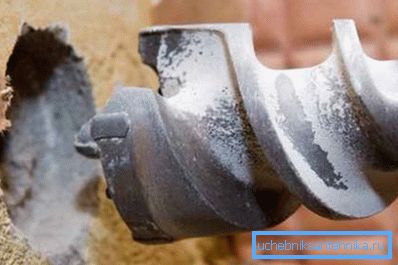
- Pipes are driven into the holes.
- The sink is installed on them and is attracted to the pipes through standard holes for fasteners with thick copper wire.
Washbasin with pedestal
How to fix the sink in the bathroom, equipped with a pedestal?
In general, the standard fixture that comes with the washbasin is quite satisfactory and does not require replacement with something else.
You just need to use it correctly.
- Above the previously removed hard liners with threads for hoses, a pair of holes for fasteners are marked.. A pedestal will serve as a guideline for their height: the near edge of the sink should rest on it, the far end should be slightly elevated. The slope will not allow water to linger on the shelf under the mixer.
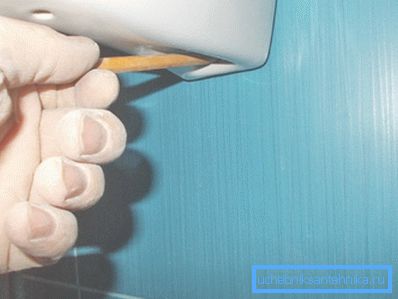
- The holes are drilled in a tile - a typical wall covering under a washstand - with a drill on glass and tile with a diameter one or two millimeters larger than that of a plastic dowel from the fixing set. The tile is penetrated at low speed; the drill is periodically wetted to avoid overheating of the soldering and tile.
- Then the wall is drilled to the length of the part of the anchor.
- Anchors are screwed into the wall.
- The mixer and release are attached to the washbasin. Siphon is still aloof.
- On the back side of the washbasin, strips of silicone sealant are applied along the top and bottom edges, after which it is placed on the pedestal with the front edge and is put on the anchor with holes.
- The position of the shell (the horizon in the transverse direction and the slope along the longitudinal axis) are exposed by plastic liners - eccentrics, after which it is attracted to the wall.
Warning: despite the silicone damper, great effort is unacceptable. Faience and porcelain are fragile materials. The shell should not be kept on the wall, but rely on a pair of anchors and a pedestal: in this case even the head of the family leaning on its edge will not cause a catastrophe.
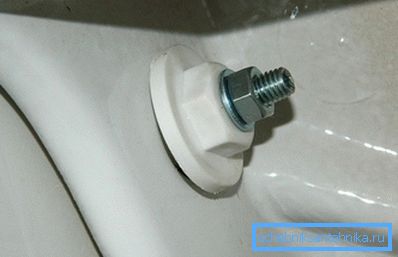
- The pedestal is finally set in the working position after the siphon is installed and checked for leaks.
Sink
How to attach the sink to the countertop or cabinet - depends on the type of sink.
Waybill
How to fix the sink to the nightstand in the case when it completely covers its entire surface?
Plastic corners with oblong holes are intended for this purpose, which press the edge of the sink to the edge of the pedestal.
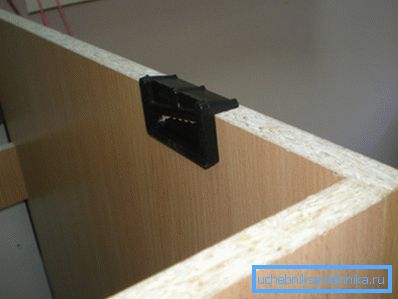
- Sink is put into position.
- Four - six corners are superimposed on its edges from the inside of the drawer.
- Shallow holes at the bottom edge of the slot in the corner are drilled in the walls with a 3-millimeter drill. Then screws of 4 * 16 mm are screwed into them.
- Corners with effort are displaced and press an edge of a sink.
The main drawback of the standard mounting is that with a small effort the shell can move in a horizontal plane. That is why, instead of plastic corners, a rail is used, laid down along the entire perimeter of the sink under its edge. It is attracted to the side of the stand by galvanized plates and completely prevents the mutual displacement of the sink and the stand.
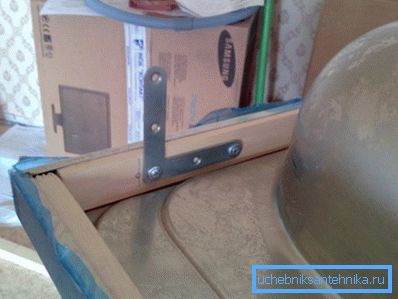
Tip: if you do your own hands mount the sink to the cabinet in this way, do not be too lazy to pre-grease the rail and the upper ends of the walls a couple - three times. What is the reason for the instruction? It is easy to guess: when in contact with water, the tree and the chipboard quickly swell and lose strength.
Mortise
Let's look at how to fix the sink to the countertop, if we are talking about a sink or sink:
- The sink is put on the table top, bottom up and encircled around the perimeter with a pencil.
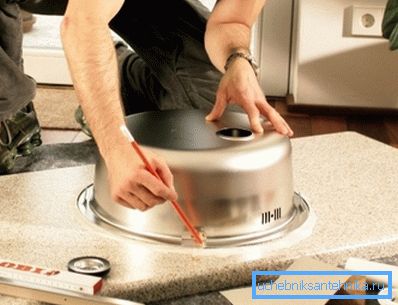
- The contour of the future cutout is drawn with an indent from the first line inward by 1.5 - 2 centimeters (depending on the width of the protrusion on the sink).
- A hole with a diameter of 8 - 10 mm is drilled inside the contour.
- The cut is done from the hole with an electric jigsaw. Ideally, it is better to cut from the back side by removing the tabletop and transferring the contour to its turn; if this is not possible, pre-glue the jigsaw's ski with a thick cloth so as not to scratch the surface.
- After processing the inner edge of the cutout with a file, cut it out to protect it from water two to three times and let it dry.
Further depends on the shell material. The easiest way is to use ceramic or artificial stone products: after gluing the edge with a complete tape - sealant, you can simply install them into the cutout. Own shell weight will prevent displacement.
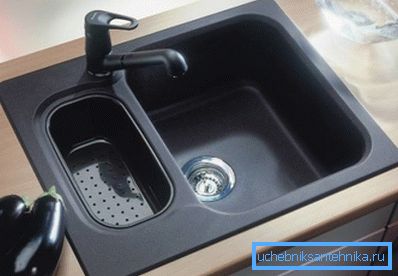
However, massive mortise shells are not very popular because of their fragility, and their cost is very different from stainless steel products. Take as an example the proposals of the famous Ukrainian store of building materials and compare the lower limit of the cost of round sinks with a diameter of 510 mm and a depth of about 500 mm.
| Washing material | Product price |
| Stainless steel | 1460 r. |
| Acrylic artificial stone | 9500 r. |
| Porcelain stoneware | 9700 r. |
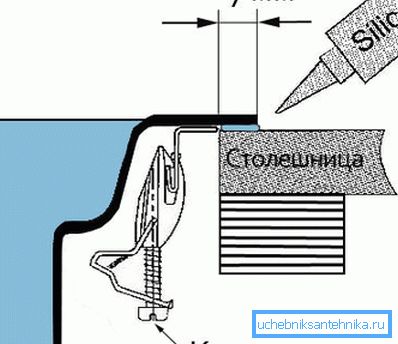
How to securely fix the easy mortise stainless steel sink:
- Use regular screw mechanisms, pressing the edge of the sink to the tabletop. This method will allow you to easily remove the sink for the repair or replacement of the mixer; However, most of the fasteners of this type are not particularly durable, and it is usually not easy to press them evenly along the entire perimeter.
- Put the sink on silicone sealant. Of course, this is permissible only if the table can be advanced: it is almost impossible to replace the mixer without dismantling the sink.
An important point: do not save on the quality of the sealant. Cheap compounds are characterized by poor adhesion to smooth surfaces, including - to polished stainless steel. It is better to opt for products Henkel (Moment) or Ceresit.
Conclusion
Undoubtedly, we have not touched on all possible editing scenarios: something must have been left behind the scenes. As always, the video in this article will offer the reader additional information on topics of interest to him.
Successes!