How to assemble a shower: installation rules
Shower cabins have become a very popular type of plumbing in our country, as they allow you to save bathroom space for installing additional equipment and furniture. However, comfortable and durable operation of the product directly depends on the quality of its installation, and in this article we will describe how to assemble the shower stall with our own hands.
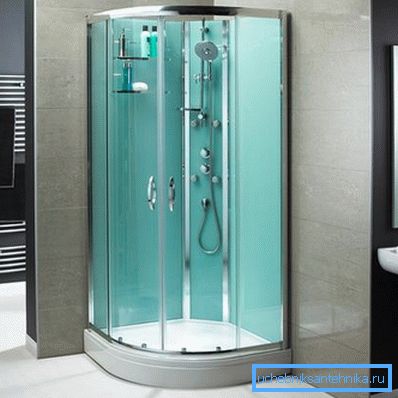
Installation of a shower cabin
Preparatory stage
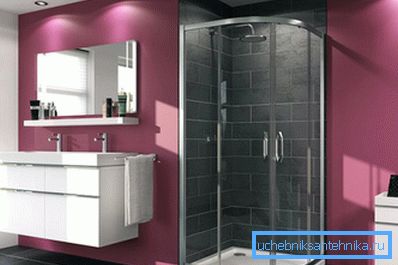
Before you collect the shower stall, you need to get ready for work.
To do this, you must provide all the conditions in the bathroom, namely:
- Clear a place to install the device. As a rule, the bath is removed from the room, since most bathrooms are not able to hold both of them at the same time. In addition, all foreign objects and appliances should be removed;
- Provide access to sewer riser. It is necessary to consider the distance to the sewage from the place of installation of the pallet so that the length of the drain hose is enough. It is advisable to install the product as close as possible to the riser;
- Level the floor. In the case of using ceramic pallets, this condition is mandatory; for acrylic models, a relatively even and solid base is enough for the stop of the adjustable legs;
- If the model has electronic control, backlight and other similar functions, you need to take care of the power source (outlet). It should be installed above the booth.
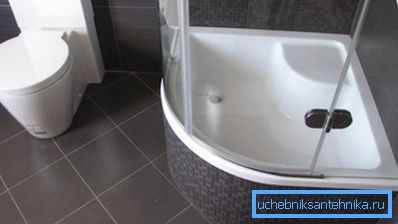
In addition, you will need a set of tools, including a screwdriver, an electric drill, a building level, an adjustable wrench, a set of screwdrivers, a marker, plumb, guns for sealant and foam, silicone sealant, hammer, drill bits for concrete and metal. To install a ceramic shower tray, you need cement.

Note! Buy high-quality hoses to supply hot and cold water in advance, you may also need a FUM-tape or sanitary flax to seal the threaded connections.
Pallet installation
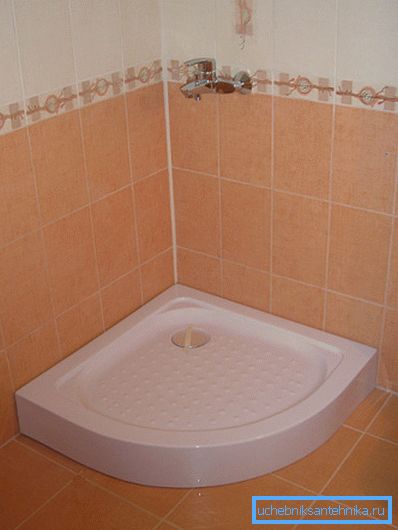
Before going to the shower, set the pan. Pallets are ceramic, metal or acrylic, most often using acrylic or ceramics.
Consider the installation of an acrylic pallet. When buying, you should make sure that the bowl is sufficiently rigid and capable of withstanding considerable loads without bending.
Note! It is desirable that the distance from the bowl to the nearest pieces of furniture, household appliances or sinks is at least 50 cm.
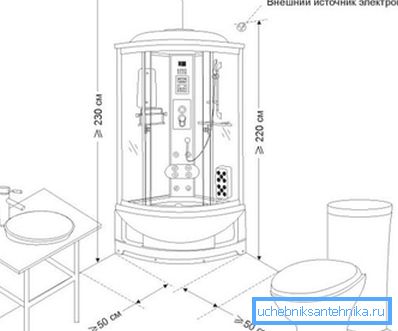
Installation instructions for an acrylic pallet do it yourself:
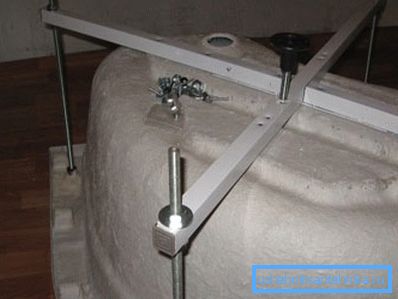
- Turn the bowl upside down and mount a metal frame of rectangular tubes. We place the pipes and thread the threaded rods into the holes at their ends, which we twist to the stop in the grooves of the pallet. We mount the central and extreme resistant legs;
- Install drain fittings. We put a valve into the drain hole, which on the back side is attracted by a nut.
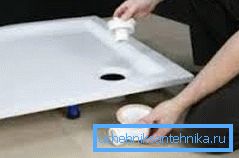
- Wrap on the thread of the drain pipe FUM-tape and wind the sewer corrugation with water trap.
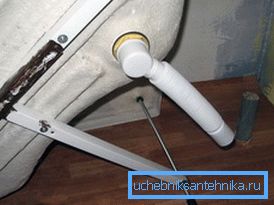
- Put the bowl in the installation position and set the level. Adjustment is made using the nuts on the legs. It is advisable to make a slight tilt toward the drain hole;
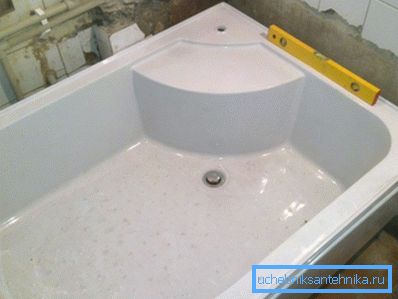
- Close the front of the decorative panel.
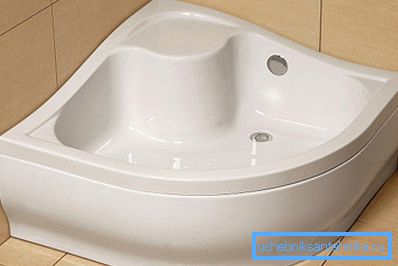
Note! When installing the drain and overflow do not forget to remove the protective film in the installation area, so that it does not fall under the clamping parts.
Many masters advise between the steel frame and the bottom of the bowl to lay a layer of sealant or foam. This makes the product more rigid, it does not bend or deform, produces less noise.
Installation of frame and panels

Usually, the first part is the part where the controls are located. The panel is pushed into the grooves on the pallet, the compound is pre-processed with a transparent sealant.
Note! Make sure that the silicone does not fall into the grooves for draining water, if any.
Sometimes the back part is a single corner panel, in this case - first we put it. Pre-assemble the structure according to the manufacturer’s instructions outside the bathroom, as you will need a lot of free space.
Then you can add the assembled panel and place it on the pallet, or you can add its details and assemble according to the already established scheme.
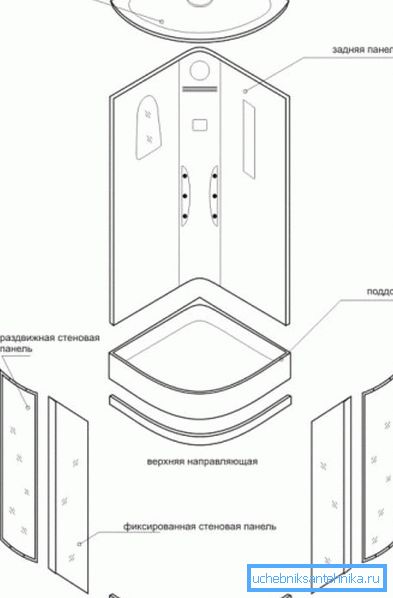
Often there are difficulties with installing guides for sliding doors: they must be inserted into the grooves and tightened with a hex wrench. If the top guide does not cause problems, then to insert the bottom one has to shift the structure relative to the bowl.
Note! Do not forget to insert the rollers into the profile guides, as after their fastening it will not be possible to do this.
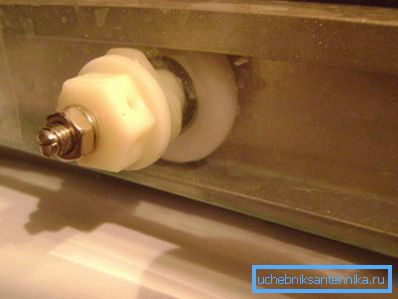
You should also be careful with deaf glasses: although they are strong, they can also be damaged, and the price of new ones is quite high. As with the installation of the pallet, when installing the walls should silicone all joints.
The nuances of installing accessories on the back panel depend on the specific model, so you have to deal with the manufacturer's instructions. After mounting the wall panels, install the ceiling dome and bring doors to the guides with pre-laid magnetic seals.
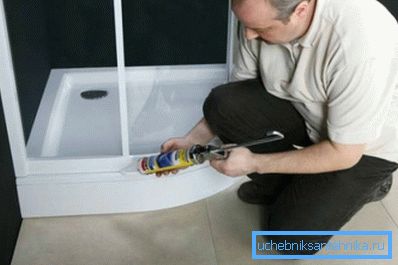
Note! All fasteners (screws, clips, clips) should be slightly under-tightened, and only after the final installation, they should be fully fixed.
Conclusion
Properly assembled shower stall is a convenient and practical place for water procedures. Therefore, before starting work, you should know as accurately as possible and understand how to assemble a shower cabin.
Be sure to watch the video in this article, otherwise the impression will not be complete.