How to connect a shower - a detailed guide
Given the cost of showers, many seek to save and install on their own. Such a solution seems justified; you only need to clearly understand the procedure for connecting and assembling. The fact is that during the installation, you will have to deal not only with the question of how to connect the shower to the sewage system, but also to organize the supply of water and even get it connected to the power supply network.
Types of showers
Before you dive into the installation process, you need to understand the types of showers. The fact is that depending on the model it can be very different and the order of its installation.
At this stage, we are not interested in the form, color, materials used, so we will focus on the design features and functionality of different models of showers:
- the simplest option is a corner in the bathroom just fenced off by transparent walls. In this case, you only have to connect the drain to the sewage system and supply hot and cold water, lighting will be enough, and there will be no problems with ventilation because the walls do not completely enclose the shower;

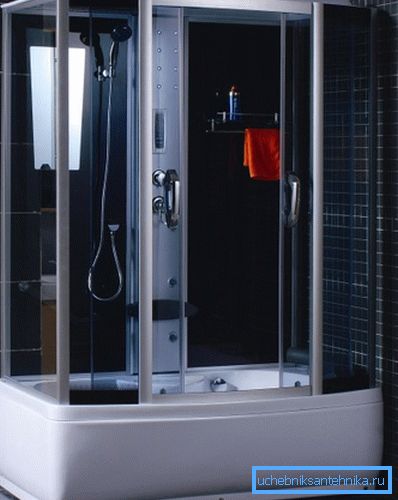
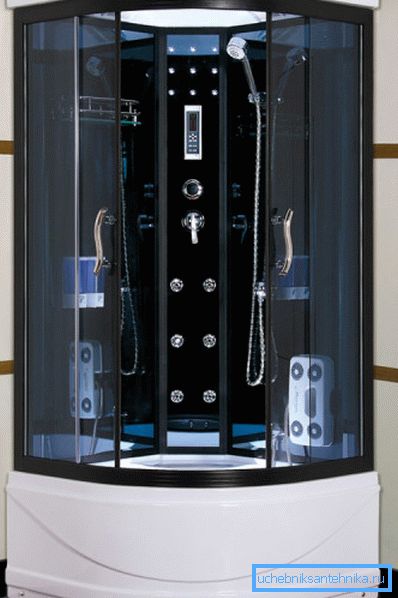
- purchased shower enclosures look like fully closable capsules with a different set of functions. Usually, this includes a panel with hydromassage, lamps installed in the upper part, separate forced ventilation, a telephone, multi-colored lights, etc. However, the price of such pleasure is not different in democratic character;
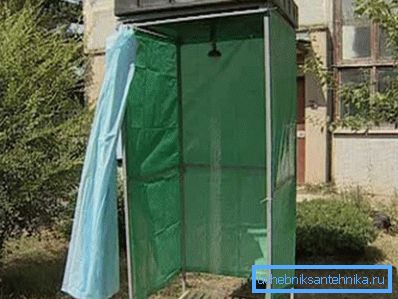
- at summer residences models with heating elements are quite common. Such booths can be installed directly on the site, and the heating elements are located in the tank. Thus, a certain independence from weather conditions is achieved and warm water is always there;
- Separately note worth options cabins with and without a pallet. This greatly affects the complexity of connecting the shower to the sewer. Variants with a pallet are connected through a regular siphon, otherwise either a shower or a canal is used, communications are hidden in the screed.
When choosing a cabin, one should take into account the possibility of connecting it not only to the water supply and sewage system, but also to the electrical network. For example, in suburban areas, where electricity is interrupted by a habitual thing, most of the functions of such booths will remain unclaimed.
For the same hydromassage, a separate pump is used in the purchased shower, either at the back or at the bottom. Also, without electricity, lighting, lights, a built-in phone, a music player, etc. will not work.
Note! Without power supply, ventilation will not work either, so taking a shower will simply become uncomfortable.
Shower cabin connection guide
When installing the shower, in addition to assembling the cabin itself, it will be necessary to solve such tasks as connecting the drain of the pallet to the sewage system, connecting to the water supply system and organizing the power supply. Each of these stages is worth considering in more detail.
Connect to the sewer
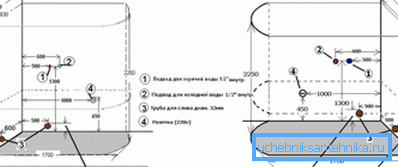
As for how to connect a shower with a tray to the sewer, the work is recommended to perform in the following sequence:
- First, the siphon outlet is connected to the sewer corrugation. The connection is made using a captive plastic nut, the other end of the corrugations can be immediately connected to the sewer;
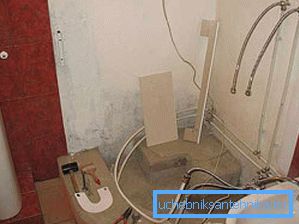
- then you need to securely attach the siphon to the drain pipe (if there is overflow, it also connects to the siphon). To do this, the metal part (usually a perforated glass) is inserted into the pallet itself, and on the back side a siphon is attached through a rubber ring and the whole structure is connected together by a bolt;
- after that you can finally install the pallet itself. Most often, the base has small irregularities, imperceptible externally, but tangible when checking the level of horizontal. In order to compensate for the effect of the uneven base, the frame under the pallet is equipped with legs that are adjustable in height.
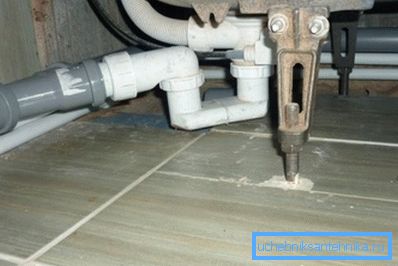
If you use an inexpensive metal enameled pan, it is advisable to immediately deal with noise insulation. You can solve this problem with your own hands - just use the mounting foam on the bottom of the pallet or paste it with a thick sound insulation film.
If, however, a drain or channel will be used to connect to the sewage system, then the order of work will be somewhat different, because communications will be hidden in the floor screed. It all boils down to the fact that with the device of the screed in the thickness of the concrete the drain device itself is hidden, and due to the profiling of the surface, the required slope to the drain is created. When buying a finished shower with this will not have to face.
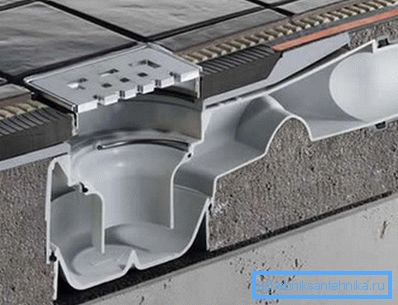
Note! When using ladders, there is a not very pleasant restriction - you can not put a pattern on the floor due to the fact that the tile has to be cut diagonally. The aesthetic component suffers a little.
Water connection
When solving the problem of how to connect water to a shower cabin, our goal is to supply cold and hot water to the corresponding pipes in the shower cabin. As for the different switching options for water supply, it all depends on the complexity of the purchased model. Cabins with hydromassage and other functions allow you to switch the flow of water between the manual and upper shower, hydromassage panel, foot shower, etc.
Note! Before the start of work, the water supply of the riser must be shut off, and to reduce pressure, you can simply open the taps in the bathroom.
The connection works are performed in the following sequence:
- if the cabin is installed instead of the old shower, then it must be disconnected completely;
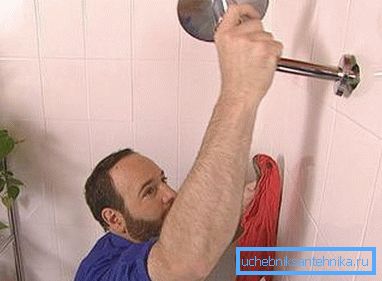
- For convenience of connecting the flexible hoses of the shower stall to the pipes, compression fittings are used. For additional sealing on the thread, FUM tape is wound;
- in order to make the work convenient, you can cut a wider hole in the wall than before. The main thing is that in size it does not exceed the dimensions of the hinged panel;
- Further, the flexible hoses from the mixer are connected respectively to the cold and hot water supply (you can navigate by color marking);
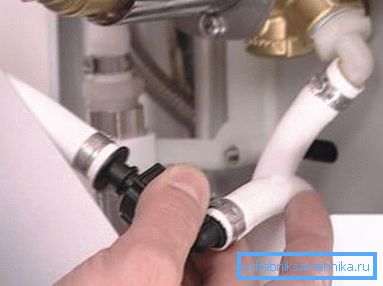
- all that remains to be done is to correctly connect the hose from the central panel to the hand and upper shower, as well as to the hydromassage panel. In order to avoid confusion, you can orient along the length of the hose, usually the longest used for a tropical shower. medium length - for a hand shower, etc.
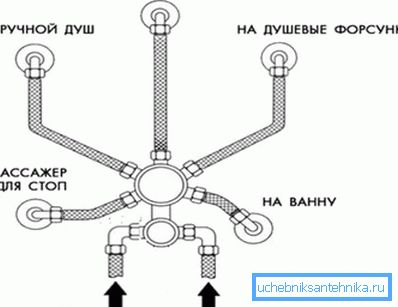
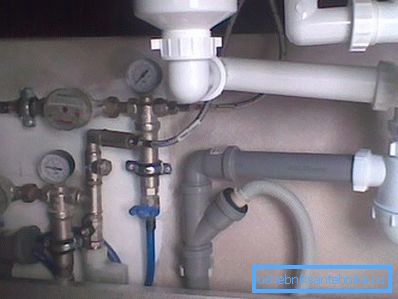
In this example, the simplest instruction is shown, in which you just need to connect the panel to the outlets in the wall. But for ease of maintenance, all the pipes can be concentrated under the pallet (except for models with ultra-low pallets). In this case, you can additionally install ball valves in order to always be able to cut off the water supply to the cabin, it is convenient during repairs.
Also, under the cabin itself, you can place a pump to ensure the operation of the hydromassage and pressure gauges to control the pressure in the pipes (with low pressure, some of the functions of the cabin may not work). You can also install water filters, this will extend the life of the device.
Network connection
The question of how the shower is connected to electricity is very important because without power, neither the lights and lighting, nor the exhaust fans, nor the massage equipment will work. That is, the functionality of the device will be reduced by several times.
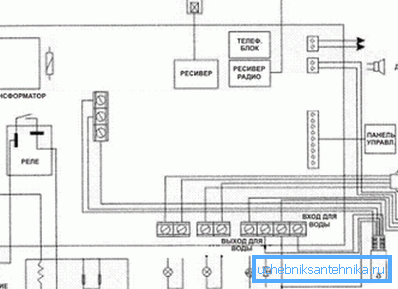
The buyer with self-installation does not have to mess with the wiring and powering of individual elements. It is enough to turn on the power plug and correctly connect all consumers of electricity in the cab.
In order for everything to work out the first time, the manufacturer allocates connectors for different devices in color, and the correct connection is guaranteed by the shape of the plugs, it is simply impossible to insert it into the connector on the wrong side.
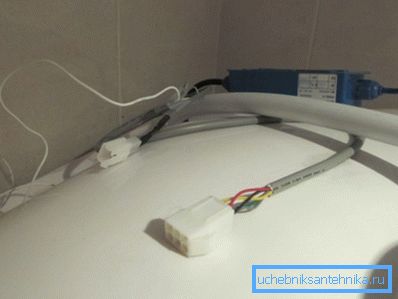
Note! What is worth paying particular attention to is the waterproofing of wires, little-known manufacturers can easily save on this.
From the general recommendations when connecting you can advise:
- use a separate automatic machine for the shower stall, which would turn off the power supply if the maximum energy consumption is exceeded;
- do not use low-quality cables to power the booth, it must be insulated and be copper;
- It is also not recommended to connect both the pump and the massage equipment to the same phase.
In conclusion
The above material will help when installing a shower stall in the apartment and in the country. The main attention is paid to the question of connection, and not assembly, since it is with this part that problems arise most often.
The video in this article describes the option of assembling and connecting a fairly popular shower stall.