How to cut a hole in the tabletop for washing with an
The times when the sink in the kitchen represented a metal sink, bolted to the wall and equipped with two taps, are long gone. Today, design features allow you to place it directly in the tabletop. However, it can be invoice or embedded. In the latter case, it will not be visible from above on the tabletop. Consider today the first option, as it is most suitable for self-installation.
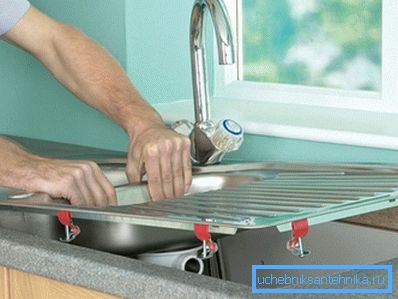
More about installation methods
As we have said, installing a kitchen sink implies two options:
| Overhead |
The disadvantage is humidity, which is constantly formed between the unit with the sink and near the installed cabinets. |
| Mortise | Installation is much more difficult and it will be very difficult to do it yourself. This method is favored by various forms and types of shells. For example, you can install models made of stone, plastic, stainless steel, copper, bronze, as well as round, rectangular, angular, asymmetrical shells. |
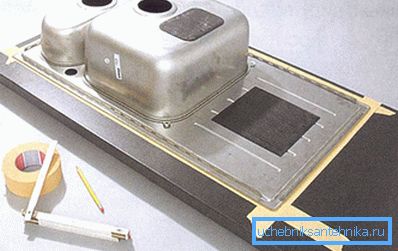
You can embed the sink into the tabletop in different ways, in this case not only your desire plays a role, but also the design possibilities of the kit.
Therefore, it can be relative to the surface:
- flush with her;
- slightly above or below it.
Tip: when buying a model you like, we recommend immediately clarifying the location of the sink bowl, as well as what fasteners you need to use for it. Pay special attention to the last point, as it is often the quality of the bowl that is significantly superior to the proposed fasteners, so you should choose the appropriate ones.
Preparation for installation
Installing a sink is the last or final stage of assembling a water use unit in the kitchen.
Therefore, you should prepare for it thoroughly:
- You should first bring water to the place of installation.
- Make a drain sewer.
- You should also take care of the tools, where the main role is played by jigsaw. It can be bought or rented for several days, while acquiring new files for it, in order not to experience discomfort while working.
Tip: the price of even the most expensive from the most well-known brands, for example, Bosh, does not hit your budget, but the process of cutting out the space under the sink will go "like clockwork."
- Do not forget to also buy a silicone transparent sealant, and it is better not to pin hopes on the foam self-adhesive edging offered in the kit. It is bad because it will gradually accumulate moisture, which will soon begin to exude an unpleasant odor, while destroying the countertop under the invoice sink. We recommend it not to be used at work.
- When buying a kitchen sink, find out if there is a template or a stencil attached to it that will help to cut it into the countertop. It usually comes as a package, so don’t be in a hurry to tear it apart, see if there is a picture on the cardboard. If not, then we will tell below how to mark a place on the surface, attaching a sink to it.
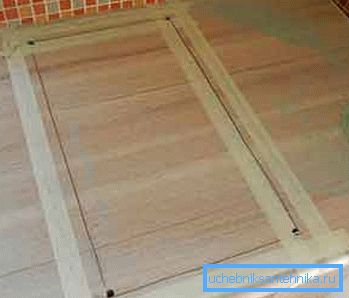
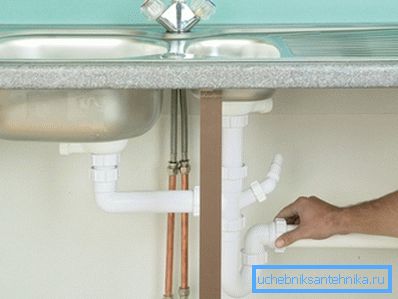
- Siphon, water supply and drain pipes are not included in the washing kit or very rarely, so do not forget to purchase them additionally.
Tip: do not fasten the countertop to the cabinet of the kitchen set, if there is such an opportunity, in this case it will be easier to work with the counter sink, and in the case of the mortise it is a prerequisite.
We make a place under the invoice sink
There is no difference what configuration the sink will be in, the instruction will be exactly the same:
- Before you cut the sink in the tabletop, select a place for it. At the same time make sure that:
- there was a free approach to plumbing and sewer pipes;
- there was an indent of at least 60 mm from the edge, otherwise a thin layer can be broken;
- The supporting structures of the cabinet were not located under the tabletop; they cannot be cut during operation, otherwise the reliability of the headset will decrease.
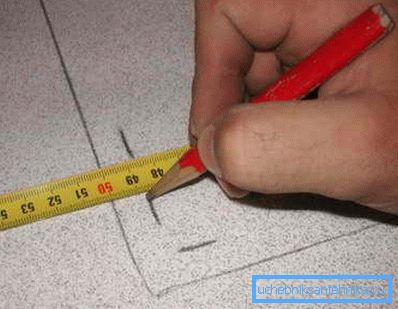
- Make a template on thick cardboard or use ready-made, placed on the packaging of the product. The second option is to flip the sink and use a marker to circle the outline on the tabletop. After that, retreat 10 mm inwards and make a copy of the contour, which you already need to cut.
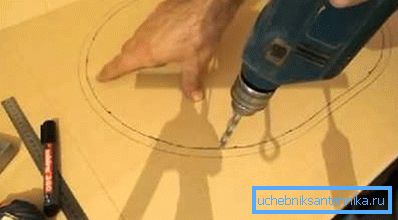
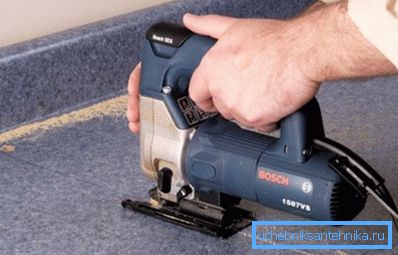
- Saw the place under the sink on the intended contour. Do not worry at the same time, if the tabletop will be chipped at the place of saw.
Advice: fix the cutting place with masking tape at the bottom so that when approaching the end of the saw the material does not fall and does not damage the table top, or use the “help of a friend” to support it from below at this moment.
Take an electric drill with a 10 mm O drill and drill a hole in the tabletop on the inside mark to insert an electric jigsaw into it. Then slowly and carefully cut along the line.
- Process the resulting slice. Pre-clean it from dust and fill with silicone so that it does not absorb moisture.
Install the sink in the cabinet
- Wear anchors, but do not fix them completely, so that you can tighten them over time.
- Install the faucet on the sink, if it is provided.
- Smear the inside of the sink with silicone sealant and install it on the countertop..
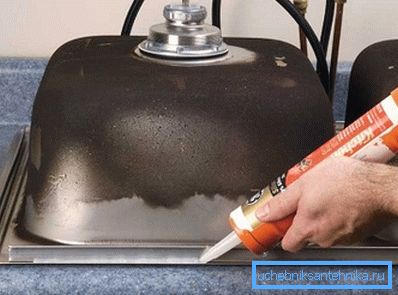
- By moving the structure, determine the appropriate position for it and tighten the fasteners finally.
- Remove fresh sealant that has protruded around the perimeter, and until it is frozen, do not use the design.. Use it also to handle possible gaps.
Conclusion
As you can see, the work is not difficult, the main thing is to act carefully and not rush. Remember that you install a car wash for one day, a month or a year, and for several years, so the rush here will simply be harmful. The video in this article will provide an opportunity to find additional information on the above topic.