How to embed the sink yourself
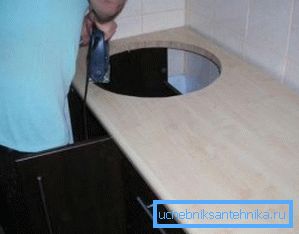
If you are interested in how to cut the sink into the tabletop, it means that you have got to the section you need and you can learn more about it, with all the nuances of installation. But, we warn you at once that this method applies only to worktops made of chipboard - you cannot make a hole in an artificial or natural stone using the same method.
But you can insert a sink into a regular tabletop in the place you need, and in addition to our story, the video in this article will help you.
Mortise washers
Installation methods
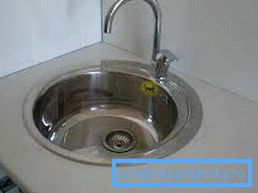
First of all, let's define what a mortise sink or sink is, and if you need to embed the sink into the countertop with your own hands, then this is the type of container we are considering. But the installation itself when inserting may differ, that is, it can be either invoice or embedded.
Overhead models can have a different shape, but they always have a horizontal rim that falls on the tabletop - it is thanks to him that the washing is fixed - it is superimposed. In addition to the horizontal sides there may be a corrugated pedestal in the form of a small table - it is designed for storing dishes when washing.
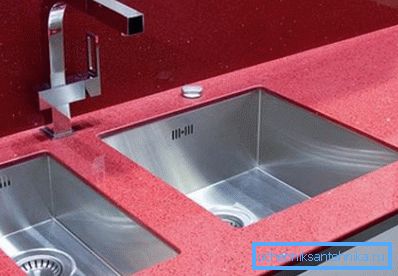
But the recessed sinks are fixed to the tabletop with glue and / or various clips - everything depends on the design of the model. With this installation option, the sink bumpers never rise above the tabletop - they can either be flush (flush) or slightly lower, as shown in the top photo. Such sinks are made from stainless steel, natural or artificial stone (granite, marble) and even from ceramics (faience, porcelain).
Recommendation. Ceramic sinks are afraid of sudden changes in temperature and shocks, therefore, they are used for kitchens only if a dishwasher is installed there.
We cut in a sink
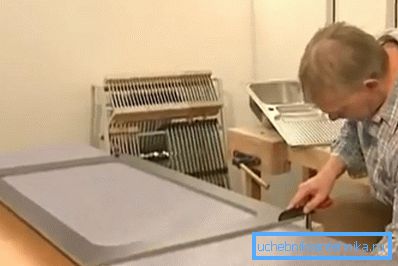
- Now we will figure out how to properly embed the sink in the countertop and for this we will show you in the photos one of the most difficult ways to insert, when the sides will be below the tabletop.
- When the shell installation is overlaid, the cut-off place is covered with sides and is not visible, and in this case, this cut will be visible, therefore, it should be made with perfect accuracy. To do this, we need a template that can be bundled with the sink, or it will need to be done independently.
- Choose the right place on the tabletop where the tie-in will take place (it’s best to do this with the help of a tape measure) and fix this template there with clamps, so he is not outta when working. Please note that the instruction requires respecting the distance from the edge of the table top - it must be at least 50 mm (this is for safety factors).
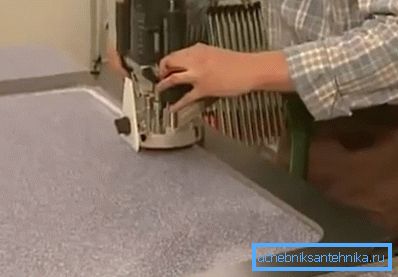
- In order to make the cut beautiful and smooth, we will use not an electric jigsaw, but a mill with an end cap. The tie-in (choosing the grooves) will be made in three passes and now we will need to go through the first level.
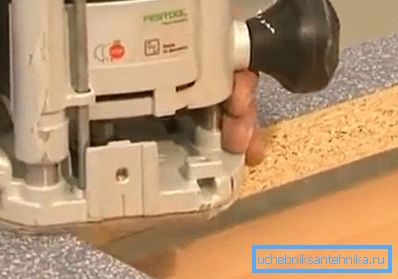
- Now you need to remove the sharp upper edge of the cut, and we will do it with the same milling cutter, but with a radius nozzle of 2-3 mm.. Of course, you can also remove such a edge manually — with the same rasp — but working with a milling tool is the most accurate, and that’s what we need.
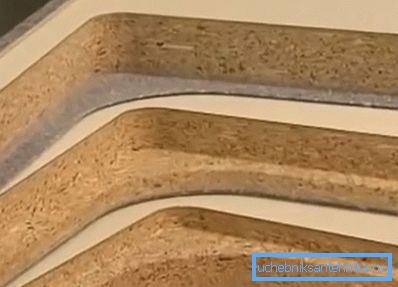
- Now we choose a groove from the bottom side - a sink will be placed here, as a rule, such work is done by a mill for three calls. After that, you will need to manually sandpaper to polish the cut to the desired degree of gloss - the more it will shine, the better it will look. Now the entire cut surface must be wiped with some kind of solvent or isopropyl alcohol to remove the adhesive compounds of the particle board.
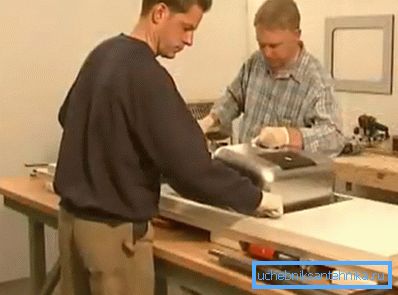
- For the installation, we will use polymer glue based on modified silane - its price is quite democratic, but the effect is excellent. We turn the tabletop upside down, put glue on the selected grooves and carefully lower the sink there.
- Now, for precise fixation, you need to press the sink with clamps for 12 hours, only be sure to put any gaskets in places of pressure (you can use pieces of carved table top).
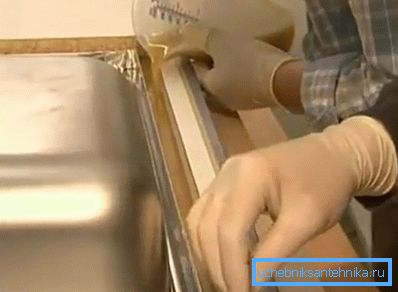
- After 12 hours, remove clamps and from the underside of the sink around its perimeter stabilize the fixation - bicomponent epoxy-type adhesives are well suited for this.
- This compound hardens fast enough., and on top of the frozen mass around the perimeter, you stick the foil tape, which is needed for waterproofing. Now turn the tabletop to its original position - on the knock on the perimeter of the sink you will see the remains of glue - they are carefully removed with a knife.
Recommendation. While the table top together with the sink glued to it was not installed on the cabinet frame, you need to attach a siphon and a mixer. At this stage, such work is much easier to do than after the final assembly of furniture.
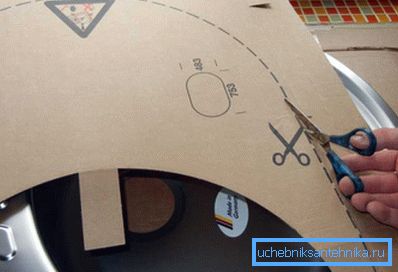
- In cases where there is no rigid template, a cardboard stencil with perimeter markings is supplied for the mortise washes complete with them.. For readiness to use it is cut with scissors or a sharp knife. As a result, you also get a pattern, but not a hard one, but a soft one, according to which you will not be able to cut with a router, it is suitable only for marking.
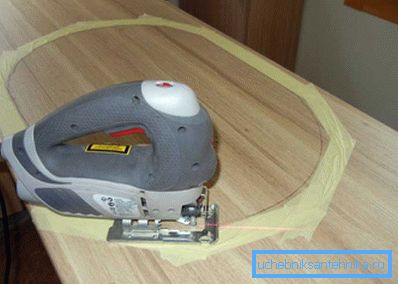
- Given the fact that with this method of marking you will not have a hard stop, you will have to cut the seat using an electric jigsaw.. In order not to scratch the surface of the tabletop with a heel of a fret-saw, apply a masking tape over the perimeter of the cutout around the perimeter. This method is mainly used for surface mounting, when the slice does not need particularly pronounced clarity.
- If you still use an electric jigsaw for embedded installation, then you need to pay special attention to the evenness of the lines and grinding faces. But to install the sink below, you still can not do without a cutter for sampling slots.
Conclusion
We have now considered how to insert a kitchen sink in one's own hands in two ways - recessed and overhead. Despite the fact that the first method may seem more difficult, nevertheless, you can cope with it if you are careful and careful.